Cake
Amazing Foolproof chocolate and vanilla marble cake recipe
Bake a moist, fluffy chocolate and vanilla marble cake recipe with bold swirls and a foolproof marbling method. Discover simple steps for success.
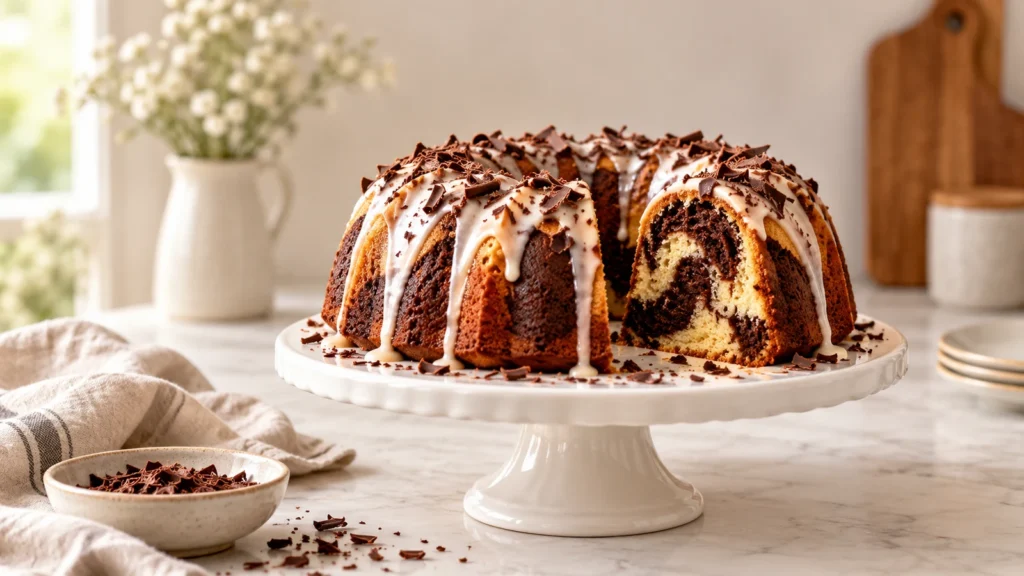
This chocolate and vanilla marble cake recipe produces a buttery, moist cake with distinct cocoa and vanilla ribbons in every slice. A simple batter-weighing method and controlled swirling pattern keep the colors defined rather than muddy.
It is an excellent choice when some guests prefer chocolate and others favor vanilla. Unlike a vanilla mug cake recipe made for one person, this full-size cake yields 12 neat slices. Its crumb is slightly richer than a recipe for fluffy vanilla cake but lighter than a traditional vanilla pound cake recipe.
Jump to the printable recipe card. Use room-temperature ingredients and follow the visual doneness cues below for a tender crumb without dense, gummy streaks. You can serve this chocolate and vanilla marble cake recipe plain or finish it with a simple glaze.
Table of Contents
Recipe Overview
- Preparation time: 25 minutes
- Baking time: 45 to 52 minutes
- Total time: About 2 hours, including cooling
- Yield: 12 slices
- Difficulty: Easy
- Pan size: 9-inch (23 cm) round pan, 2 inches deep
Why You’ll Love This Recipe
- Weighing the divided batter creates balanced vanilla and chocolate flavors.
- Five deliberate knife passes produce clear, attractive swirls.
- Butter provides flavor while oil keeps the cake moist after refrigeration.
- The cake is delicious plain but sturdy enough for icing or buttercream.
- Every slice has its own pattern, making the cake look impressive without complicated decorating.
The mixing method also limits excess gluten development, a common cause of tough cake. For more detail, see this guide to preventing dense, gluey streaks in cake.
Ingredients
- 2 cups (240 g) all-purpose flour, spooned and leveled
- 2 teaspoons baking powder
- 1/2 teaspoon fine salt
- 1/2 cup (113 g) unsalted butter, softened to 65°F to 68°F (18°C to 20°C)
- 1/4 cup (60 ml) neutral vegetable oil
- 1 1/4 cups (250 g) granulated sugar
- 3 large eggs, at room temperature
- 2 teaspoons pure vanilla extract
- 3/4 cup (180 ml) whole milk, at room temperature
- 1/4 cup (21 g) natural unsweetened cocoa powder
- 2 tablespoons (30 ml) hot water
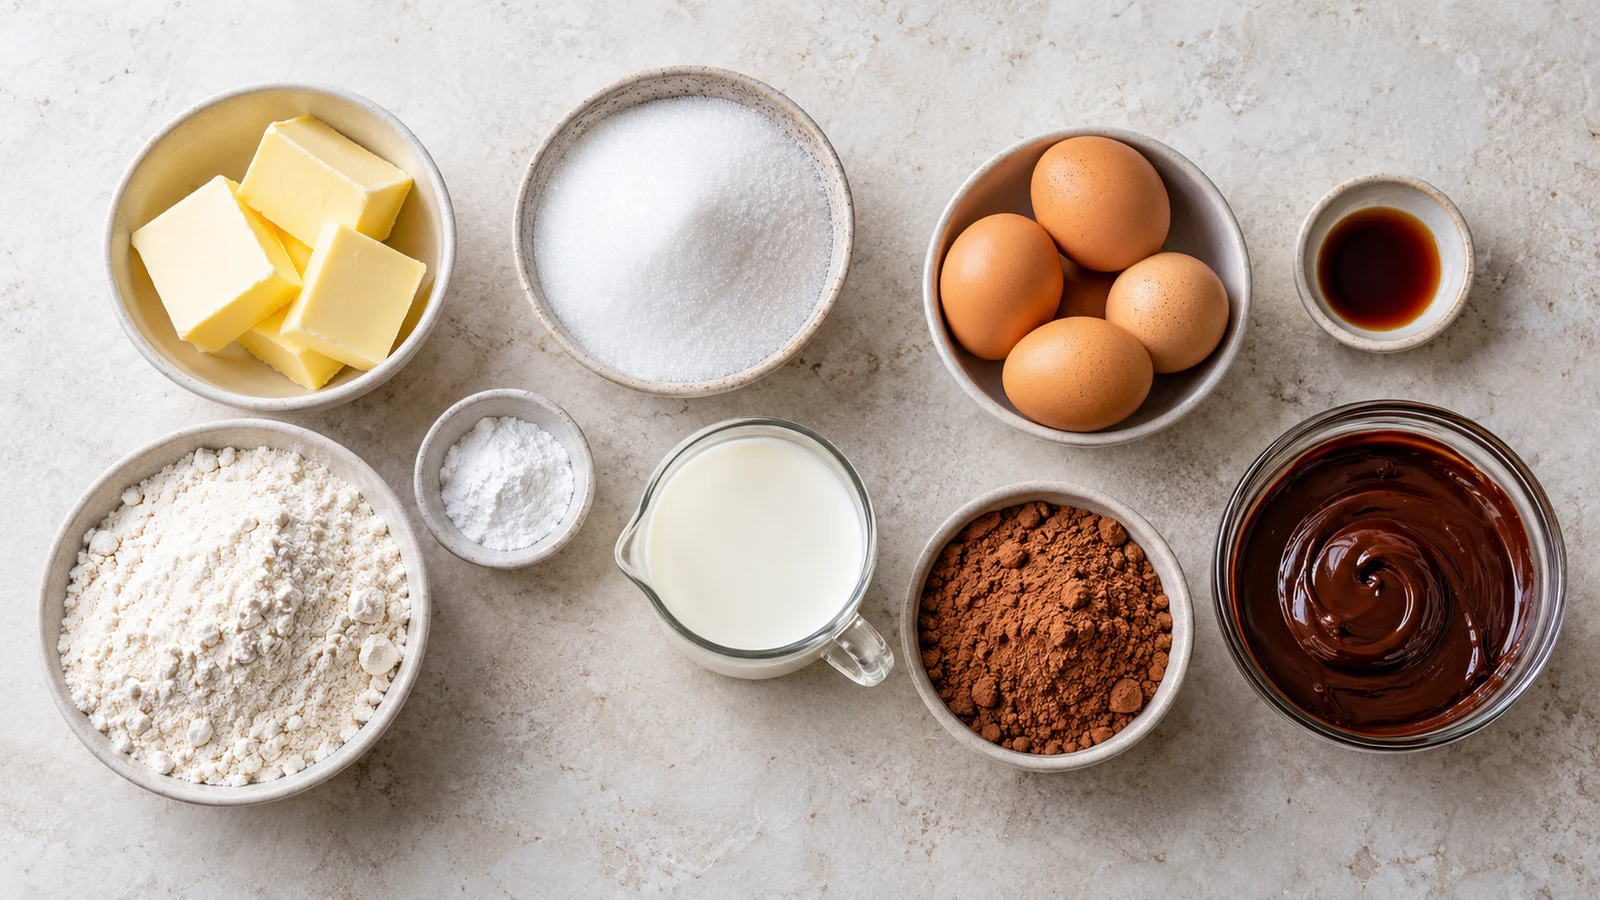
Room-temperature eggs and milk combine more smoothly with the butter, helping prevent a curdled batter and uneven crumb. For an especially light all-vanilla alternative, try this recipe for fluffy vanilla cake.
Understanding the Key Ingredients
Butter gives the cake its rounded dairy flavor, while neutral oil stays liquid when cool and supports a softer crumb. Using both creates a useful balance: the cake tastes buttery without becoming firm after refrigeration. Granulated sugar sweetens the batter and helps it retain moisture.
Natural cocoa supplies a clear chocolate flavor without requiring melted chocolate. Turning it into a paste with hot water hydrates the powder and prevents dry specks. Whole milk contributes moisture and tenderness, while the eggs provide structure so the two batters rise together.
Equipment
- 9-inch (23 cm) round cake pan
- Parchment paper
- Digital kitchen scale
- Electric mixer and two mixing bowls
- Flexible spatula and butter knife
- Instant-read thermometer and wooden skewer
A light-colored metal pan gives the most predictable result. A dark pan can brown the sides sooner, while a glass pan retains heat and may require closer monitoring near the end of baking. Whatever pan you use, confirm that it is 2 inches deep so the batter has room to rise.
How to Make This Chocolate and Vanilla Marble Cake Recipe
- Prepare the oven and pan. Heat the oven to 350°F (175°C). Grease the pan, line its base with parchment, then lightly grease and flour the parchment and sides.
- Combine the dry ingredients. Whisk the flour, baking powder, and salt for 30 seconds so the leavener is evenly distributed.
- Cream the fat and sugar. Beat the softened butter, oil, and sugar on medium-high speed for 3 to 4 minutes. The mixture should look noticeably paler, fluffy, and increased in volume; butter that appears shiny or melted is too warm.
- Add eggs and vanilla. Beat in the eggs one at a time, mixing for about 20 seconds after each addition. Scrape the bowl, then mix in the vanilla. If the mixture looks slightly curdled, add 1 tablespoon of the measured flour.
- Finish the base batter. On low speed, add the flour mixture in three additions, alternating with the milk in two additions. Stop when only a few flour streaks remain, then fold gently with a spatula. Do not continue beating.
- Divide and flavor. The finished batter should weigh approximately 1,200 g. Transfer 400 g, or about one-third, to a second bowl. Stir the cocoa and hot water into a smooth paste, then fold it into the smaller portion just until evenly brown.
- Layer the batters. Place alternating spoonfuls of vanilla and chocolate batter around the pan in two layers. Avoid one large central mound, which can create an uneven rise.
- Swirl carefully. Insert a butter knife to nearly the bottom. Draw one broad S-shape from top to bottom, rotate the pan 90 degrees, and make another S-shape. Make no more than five total passes. Do not stir in circles.
- Bake. Bake for 45 to 52 minutes, rotating the pan once after 35 minutes only if the oven browns unevenly.
- Cool. Rest the cake in its pan for 15 minutes. Loosen the edge, invert it onto a rack, remove the parchment, and turn it upright. Cool completely before frosting or slicing.
Dividing, Layering, and Swirling the Batter
Keeping roughly two-thirds vanilla batter and one-third chocolate batter gives the cocoa enough presence without making the cake heavy. A scale is more accurate than judging by eye, but approximately 2 2/3 cups vanilla batter and 1 1/3 cups chocolate batter will work.
Layer small dollops so both flavors are already distributed before the knife enters the pan. Each extra pass blends the colors further, so stop while broad ribbons remain visible. A similar controlled technique appears in this old-fashioned marble cake method.
The knife should travel through both layers, but it should not scrape the pan. Broad movements create bold streaks; tight circles make thin, muddled lines. The goal of this chocolate and vanilla marble cake recipe is contrast, so an imperfectly irregular pattern is better than excessive mixing.
Expert Tips for a Tender Marble Cake
Control the Ingredient Temperature
Softened butter should accept a light fingertip indentation but still hold its shape. If it is greasy or partly melted, chill it briefly before mixing. Cold eggs can make the creamed mixture split, so place them in lukewarm water for several minutes if you forgot to set them out.
Scrape the Bowl Thoroughly
Dense butter and sugar often collect at the bottom of a mixer bowl. Stop after creaming and after the final egg to scrape the base and sides with a flexible spatula. Uniform batter helps the chocolate and vanilla portions bake at the same rate.
Mix Less After Adding Flour
A recipe for fluffy vanilla cake and a marbled cake share one important rule: once flour becomes wet, mix only as much as necessary. Prolonged beating strengthens gluten and can produce tunnels, elasticity, or a compact strip near the bottom.
Use an Oven Thermometer When Possible
Many ovens run hotter or cooler than their displays suggest. An accurate 350°F (175°C) environment lets the center rise before the outer edge becomes dry. If your cakes regularly finish much earlier or later than stated, check the actual oven temperature.
Tips for the Best Results
- Measure flour accurately: Too much flour causes dryness. Use 240 g or spoon flour into the cup before leveling it.
- Avoid tunneling: Mix on low after adding flour, and fold only until no dry pockets remain.
- Check three doneness cues: The center should spring back, a skewer should carry a few moist crumbs but no wet batter, and the internal temperature should be about 205°F to 210°F (96°C to 99°C).
- Prevent sinking: Fully preheat the oven and avoid opening its door during the first 35 minutes.
- Release cleanly: Use parchment and cool for only 15 minutes before removing the cake; prolonged pan cooling encourages sticking.
- Keep the swirl visible: Use contrasting spoonfuls and stop after five knife passes, even if the surface pattern looks uneven.
A properly baked slice has a fine, even crumb with moist cocoa ribbons rather than a wet or compressed line. This marble cake reference offers another useful comparison for the classic texture and preparation.
Frosting and Serving Suggestions
Serve the cake plain with coffee, dust it lightly with confectioners’ sugar, or add chocolate buttercream for a richer finish. A thin vanilla icing recipe for cake complements the cocoa ribbons without hiding their flavor.
Fresh berries, lightly whipped cream, or a small scoop of vanilla ice cream make simple accompaniments. Apply any frosting only after the cake is completely cool.
Finishes for Different Occasions
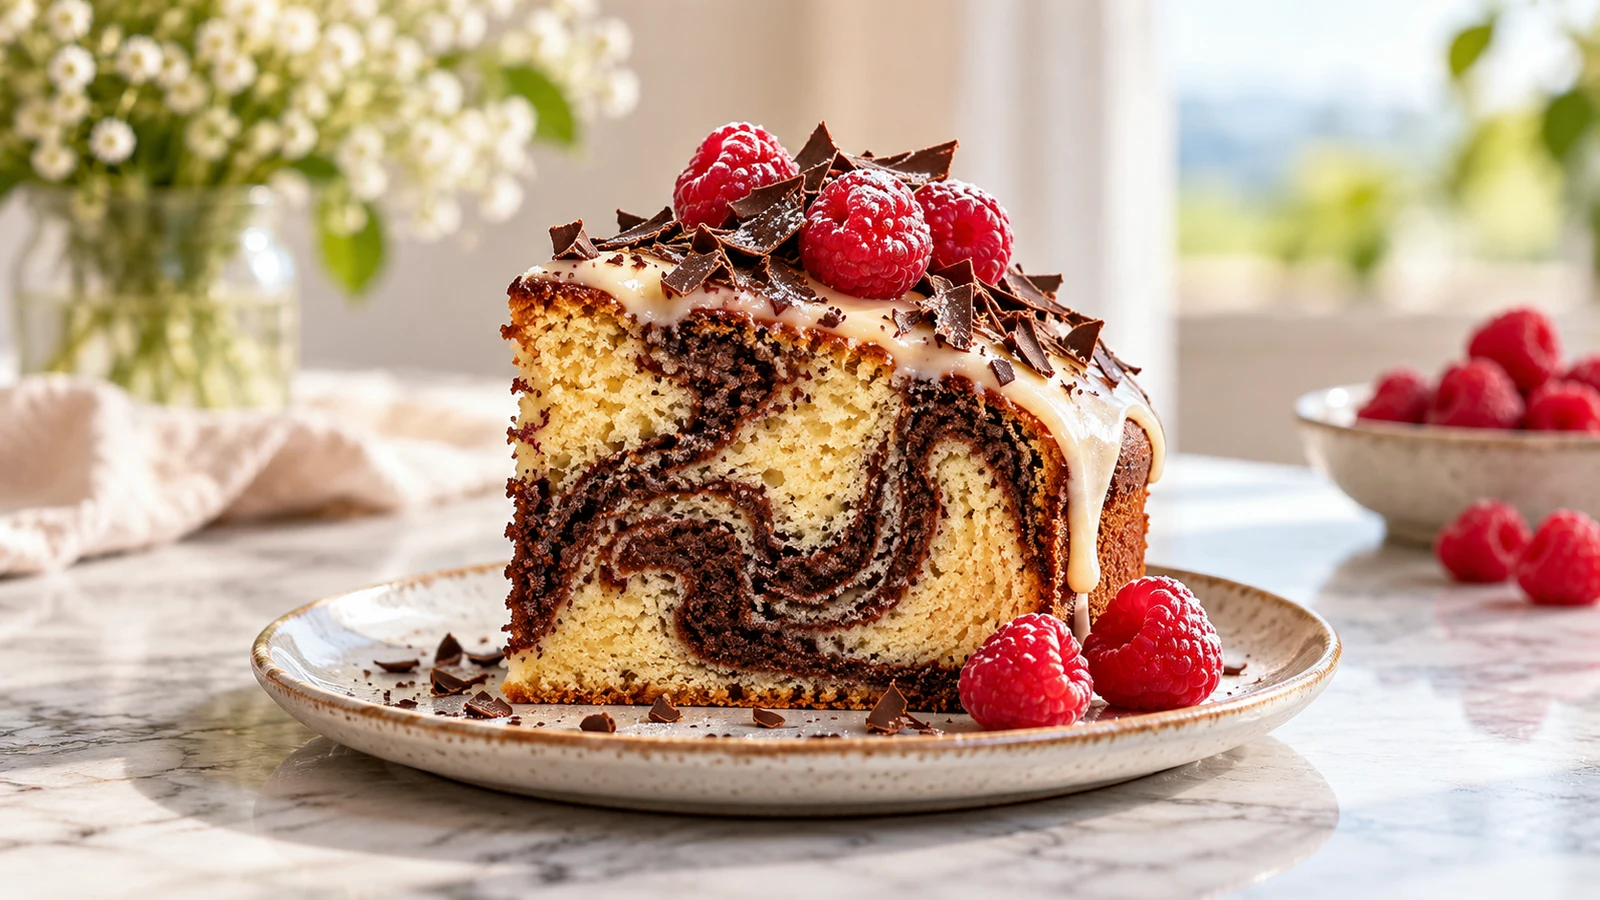
For an everyday afternoon cake, leave the top bare and serve thick slices with tea or coffee. For brunch, add berries and softly whipped cream. A vanilla icing recipe for cake creates a polished finish for birthdays, showers, or potlucks while allowing the marbled interior to remain the main attraction.
For a plated dessert, add a spoonful of raspberry sauce or warm chocolate sauce beside each slice. Toasted hazelnuts or almonds can provide crunch, but serve them separately when allergy concerns are uncertain. Slightly smaller slices work well after a rich meal.
Variations and Substitutions
- Dutch-process cocoa: Replace the natural cocoa by weight for a darker, mellower chocolate layer. Either type works because baking powder supplies the leavening.
- Dairy-free: Use plant-based baking sticks and unsweetened soy or oat milk. Check every packaged ingredient if serving someone with an allergy.
- Loaf cake: Bake in a 9-by-5-inch loaf pan for 55 to 65 minutes at 350°F (175°C).
- Cupcakes: Fill 18 lined cups two-thirds full and bake for 18 to 22 minutes.
- Bundt cake: Use a well-greased 10-cup Bundt pan and bake for 45 to 55 minutes.
- Layer cake: Divide between two 8-inch pans and bake for 25 to 32 minutes.
For a tighter, richer crumb, compare the method with this vanilla pound cake recipe. A vanilla mug cake recipe is better when you need a single serving rather than a full celebration cake.
At elevations above 3,500 feet, reduce baking powder to 1 1/2 teaspoons, decrease sugar by 1 tablespoon, add 1 to 2 tablespoons milk, and raise the oven to 365°F (185°C). Begin checking several minutes early because high-altitude cakes often bake faster.
Flavor Variations
Add a little finely grated orange zest to the vanilla portion for a chocolate-orange variation, or stir espresso powder into the cocoa paste for a deeper chocolate impression. These accents should support the original flavors rather than overpower them.
If you prefer an all-vanilla bake, use the linked recipe for fluffy vanilla cake instead of simply omitting cocoa from this formula. For a denser tea cake, the vanilla pound cake recipe offers the more suitable ingredient balance and mixing method.
Make-Ahead Plan
This chocolate and vanilla marble cake recipe is well suited to advance preparation because its oil content helps preserve moisture. Bake it one day before serving, cool it completely, and store it tightly covered at room temperature. Add icing or other decoration on the day it will be served.
You can also bake and freeze the unfrosted cake several weeks before an event. Wrapping it only after it is completely cool prevents trapped steam from making the surface sticky. Thaw the cake while wrapped so condensation forms on the wrapping rather than directly on the crumb.
Do not mix and refrigerate the raw batter. Once the baking powder is moistened, its leavening action begins. Delaying the bake can reduce the rise and make the crumb heavier. For a fast dessert prepared only when needed, choose a vanilla mug cake recipe instead.
Troubleshooting
- Muddy swirls: The batters were stirred too many times. Limit the knife to five broad passes.
- Dry cake: Check flour by weight, begin testing early, and remove the cake once all three doneness cues agree.
- Dense or gummy crumb: Bring ingredients to room temperature, cream thoroughly, and avoid overmixing after adding flour.
- Uneven layers: Distribute small alternating dollops rather than pouring each batter into one spot.
- Sticking: Line the base with parchment and loosen the sides before inverting.
Why Did the Cake Sink in the Middle?
A sunken center usually means the structure was not fully set. The oven door may have opened too early, the oven may have been cool, or the cake may have been removed before it passed the doneness tests. Too much baking powder can also cause a rapid rise followed by collapse.
Why Is There a Dense Line Near the Bottom?
Excess mixing, a partly broken emulsion, or underbaking can form a dense line. Check that the butter, eggs, and milk are at the recommended temperatures. Add the flour on low speed, finish by hand, and verify the center with both a skewer and a thermometer.
Why Did the Outside Become Dark?
A dark metal pan, an oven that runs hot, or excessive baking time can deepen the crust. Confirm the temperature and begin checking at 45 minutes. If the surface is already well colored while the center needs more time, loosely shield the top for the remaining minutes.
How to Store and Reheat
Keep the unfrosted cake in an airtight container at room temperature for up to 3 days. Refrigerate a cake topped with perishable frosting for up to 5 days, then let slices stand at room temperature for 20 to 30 minutes before serving.
To freeze, wrap the whole cooled cake or individual slices twice and place them in a freezer-safe container for up to 3 months. Thaw, still wrapped, overnight in the refrigerator. For a just-baked texture, warm an unfrosted slice for 8 to 10 seconds in the microwave.
Individual wrapping is convenient when you want only one serving at a time. Place parchment between unfrosted slices before freezing them together so they separate cleanly. If you use a vanilla icing recipe for cake, freeze the cake before glazing for the neatest finish.
Nutrition and Allergen Notes
One of 12 unfrosted slices contains approximately 330 calories, 15 g fat, 44 g carbohydrate, 25 g sugar, and 5 g protein. Values are estimates and vary by brand. The recipe contains wheat, eggs, and milk; dairy-free substitutions do not make it egg-free or gluten-free.
Frequently Asked Questions
Can I make the batter without a kitchen scale?
Yes. Divide about one-third of the finished batter, approximately 1 1/3 cups, for the chocolate portion. A scale gives more consistent flavor and visual balance.
Why did my chocolate batter become much thicker?
Cocoa absorbs moisture. Mixing it with hot water before adding it to the batter keeps the two portions closer in consistency and makes layering easier.
Can I prepare the batter in advance?
No. Baking powder starts working once moistened, so bake the assembled cake promptly. The fully baked cake freezes very well if you need to work ahead.
How do I know whether the center is truly baked?
Use the spring-back, skewer, and temperature tests together. If the top is browning before the center reaches 205°F (96°C), cover it loosely with foil for the final minutes.
Is this chocolate and vanilla marble cake recipe suitable for cupcakes?
Yes. Fill 18 lined cups two-thirds full and bake them for 18 to 22 minutes. Add small alternating spoonfuls of both batters to each cup, then make one gentle swirl with a skewer so the colors remain distinct.
How is this different from a vanilla pound cake recipe?
A vanilla pound cake recipe generally has a tighter, richer crumb. This cake uses baking powder and a combination of butter and oil for a softer texture that supports separate cocoa and vanilla ribbons without feeling heavy.
Can I turn a recipe for fluffy vanilla cake into marble cake?
It is better to follow a formula designed for divided batter. Adding cocoa changes moisture absorption and consistency. This recipe for fluffy vanilla cake is ideal when you want a light vanilla-only result, while the present formula balances both flavors.
When should I choose a vanilla mug cake recipe?
A vanilla mug cake recipe is useful when you want one quick portion and do not need decorative slices. Choose this full cake when serving a group, preparing dessert ahead, or looking for defined chocolate and vanilla swirls.
What is the best vanilla icing recipe for cake like this?
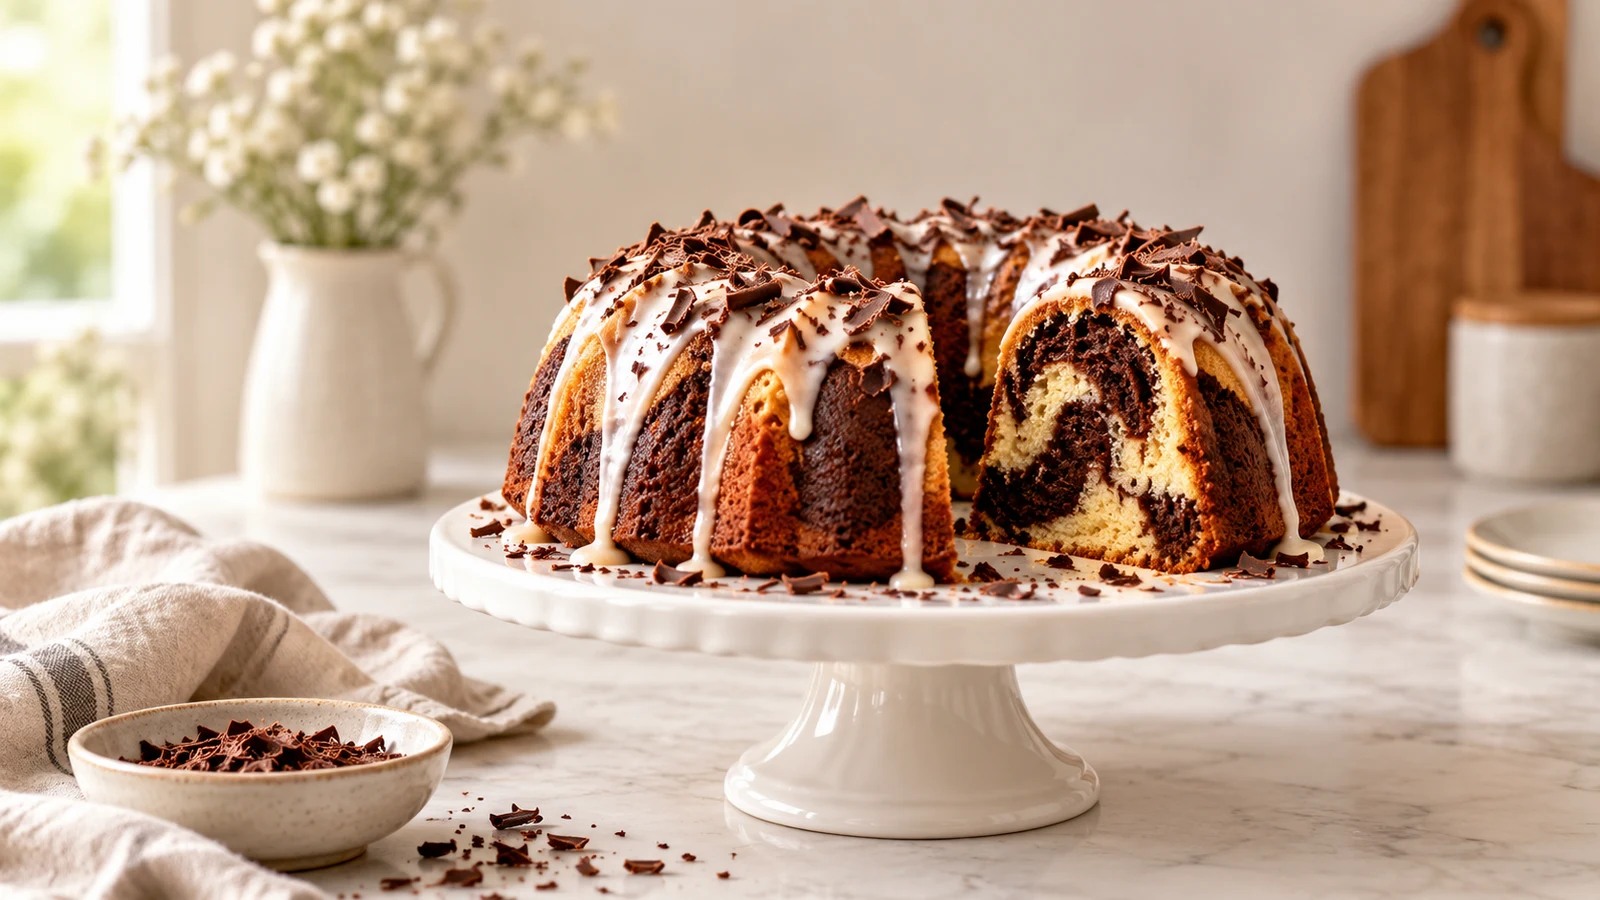
A thin, pourable vanilla icing recipe for cake works especially well because it adds sweetness without concealing the marbled flavor. Let the cake cool fully before applying it, then allow the glaze to set before cutting clean slices.
Can I double this chocolate and vanilla marble cake recipe?
Yes, but mix each batch separately for the most reliable aeration and batter division. Use two pans rather than placing twice the batter in one pan. Bake both together only if the oven allows steady heat circulation around them.
Can I reduce the sugar?
Sugar affects moisture, tenderness, browning, and structure as well as sweetness. A substantial reduction can make the cake dry or alter its rise, so the listed 1 1/4 cups should be used for the intended texture.
Chocolate and Vanilla Marble Cake Recipe Card
- Yield: 12 servings
- Pan: 9-inch (23 cm) round
- Oven: 350°F (175°C)
- Prep: 25 minutes
- Bake: 45 to 52 minutes
- Ingredients: 240 g flour, 2 teaspoons baking powder, 1/2 teaspoon salt, 113 g butter, 60 ml oil, 250 g sugar, 3 eggs, 2 teaspoons vanilla, 180 ml milk, 21 g cocoa, and 30 ml hot water.
- Method: Cream butter, oil, and sugar; add eggs and vanilla; alternate dry ingredients with milk; divide 400 g for the cocoa batter; layer, swirl no more than five times, and bake until the center reaches 205°F to 210°F (96°C to 99°C).
- Note: Cool in the pan for 15 minutes, then transfer to a rack and cool completely.
A Reliable Cake for Any Occasion
This chocolate and vanilla marble cake recipe combines familiar flavors with a reliable method that makes every ribbon visible. Measure carefully, keep the swirling restrained, and let the cake cool fully for neat, tender slices.
Whether you usually bake a vanilla pound cake recipe, a recipe for fluffy vanilla cake, or a quick vanilla mug cake recipe, the marbling technique adds a rewarding new skill. Finish the cake simply or use a vanilla icing recipe for cake to make it celebration-ready.
Reviews
Reader reviews are managed separately (outside this build).