Cake
Foolproof Moist chocolate cake recipe without buttermilk
Try this chocolate cake recipe without buttermilk for an easy, moist homemade cake, with simple ingredients, clear steps, and reliable baking tips.
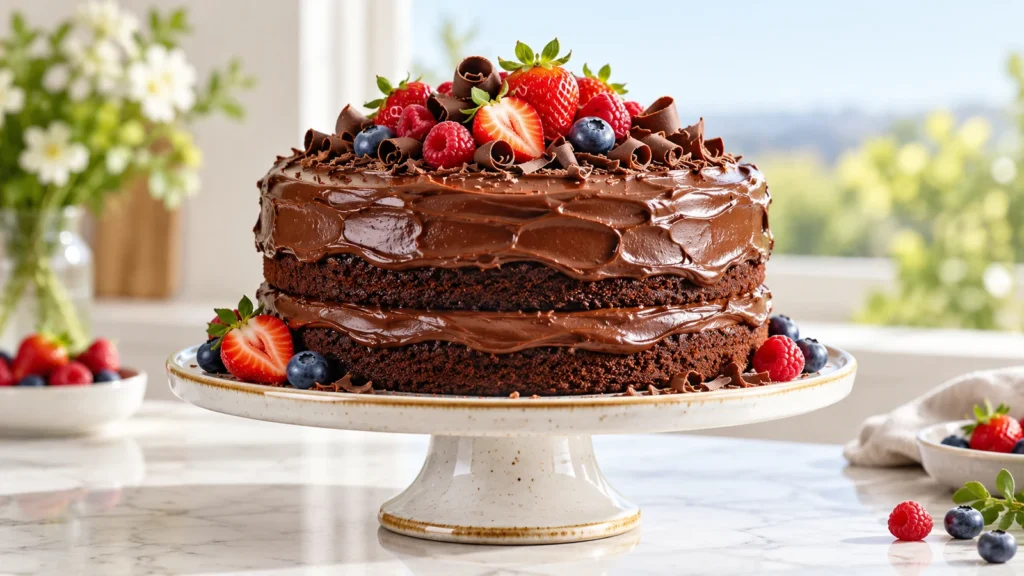
This chocolate cake recipe without buttermilk produces a tender, deeply cocoa-flavored crumb using everyday ingredients. Regular milk supplies moisture, while neutral oil keeps the cake soft even after refrigeration.
The batter is simple enough for a weekday bake, yet the finished cake is sturdy enough for frosting, decorating, and celebrations. This chocolate cake recipe without buttermilk also includes clear pan conversions, doneness cues, substitutions, and troubleshooting tips for dependable results.
Table of Contents
Why You’ll Love This Recipe
- Reliably moist: Oil remains liquid at room temperature, helping every slice stay tender.
- No specialty dairy: Regular milk works perfectly, and sour cream is an optional richness booster.
- Easy mixing: A whisk and two bowls are all you need for the batter.
- Flexible: Bake it as layers, a sheet cake, cupcakes, or a Bundt cake.
- Make-ahead friendly: The layers freeze well and can be prepared weeks in advance.
Why This Chocolate Cake Recipe Without Buttermilk Works
Buttermilk contributes liquid and acidity, but it is not essential for moist chocolate cake. Regular milk hydrates the flour and cocoa powder, while brown sugar, neutral oil, and hot water keep the crumb soft. Baking powder supplies dependable lift, and a small amount of baking soda balances the natural acidity of the cocoa and brown sugar.
For an even richer homemade chocolate cake, replace 1/2 cup of the milk with full-fat sour cream. Its fat and acidity add tenderness without changing the basic method. The recipe uses all-purpose flour because it offers enough structure for layers; this guide to cake flour and cake texture explains why lower-protein flour creates a more delicate result.
Unlike a traditional chocolate pound cake recipe, this batter depends on chemical leaveners rather than creamed butter for its rise. That makes the mixing process quick and forgiving, provided the ingredients are measured accurately and the batter goes into the oven promptly.
Ingredients
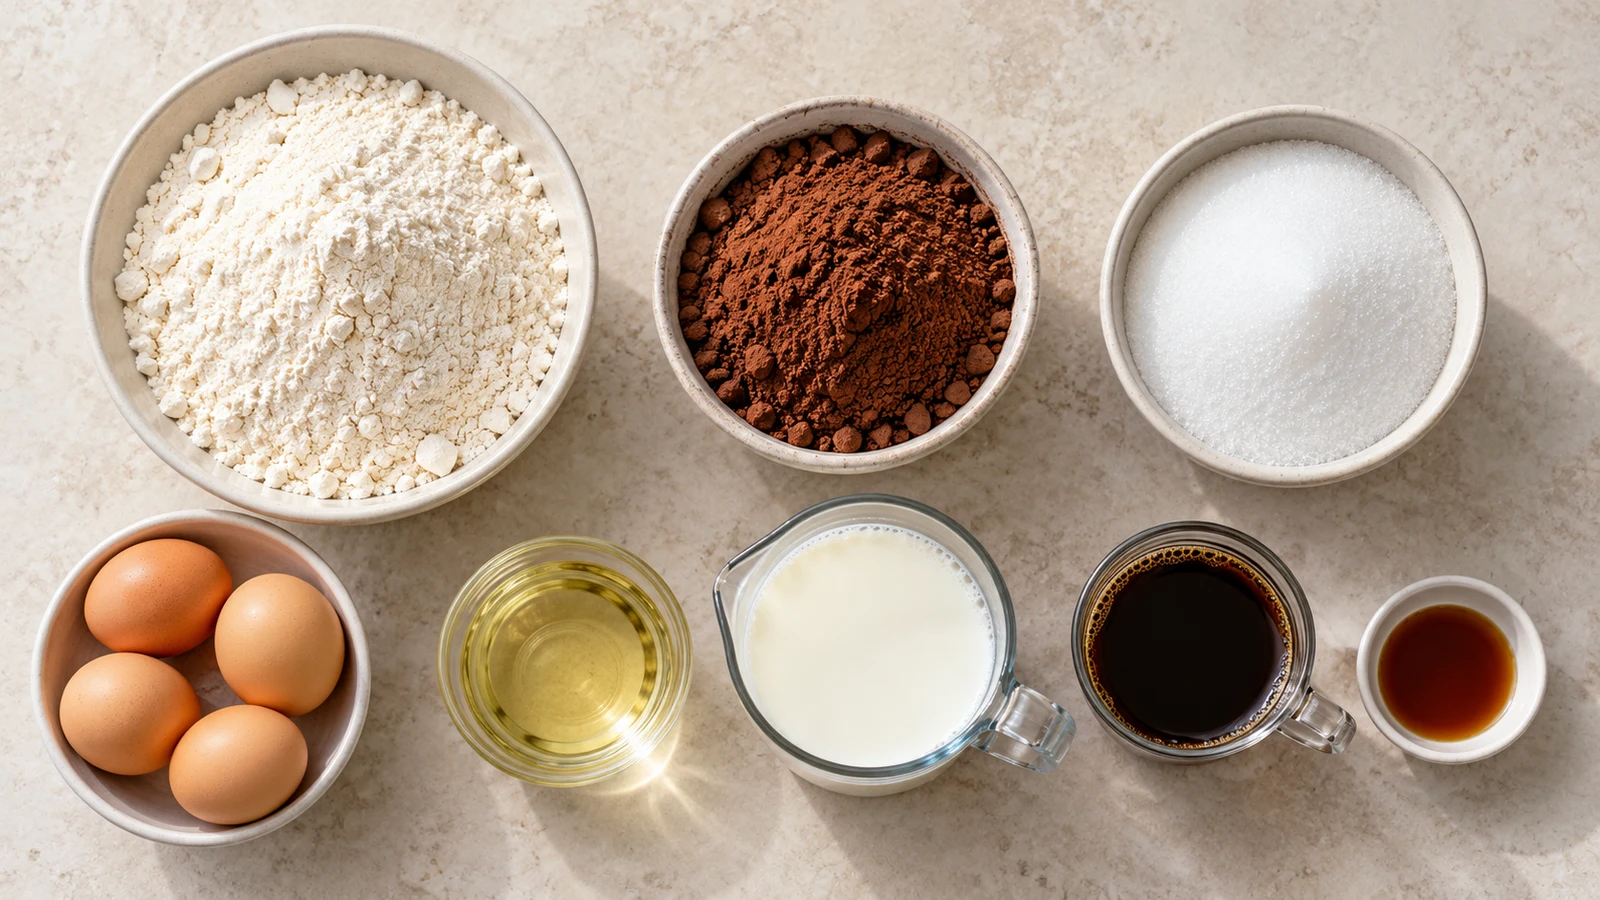
- All-purpose flour: 1 3/4 cups (210 g), spooned and leveled.
- Granulated sugar: 1 cup (200 g), for sweetness and moisture.
- Light brown sugar: 1/2 cup packed (105 g), for a softer crumb.
- Unsweetened cocoa powder: 3/4 cup (64 g), natural or Dutch-process.
- Baking powder: 1 1/2 teaspoons.
- Baking soda: 1 teaspoon.
- Fine salt: 3/4 teaspoon, to sharpen the chocolate flavor.
- Large eggs: 2, at room temperature.
- Regular milk: 1 cup (240 ml), preferably whole milk.
- Neutral oil: 1/2 cup (120 ml), such as canola, vegetable, or avocado oil.
- Vanilla extract: 2 teaspoons.
- Hot water or coffee: 3/4 cup (180 ml), to bloom the cocoa.
- Chocolate frosting: 3 cups for a two-layer cake.
Ingredient Notes for Consistent Results
Bring the eggs and milk to room temperature before mixing. Cool ingredients can make the oil appear unevenly dispersed and may slow the initial rise in the oven. If you forget, place the eggs in warm water for several minutes and gently warm the measured milk until it no longer feels cold.
Use unsweetened cocoa powder rather than a sweetened drinking-chocolate mix. Both natural and Dutch-process cocoa work in this formula, but they create slightly different results. Natural cocoa tastes brighter, while Dutch-process cocoa gives this chocolate cake recipe without buttermilk a darker appearance and mellower finish.
Hot coffee deepens the cocoa flavor without producing an obvious coffee taste. Hot water is equally suitable when serving children or anyone avoiding coffee. Whichever liquid you choose, it should be hot enough to bloom the cocoa but does not need to be boiling.
Equipment Recommendations
Use two light-colored 8-inch round metal pans, parchment paper, two mixing bowls, a whisk, a flexible spatula, and a wire rack. An instant-read thermometer removes guesswork from cake doneness. Avoid dark pans when possible because they can overbrown the edges before the center finishes.
A digital scale is especially helpful because compacted flour and cocoa can vary considerably when measured by volume. If using cups, loosen each dry ingredient, spoon it into the cup, and level it without pressing. This small habit makes a chocolate cake recipe without buttermilk much more repeatable.
How to Make This Chocolate Cake Recipe Without Buttermilk
- Prepare the oven and pans. Heat the oven to 350°F (175°C). Grease two 8-inch round pans, line the bottoms with parchment, and lightly grease the paper.
- Combine the dry ingredients. Whisk the flour, granulated sugar, brown sugar, cocoa powder, baking powder, baking soda, and salt in a large bowl. Break apart every cocoa and brown-sugar lump.
- Mix the wet ingredients. In a second bowl, whisk the eggs, milk, oil, and vanilla until completely blended.
- Make the batter. Add the wet mixture to the dry ingredients and whisk just until no dry flour remains. Slowly pour in the hot water or coffee while whisking. The batter will be thin; that consistency is correct.
- Fill the pans. Divide the batter evenly, about 25 ounces (710 g) per pan. Tap each pan gently on the counter to release large air bubbles.
- Bake. Bake for 28 to 34 minutes, rotating only if your oven heats unevenly. Begin checking at 27 minutes.
- Cool. Leave the cakes in their pans for 10 minutes. Run a thin knife around the edges, turn onto a rack, remove the parchment, and cool completely before frosting.
Expert Tips for the Best Results
- Measure flour by weight. Too much flour is the most common cause of a dry, heavy cake.
- Bloom the cocoa. Hot liquid releases more cocoa flavor. Coffee intensifies chocolate without making the cake taste strongly of coffee; use hot water for a coffee-free version.
- Choose cocoa carefully. Natural cocoa tastes bright and classic. Dutch-process cocoa gives a darker color and smoother flavor; because this formula also contains baking powder, either type works.
- Do not overmix. Stop once the batter is smooth. Prolonged mixing develops gluten and can make the crumb tough.
- Check doneness several ways. The top should spring back lightly, the edges should just begin pulling from the pans, and a tester should show a few moist crumbs rather than wet batter. The center should register about 200–205°F (93–96°C). See these additional visual cake-doneness tests.
Divide the Batter Evenly
Weighing the filled pans produces layers that bake at the same rate and stack neatly. If you do not have a scale, alternate spoonfuls of batter between the pans instead of filling one completely before the other. Smooth the surface gently without repeatedly stirring the batter.
Avoid Opening the Oven Early
The center needs time to establish enough structure to support the rising cake. Keep the door closed for at least the first 25 minutes. A sudden temperature drop can cause the middle of this chocolate cake recipe without buttermilk to sink even when the ingredient measurements are correct.
Cool Before Decorating
Warm layers soften frosting and release steam, which can create a slippery filling or gummy surface. Wait until the cakes feel completely cool. For cleaner decorating, wrap the cooled layers and chill them for 30 to 60 minutes before leveling or applying a crumb coat.
Common Mistakes and Troubleshooting
A sunken center usually means the cake was underbaked, the oven door opened too early, or too much leavener was used. A dry cake points to excess flour or extra baking time. Dense or rubbery cake often comes from overmixing after the flour is wet.
If the layers dome substantially, verify the oven temperature with a separate thermometer and avoid overfilling the pans. For high-altitude baking above 3,500 feet, reduce each sugar by 1 tablespoon, reduce baking powder to 1 teaspoon, add 2 tablespoons milk, and begin checking several minutes early. Conditions vary by elevation, so adjust one variable at a time.
Why Did My Cake Turn Out Crumbly?
Too much flour, too little liquid, or slicing while the layers are still warm can cause excessive crumbs. Confirm that the scale was set to grams, include all 1 cup of milk and 3/4 cup hot liquid, and let the cake cool fully. Refrigerated slices are firmer, so allow them to warm slightly before serving.
Why Is the Bottom Gummy?
A gummy strip can form when batter is overmixed, sits too long before baking, or remains in the hot pan for an extended period. Mix only until combined, transfer the pans directly to the preheated oven, and turn the layers onto a rack after the stated 10-minute rest.
Why Did the Cake Stick?
Grease alone may not protect areas where cocoa-rich batter clings to a pan. Parchment on the bottom provides reliable insurance. Run a thin knife around the sides before turning the cake out, but avoid digging into the soft crumb or scraping a nonstick pan.
Frosting and Decorating
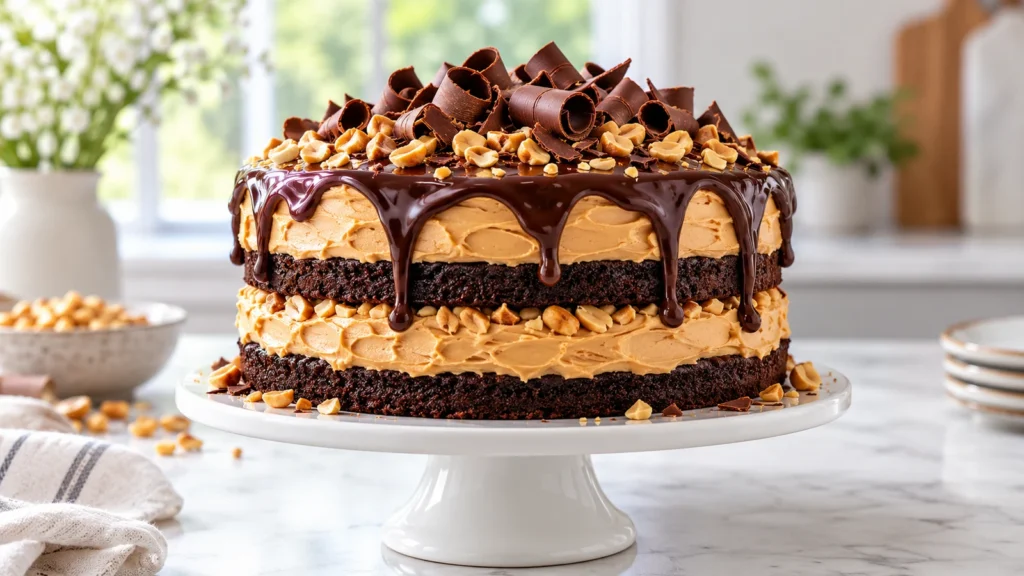
Cool the layers completely, then level pronounced domes with a serrated knife. Use about 3 cups frosting for two 8-inch layers, 3 1/2 to 4 cups for two 9-inch layers, 2 1/2 cups for a 9-by-13-inch cake, or 1 1/2 to 2 cups for 24 cupcakes. Chill a thin crumb coat for 20 minutes before adding the final layer.
Chocolate buttercream, whipped ganache, vanilla frosting, or cream cheese frosting all pair well with this cake. For technique and flavor inspiration, compare the method with this simple rich chocolate cake.
A coconut-pecan filling transforms the layers into an approachable baker’s german chocolate cake recipe variation. For a simple finish, spread frosting in soft swirls and add toasted nuts, chocolate curls, fresh berries, or a restrained pinch of flaky salt immediately before serving.
Variations and Substitutions
- German chocolate variation: For a baker’s german chocolate cake recipe adaptation, use natural cocoa, bake two 9-inch layers for 25 to 31 minutes, and fill and top them with coconut-pecan frosting. Leave the sides bare or cover them with chocolate buttercream.
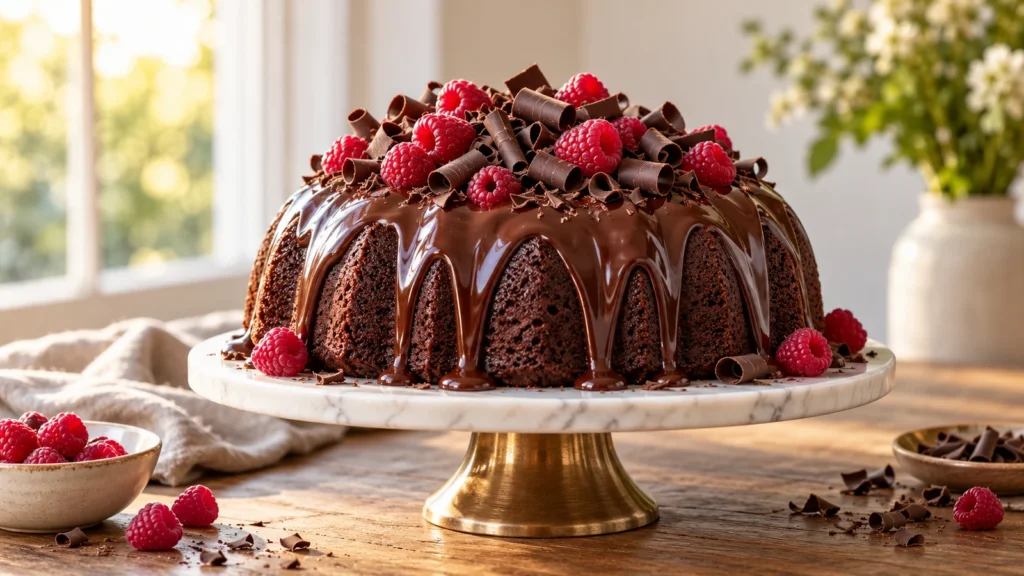
- Bundt variation: To make a chocolate bundt cake recipe, thoroughly grease and cocoa-dust a 10- to 12-cup pan. Bake at 350°F (175°C) for 42 to 52 minutes, cool for 15 minutes, then invert.
- Pound-cake-inspired variation: For a firmer chocolate pound cake recipe style, replace 1/2 cup milk with sour cream and reduce the hot liquid to 1/2 cup. Bake in a greased 10-cup Bundt pan for approximately 48 to 58 minutes.
- Gluten-free variation: For a gluten free chocolate cake recipe, substitute 210 g of a cup-for-cup flour blend containing xanthan gum. Rest the mixed batter for 10 minutes before baking so the flour hydrates.
- Dairy-free substitution: Use unsweetened soy or oat milk in place of regular milk and choose dairy-free frosting. The cake batter already uses oil rather than butter.
- Sour cream option: Replace 1/2 cup milk with 1/2 cup sour cream, then whisk in the remaining milk. This creates a slightly tighter, richer crumb.
Choosing the Right Variation
Choose the baker’s german chocolate cake recipe adaptation when you want a rich coconut-and-pecan finish. The chocolate bundt cake recipe is convenient for transport because it needs no stacking. The chocolate pound cake recipe variation has a closer, firmer crumb, while the gluten free chocolate cake recipe serves guests who avoid gluten.
Flavor Variations
- Orange chocolate: Add finely grated orange zest to the frosting rather than altering the cake batter.
- Raspberry chocolate: Spread a thin layer of seedless raspberry preserves beneath the frosting between the cooled layers.
- Mint chocolate: Flavor the frosting lightly with peppermint while keeping the measured vanilla in the cake.
- Mocha finish: Use hot coffee in the batter and pair the cake with coffee-flavored frosting.
These finishes preserve the structure of the original chocolate cake recipe without buttermilk. Keep additions out of the batter unless their effect on moisture and weight is known, because heavy mix-ins can settle or interfere with an even rise.
Pan-Size Conversions
- Two 8-inch rounds: Bake 28 to 34 minutes.
- Two 9-inch rounds: Bake 24 to 30 minutes; the layers will be thinner.
- One 9-by-13-inch pan: Bake 32 to 40 minutes.
- Twenty-four cupcakes: Fill liners about two-thirds full and bake 17 to 21 minutes.
- One 10- to 12-cup Bundt pan: Bake 42 to 52 minutes and do not fill beyond two-thirds full.
Times are guides rather than guarantees because pan material and oven accuracy affect baking. Always rely on the visual and temperature cues as well.
When preparing the chocolate bundt cake recipe version, coat every groove in the pan and dust it with cocoa rather than flour to avoid pale marks. The deeper pan requires a longer bake, so check several areas with a tester before removing it from the oven.
Make-Ahead, Storage, and Freezing
Store unfrosted layers tightly wrapped at room temperature for up to two days. A frosted cake can remain covered at cool room temperature for two days unless its frosting contains cream cheese, whipped cream, or another ingredient requiring refrigeration. Refrigerate those cakes promptly and let slices stand at room temperature for 20 to 30 minutes before serving.
For make-ahead preparation, cool layers fully, wrap each twice, and freeze for up to three months. Thaw them, still wrapped, in the refrigerator overnight; keeping the wrapping on prevents condensation from wetting the surface. Frost chilled layers within two days.
Chocolate cake generally does not need reheating. If you prefer a warm unfrosted slice, microwave it for 8 to 12 seconds, taking care not to dry it out.
Planning for a Celebration
Bake this chocolate cake recipe without buttermilk several days before an event, freeze the cooled layers, and move them to the refrigerator the night before decorating. Apply the crumb coat while the layers are cool, then add the final frosting and decorations once the cake is stable.
The same schedule works for the baker’s german chocolate cake recipe variation, although coconut-pecan filling should be cooled before assembly. Store the finished cake according to the needs of its frosting and filling, not only the cake layers.
Freezing Individual Slices
Chill frosted slices until the frosting is firm, wrap them carefully, and place them in a freezer-safe container. Thaw a slice in the refrigerator while wrapped, then bring it toward room temperature before eating. This protects the moist crumb and reduces damage to the decoration.
Serving Ideas
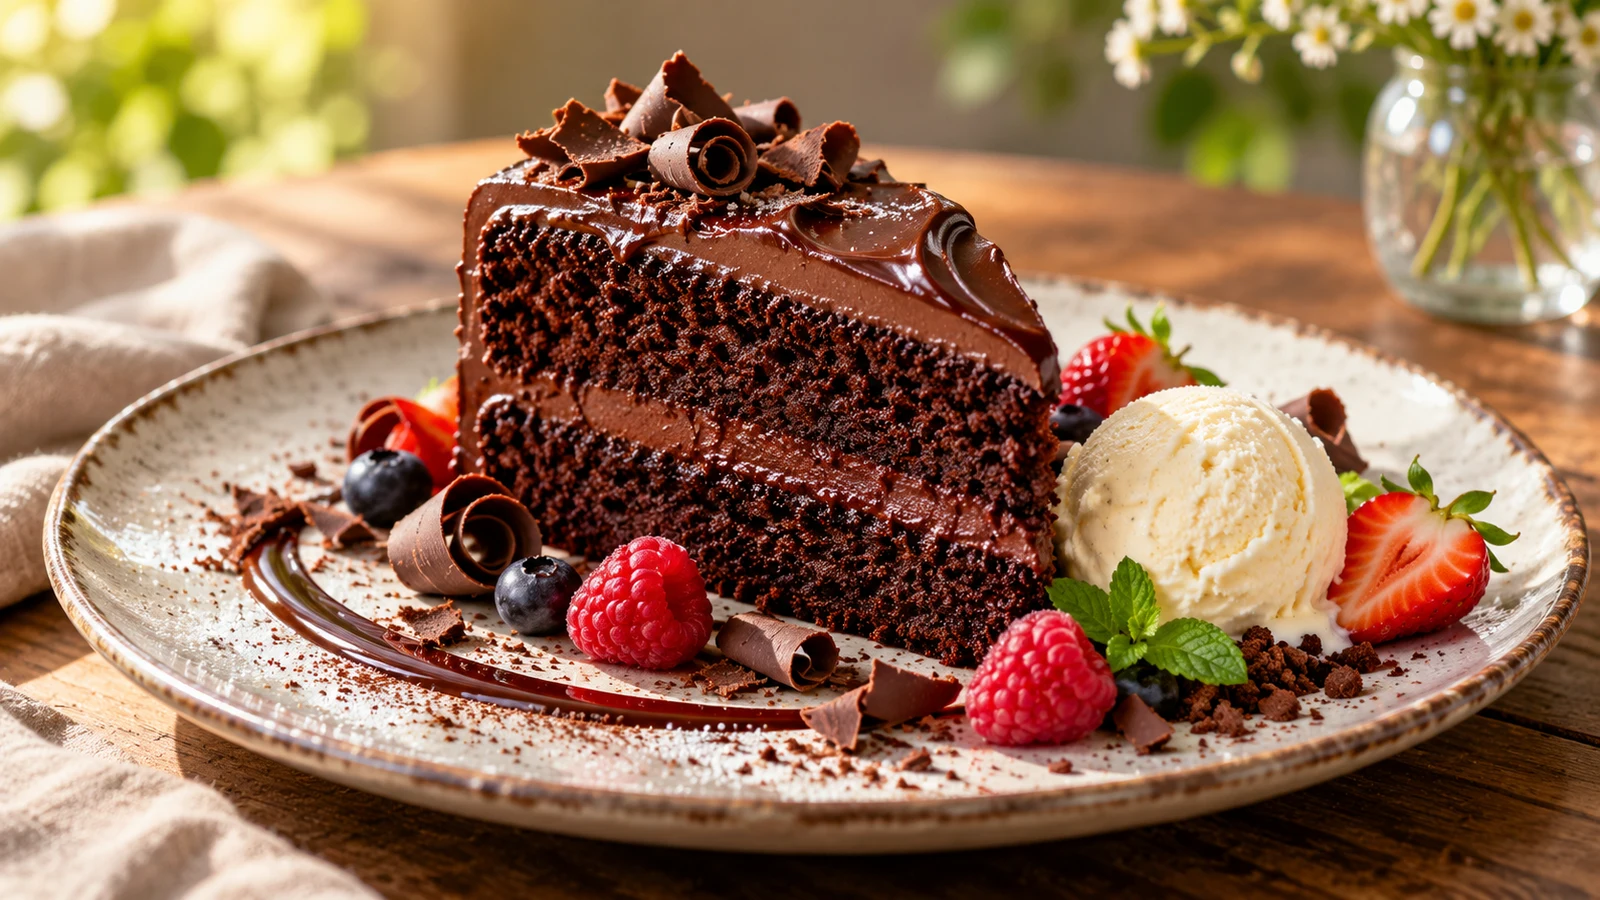
Serve slices with fresh raspberries, strawberries, vanilla ice cream, or lightly sweetened whipped cream. A pinch of flaky salt complements a rich chocolate frosting, while toasted nuts add welcome crunch.
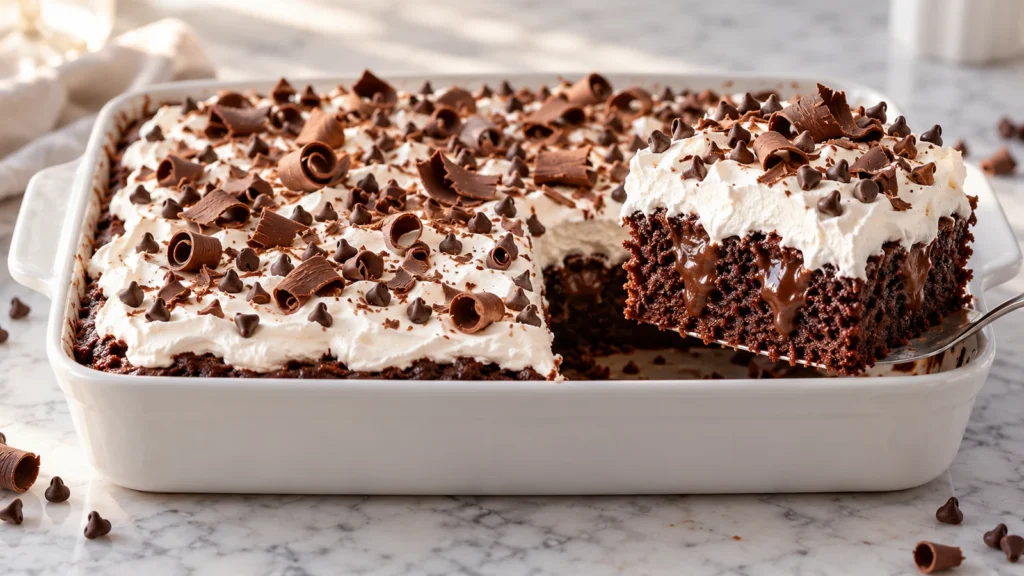
For a casual dessert, serve the chocolate cake recipe without buttermilk directly from a 9-by-13-inch pan with a simple layer of frosting. For birthdays, stack the round layers and add candles, piped frosting, or sprinkles. Small slices are satisfying when the cake is paired with a rich ganache.
The chocolate bundt cake recipe variation looks polished with a glaze flowing naturally down its ridges. A chocolate pound cake recipe style slice pairs well with coffee or tea, while the gluten free chocolate cake recipe can be served with fresh fruit for a balanced finish.
Frequently Asked Questions
Can I use water instead of milk in this chocolate cake recipe without buttermilk?
Yes, although the crumb will be slightly less rich. For a dairy-free result with better body, unsweetened soy milk is the closest practical substitute. Keep the quantity at 1 cup so the batter retains its intended consistency.
Why is the batter so thin?
The hot liquid hydrates and blooms the cocoa, producing a fluid batter that bakes into a moist crumb. Do not add extra flour to thicken it. The thin consistency is intentional and helps this chocolate cake recipe without buttermilk develop a soft, even crumb.
Can I prepare the batter in advance?
No. Once the wet and dry ingredients meet, the leaveners begin working. Bake the batter promptly, but prepare the unfrosted layers up to two days ahead or freeze them.
How can I prevent the cake from sticking?
Grease the pans, line their bottoms with parchment, and cool the layers for only 10 minutes before turning them out. Leaving cake in the pan until fully cold can encourage sticking.
Can I turn this into a baker’s german chocolate cake recipe?
Yes. Use natural cocoa, divide the batter between two 9-inch pans, and bake for 25 to 31 minutes. Once cool, fill and top the layers with coconut-pecan frosting. That finish gives the baker’s german chocolate cake recipe variation its familiar flavor and texture.
What pan should I use for a chocolate bundt cake recipe?
Use a 10- to 12-cup Bundt pan and never fill it beyond two-thirds full. Grease every detail, dust the pan with cocoa, and bake for 42 to 52 minutes. Cool the chocolate bundt cake recipe variation for 15 minutes before carefully inverting it.
Is this the same as a chocolate pound cake recipe?
No. Traditional pound cake usually has a denser crumb and relies heavily on butter. To create the listed chocolate pound cake recipe style, replace 1/2 cup milk with sour cream and reduce the hot liquid to 1/2 cup before baking it in a 10-cup Bundt pan.
How do I make a dependable gluten free chocolate cake recipe?
Replace the all-purpose flour with 210 g of a cup-for-cup blend that contains xanthan gum. Rest the finished batter for 10 minutes so the flour can hydrate, then bake as directed. Check that the cocoa, frosting, and decorations are also suitable when serving the gluten free chocolate cake recipe to someone with dietary restrictions.
Can I make cupcakes with this batter?
Yes. Divide the batter among 24 lined cups, filling each about two-thirds full, and bake for 17 to 21 minutes. Begin checking at the early end of the range because dark cupcake pans may bake more quickly.
Which cocoa powder gives the strongest flavor?
Dutch-process cocoa generally tastes smoother and creates a darker cake, while natural cocoa has a brighter, slightly sharper profile. Either works here. Choose a fresh cocoa powder whose flavor you enjoy, because it is the primary source of chocolate flavor.
Can I reduce the sugar?
The sugars provide moisture and tenderness as well as sweetness, so a significant reduction may create a drier or less stable crumb. For reliable results, retain the stated quantities and balance sweetness with a less-sweet frosting, berries, or a small pinch of flaky salt.
Printable Recipe Card
Prep time: 20 minutes
Bake time: 28–34 minutes
Cooling time: 1 hour
Servings: 12
Method: Heat the oven to 350°F (175°C) and prepare two 8-inch pans. Whisk 210 g flour, both sugars, 64 g cocoa, leaveners, and salt. Separately whisk eggs, milk, oil, and vanilla. Combine the mixtures, gradually add hot water or coffee, divide between pans, and bake until the centers reach 200–205°F (93–96°C). Cool for 10 minutes in the pans, then transfer to racks.
Estimated nutrition per unfrosted serving: 305 calories, 4 g protein, 46 g carbohydrate, 13 g fat, 2.5 g saturated fat, 35 mg cholesterol, 290 mg sodium, 2 g fiber, and 29 g sugar. Values vary by ingredients and frosting.
A Dependable Cake for Any Occasion
This adaptable chocolate cake recipe without buttermilk delivers a soft crumb, balanced cocoa flavor, and dependable results without specialty dairy. Follow the weight measurements and doneness cues, then finish it with your favorite frosting for an easy dessert suited to nearly any occasion.
Use the base recipe for classic layers or select the baker’s german chocolate cake recipe, chocolate bundt cake recipe, chocolate pound cake recipe, or gluten free chocolate cake recipe variation that best fits your gathering. Each option preserves the essential chocolate character while offering a different texture, presentation, or dietary solution.
There are no reviews yet. Be the first one to write one.
Reviews
Reader reviews are managed separately (outside this build).