Cake
Gluten Free Red Velvet Cake Recipe: Moist & Foolproof
Bake a moist gluten free red velvet cake recipe with gram measurements, flour-blend tips, tested steps, troubleshooting, and cream cheese frosting.
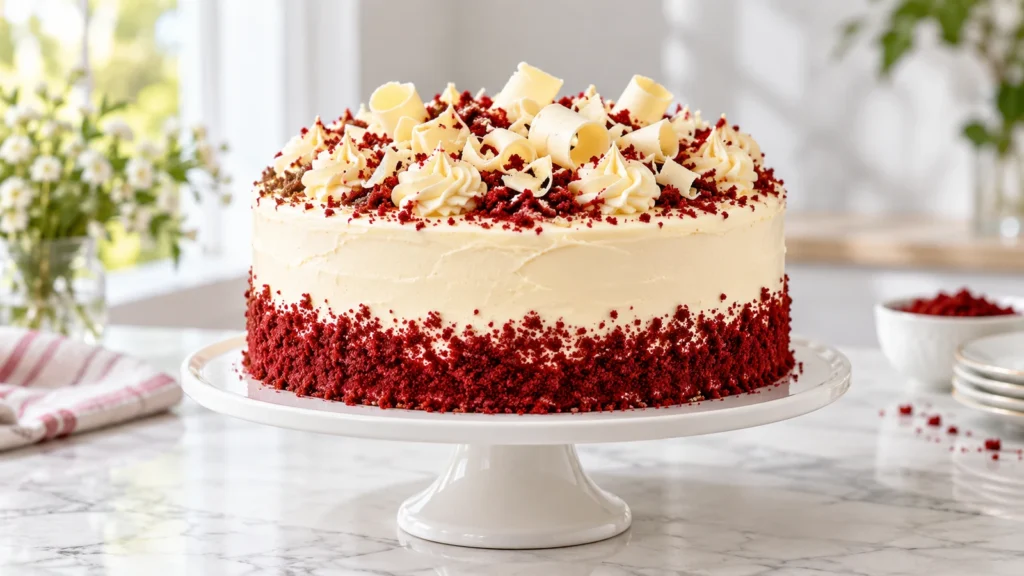
This gluten free red velvet cake recipe produces two moist, tender layers with a subtle cocoa flavor, a rich red crumb, and smooth cream cheese frosting. Precise measurements and reliable visual cues make it approachable even if you are new to gluten-free baking.
Buttermilk, vinegar, and oil keep the cake soft, while a balanced gluten-free flour blend provides enough structure without making the crumb heavy. Allow about 35 minutes for preparation, 30 minutes for baking, and 90 minutes for cooling and assembly.
The gluten free red velvet cake recipe is also easy to adapt for celebrations. You can bake classic layers, convert the batter to cupcakes, or use the pan options below while preserving its gentle cocoa flavor and tangy finish.
Table of Contents
Why You’ll Love This Gluten Free Red Velvet Cake Recipe
- Moist, tender crumb: Oil and buttermilk prevent dryness.
- Dependable structure: Gram measurements reduce common gluten-free baking problems.
- Classic flavor: Cocoa, vanilla, tangy dairy, and cream cheese remain balanced.
- Flexible format: The batter works for layers, cupcakes, or a Bundt cake.
- Make-ahead friendly: The cooled layers freeze well, making party preparation easier.
Equipment
- Two 9-inch round cake pans
- Parchment paper and nonstick spray
- Digital kitchen scale
- Two mixing bowls, whisk, and silicone spatula
- Electric mixer and wire cooling racks
A digital scale is especially valuable for this gluten free red velvet cake recipe because flour blends settle differently in their packages. If you do not own a scale, fluff the flour, spoon it lightly into the measuring cup, and level it without pressing.
Ingredients
- 2 1/2 cups (350 g) gluten-free 1-to-1 baking flour
- 1 3/4 cups (350 g) granulated sugar
- 2 tablespoons (12 g) natural unsweetened cocoa powder
- 1 teaspoon baking soda
- 3/4 teaspoon fine salt
- 1 cup (240 ml) cultured buttermilk, room temperature
- 3/4 cup (180 ml) neutral oil
- 3 large eggs, room temperature
- 2 teaspoons vanilla extract
- 1 teaspoon distilled white vinegar
- 1 to 1 1/2 teaspoons red gel food coloring
- For the frosting: 8 ounces (226 g) block-style cream cheese, cool
- 1/2 cup (113 g) unsalted butter, softened but not warm
- 3 1/2 cups (420 g) confectioners’ sugar, sifted
- 1 teaspoon vanilla extract and 1/8 teaspoon salt
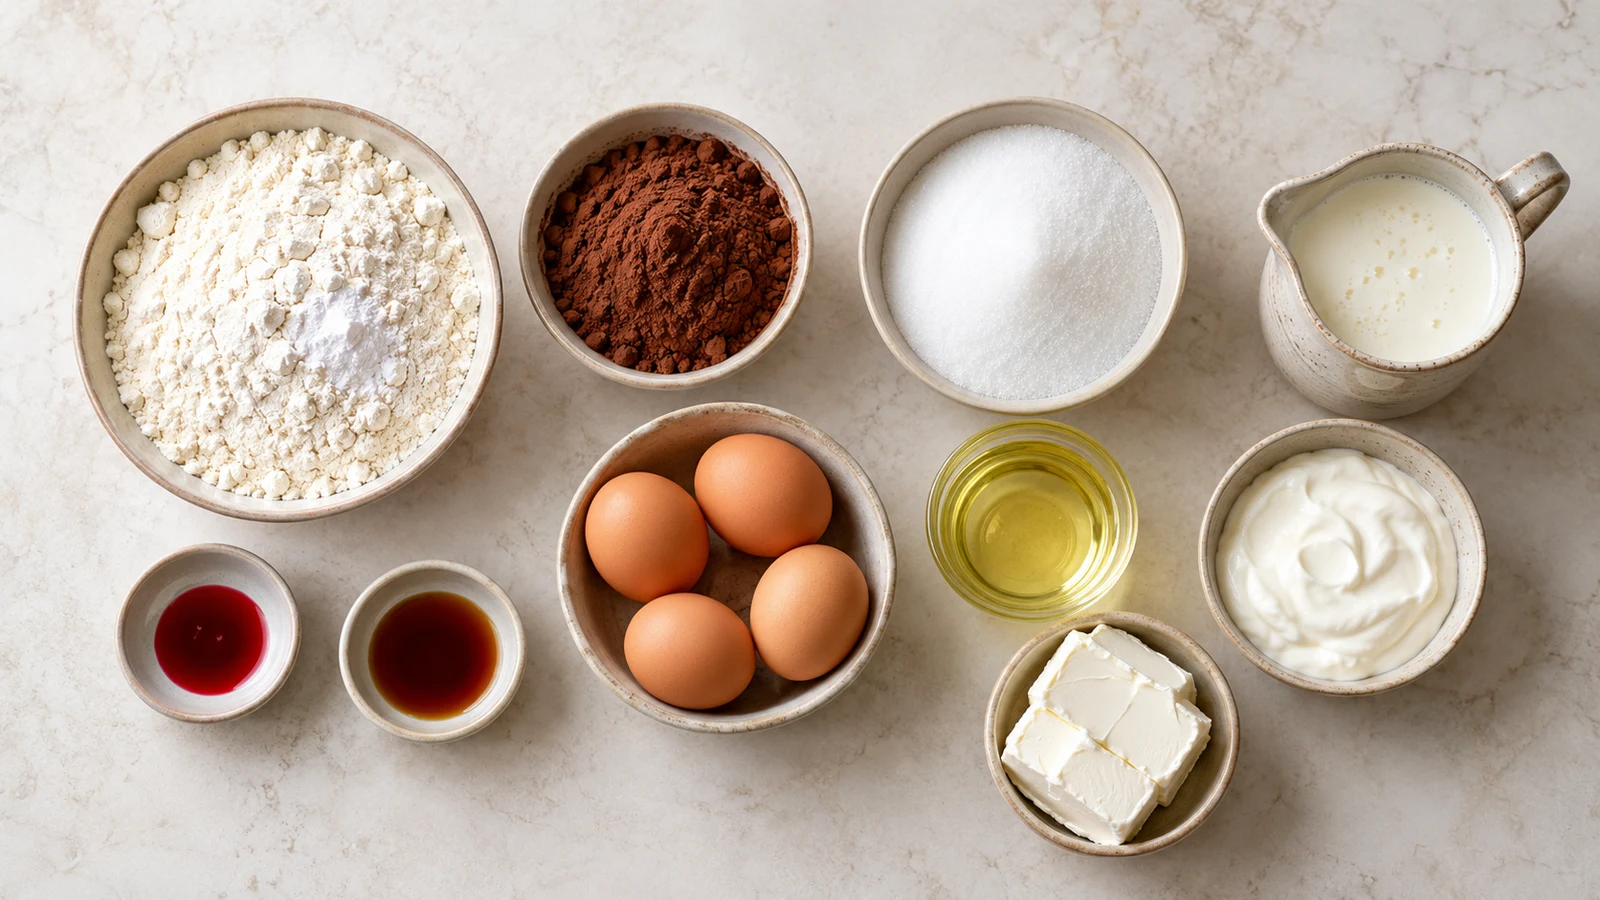
Ingredient Notes
Choose a gluten-free flour blend formulated to replace wheat flour cup for cup and containing rice flour, starches, and xanthan gum. If the blend has no binder, whisk in 3/4 teaspoon xanthan gum; adding more can create a gummy texture. The gluten-free baking guide offers useful background on flour blends and structure.
Natural cocoa is acidic and supports the cake’s traditional tang, while buttermilk and vinegar help activate the baking soda. Cocoa makes the red shade deeper and slightly muted. Concentrated gel coloring creates brighter color without thinning the batter; natural beet-based products generally produce a softer burgundy shade.
Use a neutral oil such as canola, vegetable, or grapeseed oil. Strongly flavored oils can overwhelm the vanilla and cocoa. Full-fat cultured buttermilk provides the most rounded flavor, although the dairy-free substitution below is useful when needed.
Block-style cream cheese is important for the red velvet cake frosting recipe because spreadable cream cheese contains more moisture. Keep the cream cheese cool and allow the butter to soften only until it yields gently to pressure.
How to Make This Gluten Free Red Velvet Cake Recipe
- Prepare the pans: Heat the oven to 350°F (175°C). Grease two 9-inch round pans, line their bottoms with parchment, and lightly grease the paper.
- Combine the dry ingredients: Whisk the flour, sugar, cocoa, baking soda, and salt thoroughly. Break up every cocoa lump to prevent dark streaks and uneven color.
- Mix the wet ingredients: In another bowl, whisk the buttermilk, oil, eggs, vanilla, vinegar, and coloring until completely uniform.
- Make the batter: Add the wet mixture to the dry ingredients. Whisk just until no flour pockets remain, then scrape the bowl with a spatula. The batter should pour in a thick, steady ribbon.
- Fill the pans: Divide the batter evenly, about 760 g per pan, and smooth the tops. Tap each pan once on the counter to release large air pockets.
- Bake: Bake for 27 to 32 minutes. The layers are ready when their centers spring back lightly, the edges begin pulling from the pans, and a toothpick returns with a few moist crumbs but no wet batter.
- Cool: Rest in the pans for 15 minutes, turn onto racks, remove the parchment, and cool completely for about 60 minutes before frosting.
Begin checking both pans at 27 minutes, particularly if your oven runs hot or you use dark metal pans. The layers may finish a minute or two apart. Removing each one when it is ready protects the soft texture that distinguishes this gluten free red velvet cake recipe.
Red Velvet Cake Frosting Recipe
Beat the butter for 90 seconds until creamy. Add the cool cream cheese and mix on medium-low only until smooth. Add confectioners’ sugar in three additions, followed by vanilla and salt, then beat briefly until spreadable. Overbeating or using warm ingredients loosens cream cheese frosting and can make it slip.
This red velvet cake frosting recipe should hold soft swirls while remaining easy to spread. If it feels loose, refrigerate it for 15 to 20 minutes. If it is too firm, let it stand briefly at room temperature and stir by hand instead of adding liquid.
Assembly and Garnish
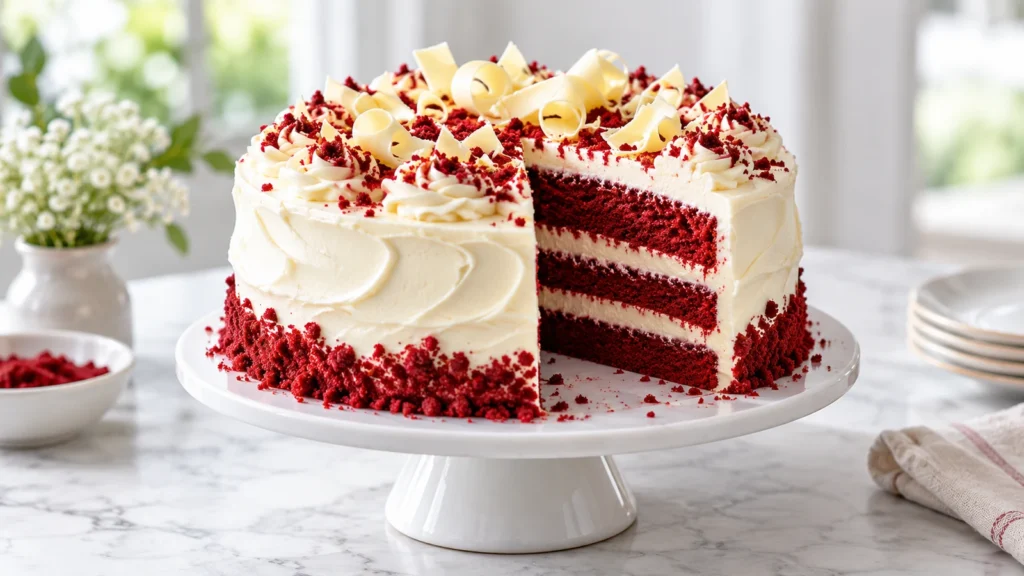
Place one cooled layer on a serving plate and spread about 1 cup frosting over it. Add the second layer, apply a thin crumb coat, and chill for 20 minutes. Cover with the remaining frosting and garnish with reserved cake crumbs, chocolate curls, or fresh raspberries.
For neat slices, chill the assembled cake until the frosting is set, then use a long sharp knife. Wipe the blade clean between cuts. Let each slice lose its refrigerator chill before serving so the crumb tastes tender and the red velvet cake frosting recipe has a creamy texture.
Expert Tips for Consistent Results
- Read the flour label: A 1-to-1 blend designed for baking gives this gluten free red velvet cake recipe the most predictable structure.
- Weigh the flour: Scooping can pack too much into a cup and cause a dry cake.
- Use room-temperature cake ingredients: Eggs and buttermilk combine more evenly with the oil and help create a uniform crumb.
- Check the coloring strength: Gel brands vary, so begin with the stated amount and assess the batter before adding more.
- Mix with restraint: Stop once the flour disappears. Excess mixing can make a xanthan-gum batter unusually elastic.
- Bake promptly: Do not let mixed batter stand for long because the baking soda begins reacting as soon as the wet and dry mixtures meet.
- Cool completely: Even slight warmth can soften the frosting and pull crumbs from the surface.
- Prevent cross-contact: Verify every label and use clean pans, tools, and work surfaces. The FDA explains what products labeled gluten-free must mean.
How to Measure Color and Cocoa
Measure cocoa level rather than heaped because too much will darken the crumb and dominate the delicate flavor. Add the gel coloring to the wet mixture, where it disperses most evenly. The finished batter should look slightly brighter than the baked cake will appear.
How to Keep the Layers Level
Divide the batter by weight and place both pans on the same oven rack with space between them. If your oven has a strong hot spot, rotate the pans once near the end of baking, after the centers have set. Avoid opening the door during the early rise.
Variations and Substitutions
For dairy-free cake layers, replace buttermilk with 1 cup unsweetened soy or almond milk mixed with 1 tablespoon lemon juice. Use plant-based block butter and dairy-free cream cheese for the frosting. Liquid coloring works in a pinch, but may require more product; review the FDA’s overview of color additives when choosing one.
Do not replace the eggs without expecting a change in structure. They bind the gluten-free crumb, contribute moisture, and support the layers. If an egg-free cake is required, use a substitute developed for baking and test the cake before preparing it for an important event.
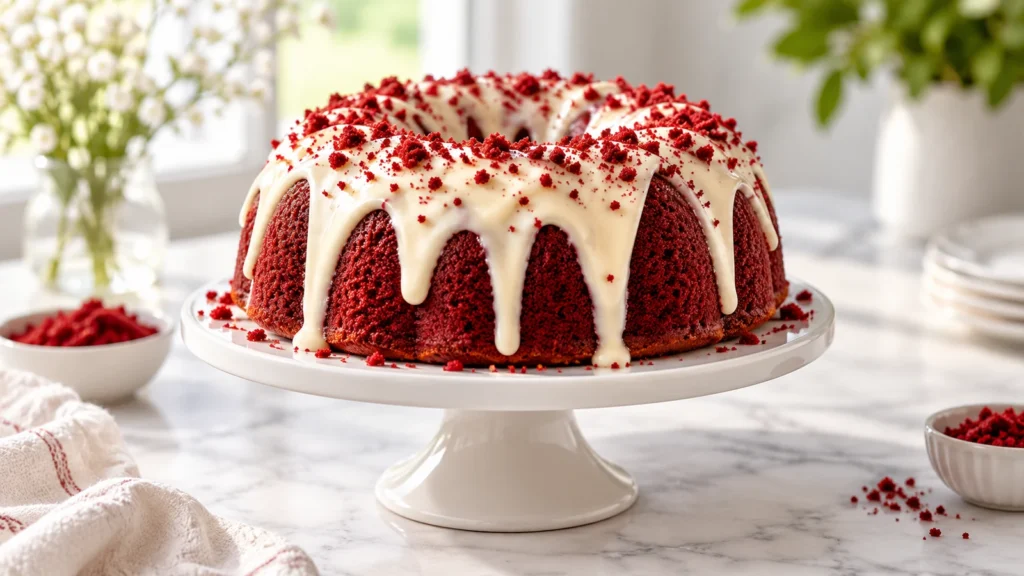
Red Velvet Bundt Cake Recipe
Pour the batter into a thoroughly greased 10- to 12-cup Bundt pan and bake at 350°F (175°C) for 45 to 55 minutes. Cool for 15 minutes before turning it out. See this red velvet Bundt cake recipe for format-specific guidance.
A red velvet bundt cake recipe benefits from especially careful pan preparation because detailed ridges can trap the cake. Brush every recess with grease, then inspect the pan before adding batter. Serve it with the same frosting or use a lighter drizzle that follows the contours.
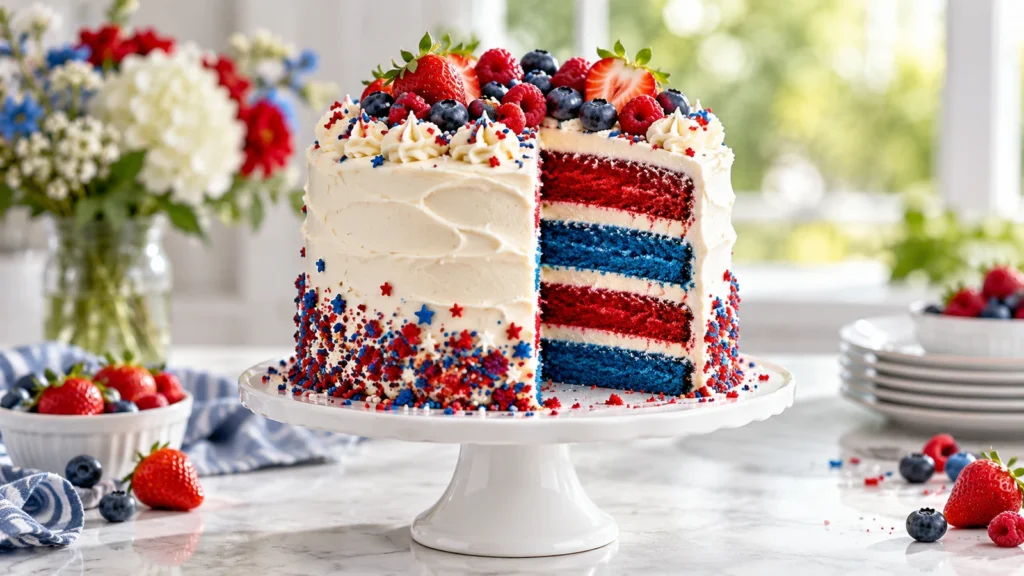
Blue Red Velvet Cake Recipe
Replace red coloring with navy or royal-blue gel, understanding that cocoa will create a deep blue-gray tone rather than a bright sky blue. For color and decorating ideas, use this blue red velvet cake recipe.
When making a blue red velvet cake recipe, blend the coloring into the wet ingredients before combining the batter. A tiny test portion can help you judge the shade, but remember that the color will deepen slightly as the cake bakes.
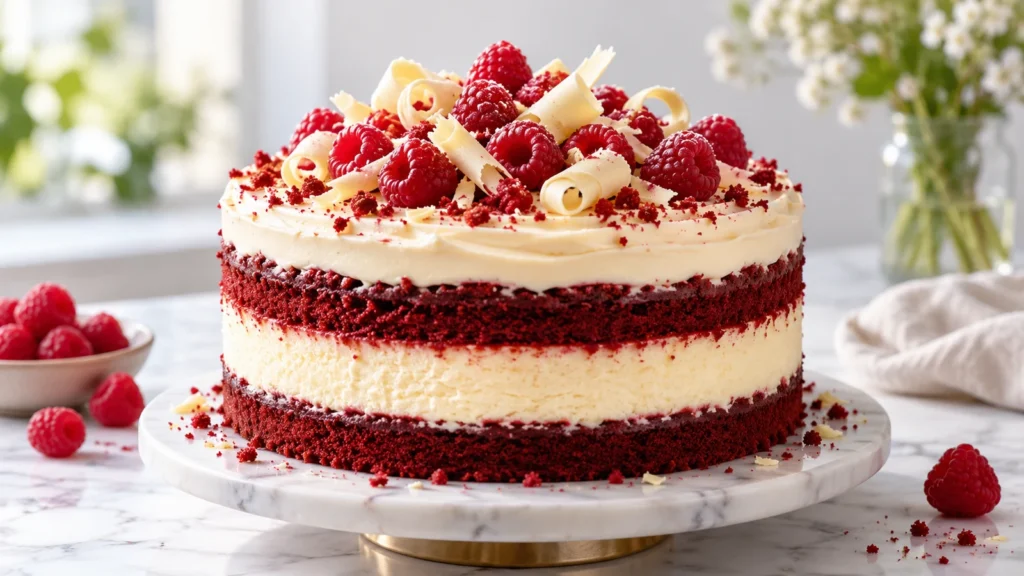
Cheesecake and Red Velvet Cake Recipe
Add a fully chilled cheesecake layer between the cakes, using a thin coating of frosting to secure each side. Detailed timing and assembly are available in this cheesecake and red velvet cake recipe.
A cheesecake and red velvet cake recipe requires more chilling time than a standard layer cake. Keep the cheesecake layer cold during assembly, center it carefully, and refrigerate the finished cake before cutting so the three layers remain aligned.
Cupcakes and Pan Conversions
For 24 cupcakes, fill lined wells two-thirds full and bake for 18 to 22 minutes. You may also use one 9-by-13-inch pan and bake for 32 to 38 minutes, or three 8-inch pans and begin checking at 22 minutes. Never fill a pan more than two-thirds full.
For cupcakes, use a spring-loaded scoop to distribute the batter evenly. Cool them completely before piping the red velvet cake frosting recipe on top. Store frosted cupcakes in the refrigerator and bring them toward room temperature before serving.
Make-Ahead Plan for Stress-Free Baking
You can spread this gluten free red velvet cake recipe across several days. Bake the layers first, cool them completely, wrap them twice, and refrigerate for up to two days. Slightly chilled layers are easier to level, stack, and crumb-coat than freshly cooled ones.
Prepare the red velvet cake frosting recipe one day ahead and refrigerate it in a covered container. Before decorating, let it soften just enough to become workable, then mix briefly on low speed or stir by hand. Avoid prolonged whipping because it can loosen the cream cheese.
For longer preparation, freeze the wrapped layers for up to three months. Thaw them overnight in the refrigerator while still wrapped so condensation forms on the wrapping rather than the cake. Assemble only after the layers have thawed evenly.
Troubleshooting This Gluten Free Red Velvet Cake Recipe
- Gummy crumb: Check whether the flour already contains xanthan gum, measure accurately, and bake until the center is set.
- Dry cake: Avoid excess flour, overbaking, or substituting butter for oil.
- Sinking layers: Use fresh baking soda, avoid opening the oven early, and confirm doneness in the center.
- Dense batter: Bring cold ingredients to room temperature and verify that the flour blend is intended for cakes.
- Uneven color: Sift lumpy cocoa and blend the coloring completely into the wet ingredients.
- Slipping frosting: Cool the layers fully and chill a soft crumb coat before finishing.
- Large holes: Do not beat excessive air into the batter, and tap the filled pans once before baking.
- Crumbly slices: Allow the cake to cool fully, chill it briefly after assembly, and cut with a sharp clean knife.
Why Did the Cake Turn Brown?
Cocoa naturally softens the bright red appearance, and some natural colorings fade under heat. Confirm that you used natural cocoa in the stated amount and a baking-safe gel color. Omitting the coloring changes only the appearance, not the essential flavor of the cake.
Why Is the Frosting Runny?
Warm butter, spreadable cream cheese, or prolonged beating can loosen a red velvet cake frosting recipe. Use block cream cheese, keep it cool, and mix only until smooth. Chill soft frosting briefly before assembly rather than adding extra sugar immediately.
Why Are the Layers Sticking?
Grease the pans, line the bottoms with parchment, and grease the paper lightly. Rest the baked layers for 15 minutes before turning them out. A much longer rest may allow the sugary edges to adhere as the cakes cool.
Serving Ideas
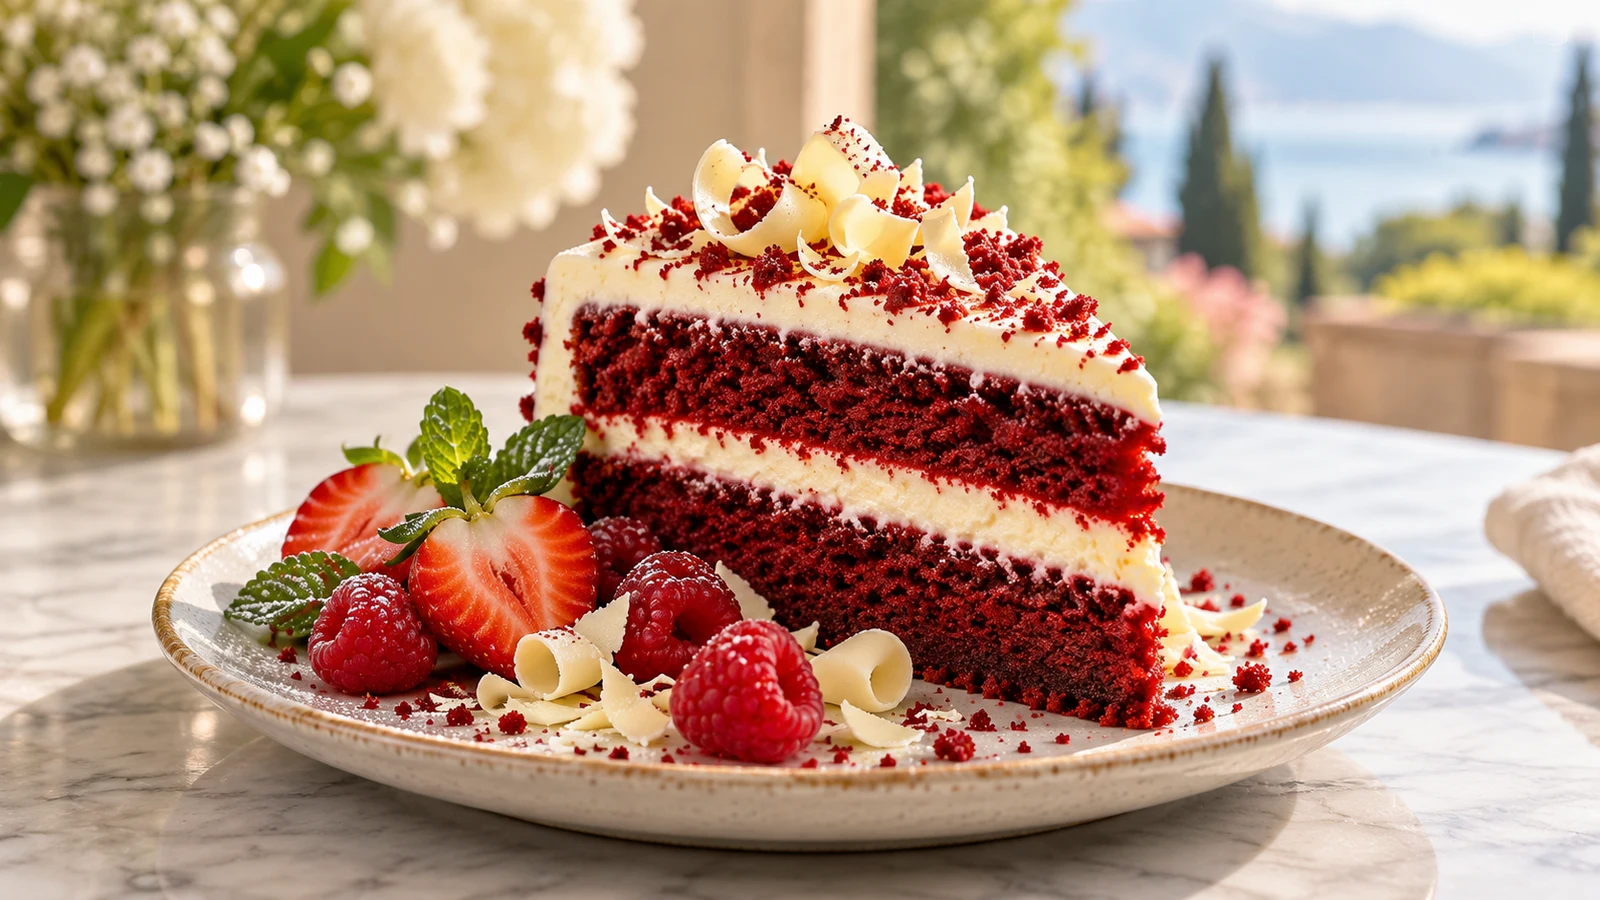
Serve the cake with fresh raspberries or strawberries, which complement the tangy frosting without overpowering the cocoa. A few chocolate curls add contrast, while reserved red crumbs create a classic finish. Keep garnishes simple so the layered interior remains the centerpiece.
For birthdays, add candles after the frosting has chilled. For an afternoon gathering, pair modest slices with coffee or black tea. A cheesecake and red velvet cake recipe makes a richer celebration option, while the standard layer cake is easier to portion for a larger group.
If you prefer a more casual presentation, choose the red velvet bundt cake recipe variation and spoon frosting over the top. For a themed party, the blue red velvet cake recipe offers a dramatic color change without altering the basic cocoa-and-vanilla flavor profile.
How to Store and Reheat
Because of the cream cheese frosting, keep the assembled cake covered in the refrigerator for up to four days. For the softest texture, let individual slices stand at room temperature for 20 to 30 minutes; reheating is unnecessary.
Unfrosted layers can be wrapped twice and frozen for up to three months. Freeze frosted slices until firm, wrap them individually, and store for up to one month. Thaw overnight in the refrigerator. The layers may be baked two days ahead and refrigerated, while the frosting can be prepared one day ahead and briefly remixed before use.
Store cut cake with plastic wrap pressed against the exposed sides or place it in a snug covered container. This reduces moisture loss and prevents refrigerator odors from affecting the delicate flavor. Return leftovers to the refrigerator within two hours of serving.
Frequently Asked Questions
Can I omit the food coloring from this gluten free red velvet cake recipe?
Yes. The flavor will remain balanced, but the cake will be cocoa-brown with a faint reddish cast rather than vivid red. The vinegar, buttermilk, vanilla, and cocoa still provide the recognizable red velvet flavor.
Why does my cake taste gritty?
Some rice-based blends need time to hydrate. Let the measured buttermilk and flour mixture rest only five minutes before baking, and choose a finely milled blend. Do not extend the rest because this batter relies on prompt baking for its rise.
Can I use Dutch-process cocoa?
Natural cocoa is preferred because its acidity suits this formula. Dutch-process cocoa can darken the cake and alter the rise, so it is not a direct substitution here.
How do I prevent gluten cross-contact?
Use certified or clearly labeled ingredients, clean the work area, and avoid shared sifters, mixers, pans, and decorating tools that retain wheat flour. Check decorating ingredients and confectioners’ sugar as well as the main flour blend.
Can I make the gluten free red velvet cake recipe without a mixer?
The cake batter can be whisked by hand. An electric mixer is most useful for smoothing the butter and cream cheese in the frosting. If mixing the frosting by hand, make sure the butter is properly softened and sift the confectioners’ sugar first.
Can I turn it into a red velvet bundt cake recipe?
Yes. Use a thoroughly greased 10- to 12-cup Bundt pan and bake at 350°F (175°C) for 45 to 55 minutes. Let it cool for 15 minutes before carefully turning it out onto a rack.
Does a blue red velvet cake recipe taste different?
No. Changing the gel color does not need to change the cocoa, vanilla, or tangy dairy flavors. The blue red velvet cake recipe will have a deep blue-gray crumb because cocoa influences the final shade.
How is a cheesecake and red velvet cake recipe assembled?
Place a fully chilled cheesecake layer between two cooled cake layers, using a thin coating of frosting on each side to prevent sliding. Chill the assembled cake before applying the final coat and before slicing.
Can I reduce the sugar in the red velvet cake frosting recipe?
Reducing the confectioners’ sugar will make the frosting softer and less stable. For a less sweet serving, apply a thinner outer coat rather than changing the listed proportions, especially when the cake must stand upright for a celebration.
How do I know when the layers are fully baked?
Look for centers that spring back lightly, edges beginning to pull from the pans, and a toothpick carrying a few moist crumbs without wet batter. Use all three signs because baking time varies with pan color and oven accuracy.
Can I double this gluten free red velvet cake recipe?
Yes, but mix separate batches for the most dependable rise and even distribution. Prepare enough pans before starting, bake the batter promptly, and leave space around each pan for hot air to circulate.
Recipe Card
Yield: One two-layer 9-inch cake, 12 servings. Preparation: 35 minutes. Baking: 27 to 32 minutes at 350°F (175°C). Cooling and assembly: About 90 minutes. Total time: About 2 hours 35 minutes.
Method: Prepare the pans; combine the dry ingredients; whisk the wet ingredients; mix together; divide between pans; bake until springy and set; cool completely; frost and assemble.
Estimated nutrition per serving: 610 calories, 78 g carbohydrate, 6 g protein, 32 g fat, 11 g saturated fat, 90 mg cholesterol, 390 mg sodium, and 55 g sugar. Values vary by flour blend, coloring, frosting thickness, and brands.
Notes: Use a blend containing xanthan gum or add 3/4 teaspoon. Weigh 350 g flour for consistent texture. Keep ingredients labeled gluten-free and protect them from cross-contact.
A Reliable Cake for Any Celebration
This gluten free red velvet cake recipe combines classic cocoa, vanilla, buttermilk, and cream cheese flavors with a practical gluten-free method. Careful weighing, prompt baking, complete cooling, and restrained mixing are the keys to a moist crumb and stable finish.
Once you are comfortable with the base cake, try the red velvet bundt cake recipe for simple presentation, the blue red velvet cake recipe for a themed event, or the cheesecake and red velvet cake recipe for an especially rich centerpiece. Whichever format you choose, use the red velvet cake frosting recipe only after every layer is completely cool.
Reviews
Reader reviews are managed separately (outside this build).