Cake
Stunning Blue Red Velvet Cake Recipe for Joyful Parties
Try this blue red velvet cake recipe for moist, vivid layers, precise gel-color guide, creamy frosting, and party decorating without purple tones.
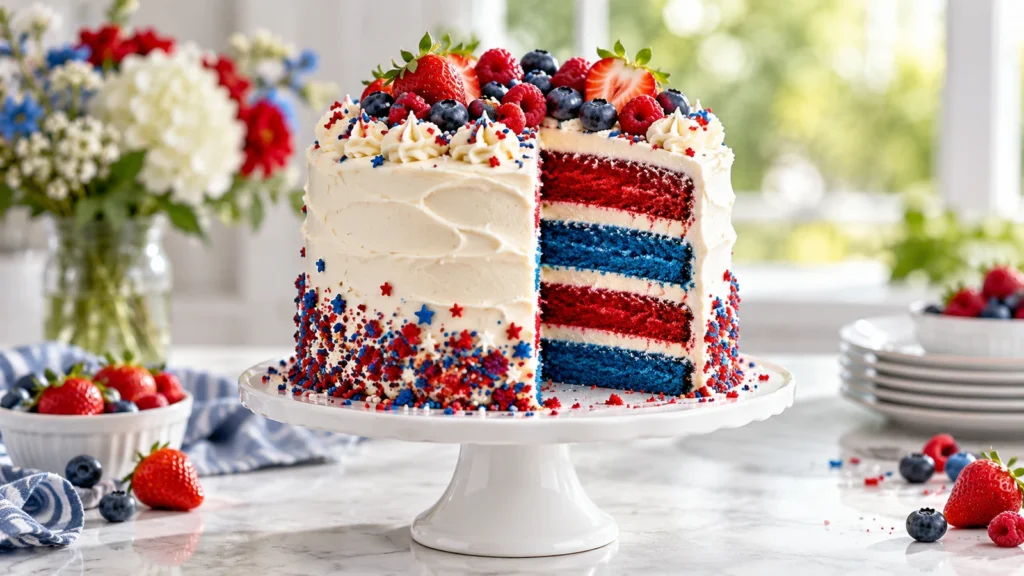
This blue red velvet cake recipe creates striking red and blue layers with a soft cocoa crumb and tangy cream cheese frosting. Precise gel-color measurements keep the shades vivid, while careful mixing prevents the batter from turning muddy purple.
The recipe makes one three-layer 8-inch cake, serving 12. Allow 35 minutes for preparation, 24–28 minutes for baking, 2 hours for cooling, and 45 minutes for assembly—about 3 hours 45 minutes total. This blue red velvet cake recipe is especially useful for patriotic celebrations, birthdays, and any occasion that calls for dramatic slices.
Table of Contents
Why You’ll Love This Recipe
- Bright, clearly defined red and blue layers
- Tender buttermilk cake with a mild cocoa flavor
- Reliable visual cues for checking doneness
- Make-ahead components for easier party preparation
- Options for layered, marbled, Bundt, and gluten-free cakes
Unlike a heavily flavored chocolate cake, this blue red velvet cake recipe uses just enough cocoa to add depth without hiding the colors. Oil supplies lasting moisture, butter contributes flavor, and buttermilk creates the familiar red velvet tang.
Ingredients
- 2 3/4 cups (330 g) all-purpose flour, spooned and leveled
- 2 tablespoons (10 g) natural unsweetened cocoa powder
- 1 teaspoon baking soda
- 1/2 teaspoon fine salt
- 1/2 cup (113 g) unsalted butter, softened
- 1 3/4 cups (350 g) granulated sugar
- 1/2 cup (120 ml) neutral vegetable oil
- 3 large eggs, at room temperature
- 2 teaspoons vanilla extract
- 1 cup (240 ml) buttermilk, at room temperature
- 1 teaspoon distilled white vinegar
- 1 1/2 teaspoons red gel food coloring
- 1 teaspoon royal-blue gel food coloring
- 16 ounces (454 g) full-fat block cream cheese, softened but cool
- 1 cup (226 g) unsalted butter, softened
- 5 cups (600 g) confectioners’ sugar, sifted
- 2 teaspoons vanilla extract
- 1/4 teaspoon salt
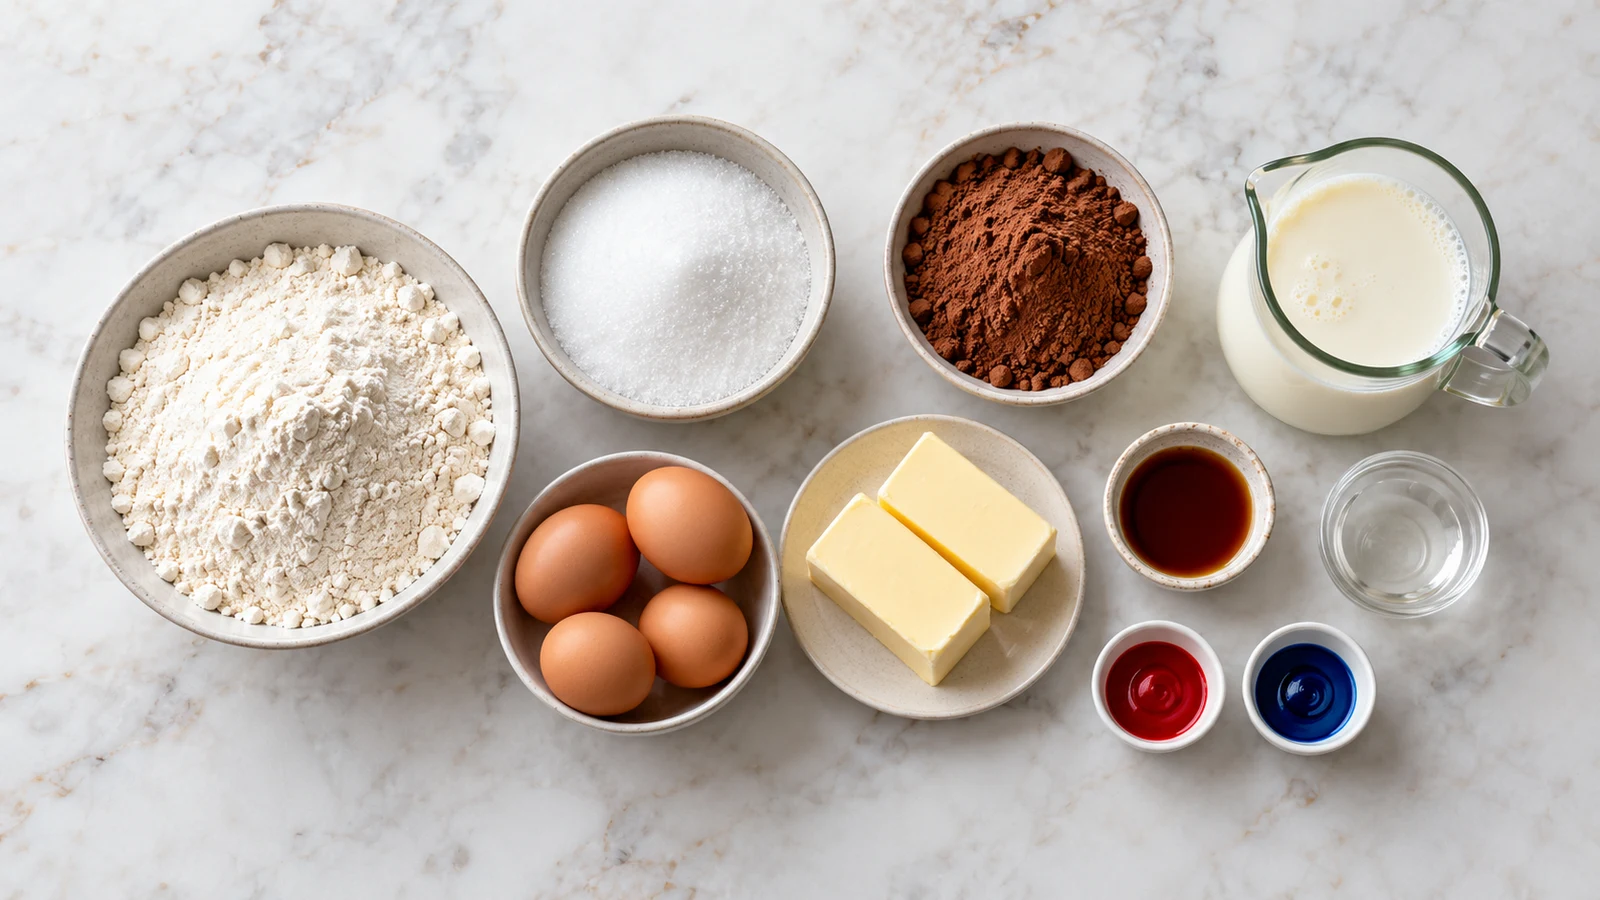
Ingredient Notes for Better Flavor and Texture
Natural unsweetened cocoa is the right choice because its acidity works with the baking soda and supports the characteristic flavor. Dutch-process cocoa has a different acidity and may make the crumb darker, so it is not the best direct substitution in this blue red velvet cake recipe.
Full-fat block cream cheese produces a stable coating. Tub-style cream cheese contains more water and can make a red velvet cake frosting recipe too loose for defined layers. Let the block soften slightly, but keep it cooler than the butter before mixing.
Room-temperature eggs and buttermilk blend more evenly with the butter mixture. If they are cold, the batter can look curdled. The cake may still bake, but its crumb is less likely to be uniformly tender. Set them out briefly while preparing the pans rather than warming them aggressively.
Equipment
Use three 8-inch round pans, parchment paper, mixing bowls, an electric mixer, a kitchen scale or measuring cups, two rubber spatulas, a cooling rack, and an offset spatula. Two pans can be reused in batches; keep the unbaked batter at room temperature and bake it promptly.
A kitchen scale is particularly helpful for this blue red velvet cake recipe because equal batter weights create layers of matching thickness. Light-colored metal pans give the most predictable edges. Dark pans absorb more heat, so begin checking early if they are your only option.
How to Make This Blue Red Velvet Cake Recipe
- Prepare the pans: Heat the oven to 350°F (175°C). Grease three 8-inch pans, line their bottoms with parchment, and lightly grease the paper.
- Combine the dry ingredients: Whisk the flour, cocoa powder, baking soda, and salt. All ingredients should be near room temperature so the batter emulsifies smoothly. For a softer crumb, review this comparison of cake flour and all-purpose flour.
- Mix the batter: Beat the butter and sugar for 3 minutes, until pale and fluffy. Beat in the oil, then add the eggs one at a time. Mix in the vanilla. On low speed, add the dry mixture in three additions, alternating with buttermilk in two additions. Stir in the vinegar just until combined.
- Divide and color: Weigh the batter and divide it equally among three bowls. Leave one portion red by mixing in 3/4 teaspoon red gel. Color the second with the remaining 3/4 teaspoon red gel and the third with 1 teaspoon royal-blue gel. Use separate spatulas and stop mixing as soon as each color is even.
- Bake: Transfer each color to its own pan. Bake for 24–28 minutes. The cakes are ready when their tops spring back after a light touch, the edges begin pulling from the pans, and a center toothpick carries a few moist crumbs but no wet batter.
- Cool: Rest the layers in their pans for 10 minutes, then turn them onto a rack and remove the parchment. Cool completely for about 90 minutes.
- Make the frosting: Beat the butter for 2 minutes. Add confectioners’ sugar gradually, followed by vanilla and salt. Add the cream cheese in chunks and beat on low only until smooth. Chill for 15–20 minutes if it becomes soft.
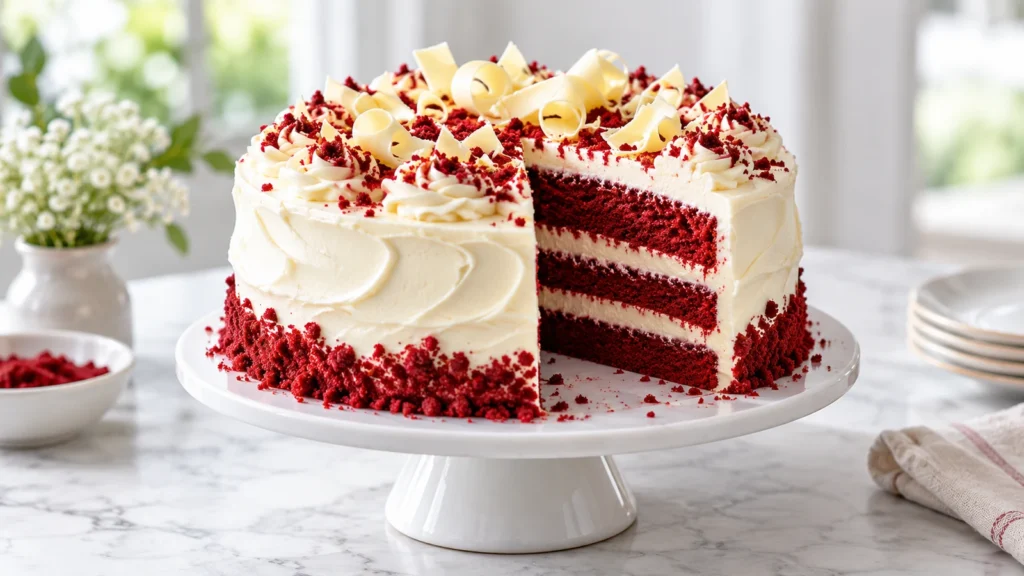
- Assemble: Level domed cakes if necessary. Stack a red layer, the blue layer, and the second red layer with about 3/4 cup frosting between each. Apply a thin crumb coat, chill for 20 minutes, then cover with the remaining frosting.
- Decorate: Finish with red and blue sprinkles, piped frosting, or reserved cake crumbs. Chill for 30 minutes before slicing with a hot, dry knife for neat layers.
Expert Tips for the Best Results
- Use concentrated gel food coloring; watery liquid color can thin the batter and produce dull shades.
- Keep the colored batters separate, and wash tools between bowls. Combining red and blue too aggressively creates purple or gray streaks.
- Do not overmix after adding flour. Stop when the final pale streak disappears.
- If frosting is loose, chill it rather than adding excessive sugar. If too firm, let it stand for 10 minutes and mix briefly.
- Avoid assembling warm layers, using spreadable cream cheese, or cutting the cake immediately after frosting.
Measure Before You Begin
Weighing flour prevents a dry cake, while weighing the finished batter makes the layers even. Prepare three clean bowls and separate spatulas before opening the gel colors. This small setup step makes the blue red velvet cake recipe easier to execute without accidental streaking.
Mix Only Until Combined
Cream the butter and sugar for the stated time to build a light base, but use low speed after the flour is introduced. Excess mixing strengthens gluten and can make the layers firm or rubbery. Scrape the bowl between additions so no hidden pockets of flour remain.
Control the Cake Temperature
Cool layers completely before trimming or frosting. Slightly chilled layers shed fewer crumbs and are easier to align, but frozen-solid layers can create condensation beneath the coating. A successful red velvet cake frosting recipe also depends on cool cake and frosting that holds a soft peak.
Protect the Colors
Use clean utensils for each bowl and avoid transferring drips between pans. Gel color deepens slightly during baking, so judge the raw batter by its evenness rather than trying to make it excessively dark. These habits preserve the clear contrast that defines a blue red velvet cake recipe.
Variations and Substitutions
For a marbled cake, prepare equal red and blue batters, spoon alternating dollops into each pan, and make only two gentle figure-eight passes with a skewer. Leaving visible blocks of color prevents a muddy purple result. Natural colors such as beet and butterfly-pea powders are less intense and can shift when exposed to cocoa, acid, and heat.
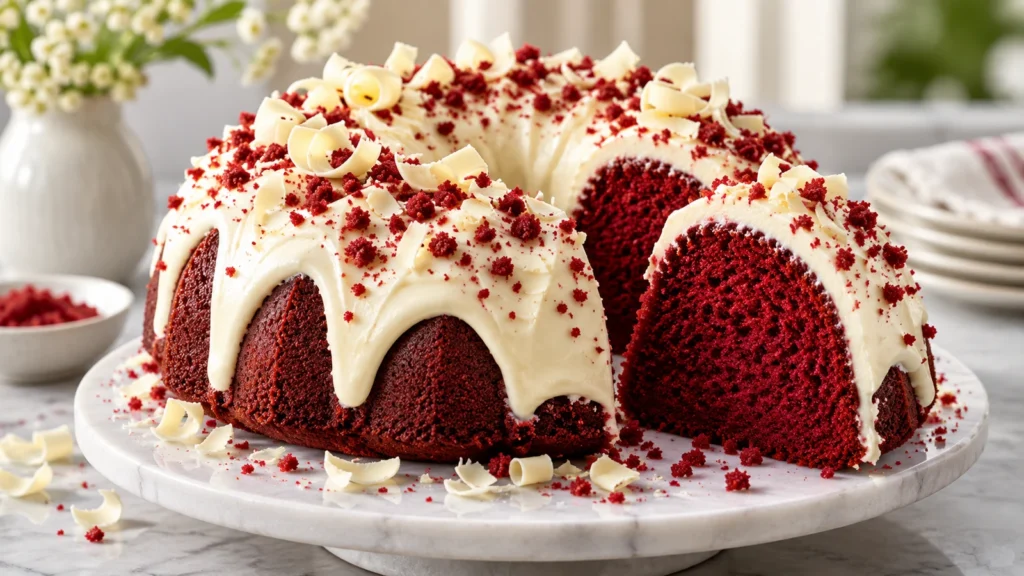
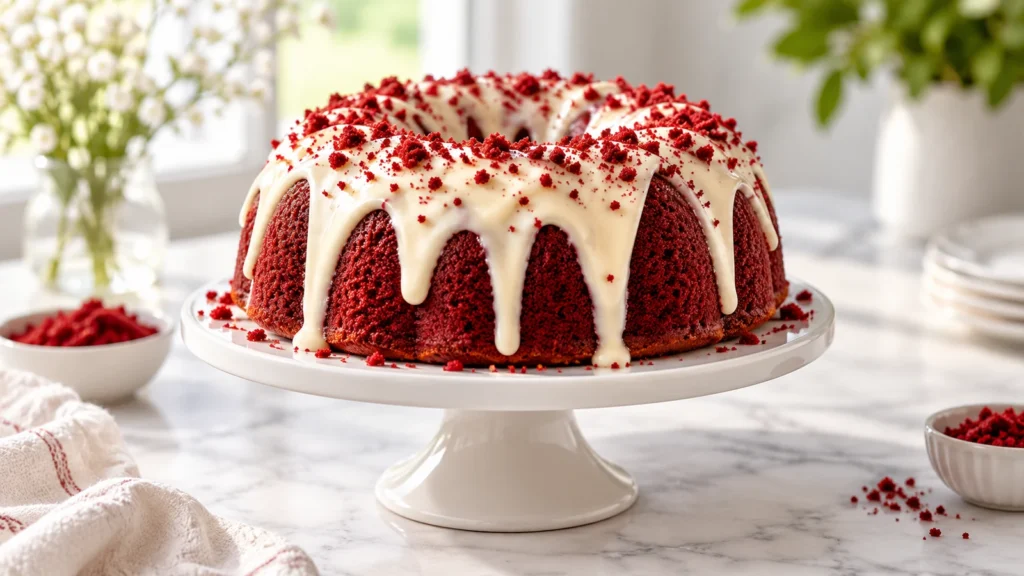
Red velvet bundt cake recipe
Pour alternating spoonfuls into a well-greased 10- to 12-cup Bundt pan without swirling heavily. Bake at 350°F (175°C) for 45–55 minutes. For more preparation guidance, see this detailed Bundt cake method.
For a clean release, brush softened butter into every ridge and dust the pan lightly with flour just before filling it. Let the baked cake settle before turning it out. This red velvet bundt cake recipe can be finished with a thinner cream cheese drizzle instead of a thick layer coating.
Cheesecake and red velvet cake recipe
Place a chilled 8-inch baked cheesecake between two cooled cake layers, using a thin frosting layer on each side to secure it. This rich variation needs overnight refrigeration before clean slicing.
Keep the cheesecake level and fully chilled so it does not compress or slide. A cheesecake and red velvet cake recipe is heavier than a standard layer cake, so assemble it on a sturdy board and refrigerate it before transporting. Use a long knife to cut through every component in one smooth motion.
Gluten free red velvet cake recipe
Replace the flour with 330 g of a cup-for-cup gluten-free blend containing xanthan gum; do not substitute by volume if the package weight differs. Let the batter rest for 20 minutes before baking. These gluten-free conversion considerations explain why flour blends behave differently.
Check every packaged ingredient if serving someone with a medical need, since cocoa, gel color, sprinkles, and confectioners’ sugar can vary by manufacturer. A gluten free red velvet cake recipe may need the full cooling period to set its crumb, so resist cutting a warm test layer.
Red velvet cake frosting recipe
For a firmer finish, replace half the cream cheese with an equal weight of butter. For a lighter coating, make three-quarters of the frosting quantity and leave the sides partially exposed.
Do not keep beating after the cream cheese is smooth. Extended mixing can loosen a red velvet cake frosting recipe even when the ingredients began at the correct temperature. Brief refrigeration restores body while preserving the balanced sweetness and tang.
Color and Decoration Substitutions
You may use deeper crimson or navy gels while keeping the stated quantities as the starting point. Add any extra color one drop at a time. Choose sprinkles that will not bleed quickly into moist frosting, especially if decorating this blue red velvet cake recipe the day before serving.
Pan Conversions and High-Altitude Guidance
Use two 9-inch pans and bake for 27–32 minutes, or make 24 cupcakes and bake for 17–21 minutes. Fill pans no more than two-thirds full. A 9-by-13-inch pan generally needs 32–38 minutes.
Above 3,500 feet, cakes may rise quickly and collapse. Start by reducing sugar by 1 tablespoon, adding 1 tablespoon buttermilk, increasing the oven to 365°F (185°C), and checking several minutes early; then consult these high-altitude baking adjustments for your elevation.
Pan conversions change the baking time and presentation, but not the signs of doneness. Look for a springy center, slightly receded edges, and moist crumbs rather than relying only on the clock. Rotate pans only if your oven heats unevenly, and wait until the structure has set.
Make-Ahead Plan
Two Days Before Serving
Bake the layers, cool them fully, and wrap each one twice. Refrigerate them for up to two days. Keeping the colors individually wrapped prevents the surfaces from drying and makes the blue red velvet cake recipe much easier to assemble on a busy celebration day.
One Day Before Serving
Prepare the frosting and refrigerate it in a covered container. Before using it, let it soften briefly and mix on low just until spreadable. Assemble and decorate the cake if desired, then protect it with a cake cover so the frosting does not absorb refrigerator odors.
On the Day of Serving
Remove the finished cake long enough for the crumb to lose its refrigerator chill, while keeping the cream cheese coating cool and stable. Add delicate decorations shortly before presentation. Slice only when guests are ready so the exposed layers stay moist.
Decoration and Serving Ideas
Add white chocolate curls, star-shaped sprinkles, berries, or small flags in party colors. Serve alongside a moist chocolate tres leches cake when you want a contrasting dessert, or pair it with a bright strawberry tres leches cake for a colorful table.
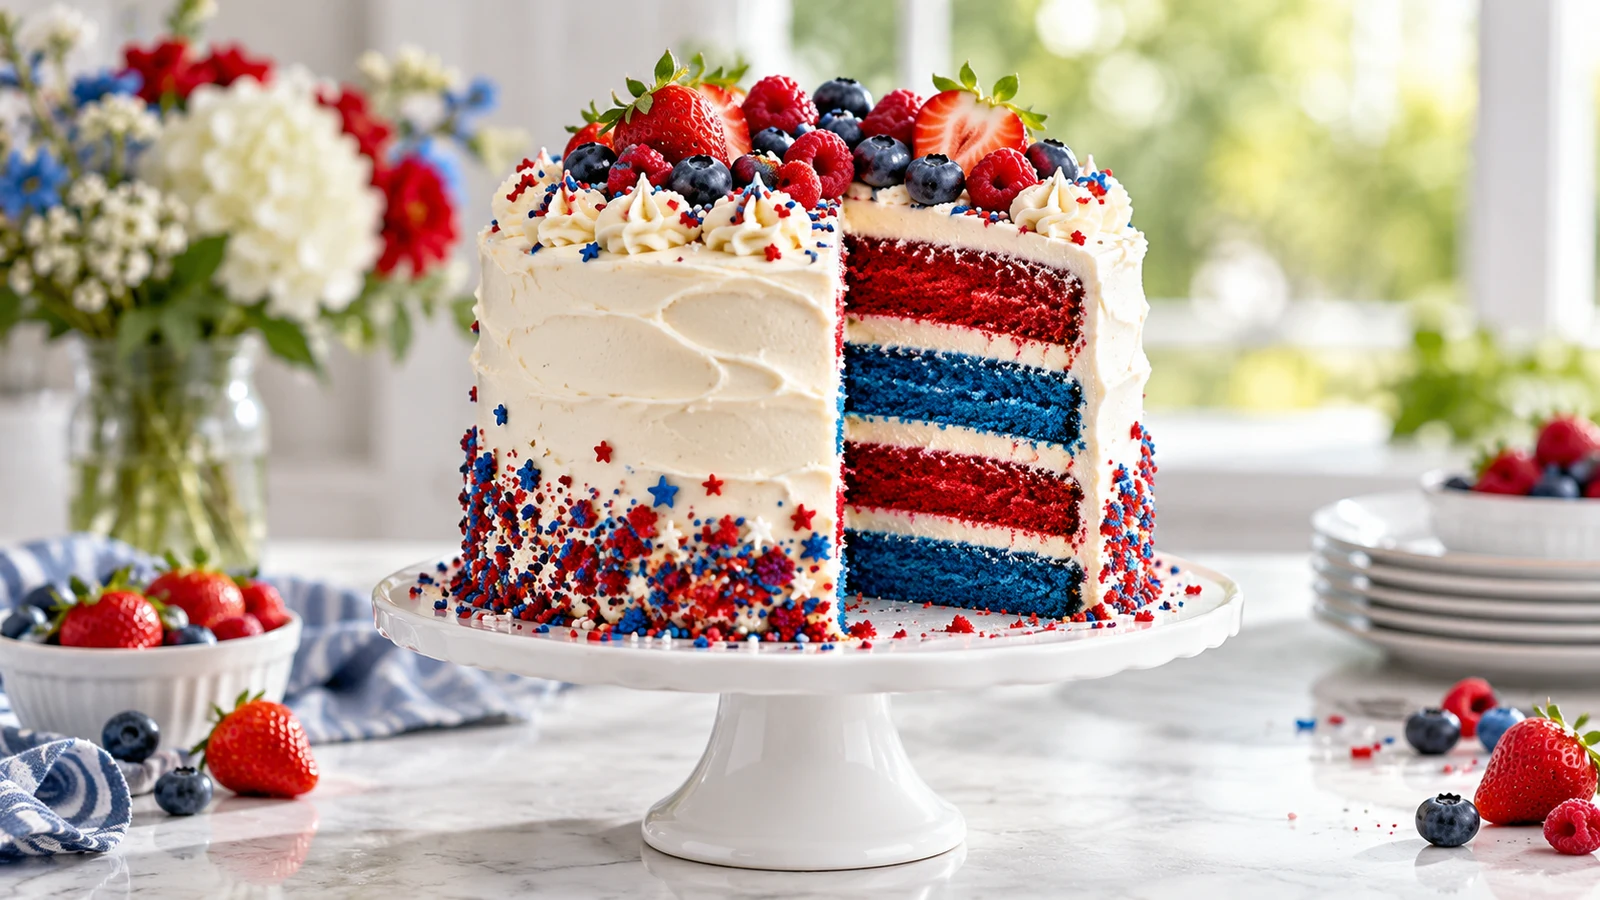
For an elegant presentation, keep the exterior white and reveal the colors only after cutting. For a playful finish, press reserved crumbs around the base and add sprinkles near the top edge. The clean white coating makes every slice of this blue red velvet cake recipe especially dramatic.
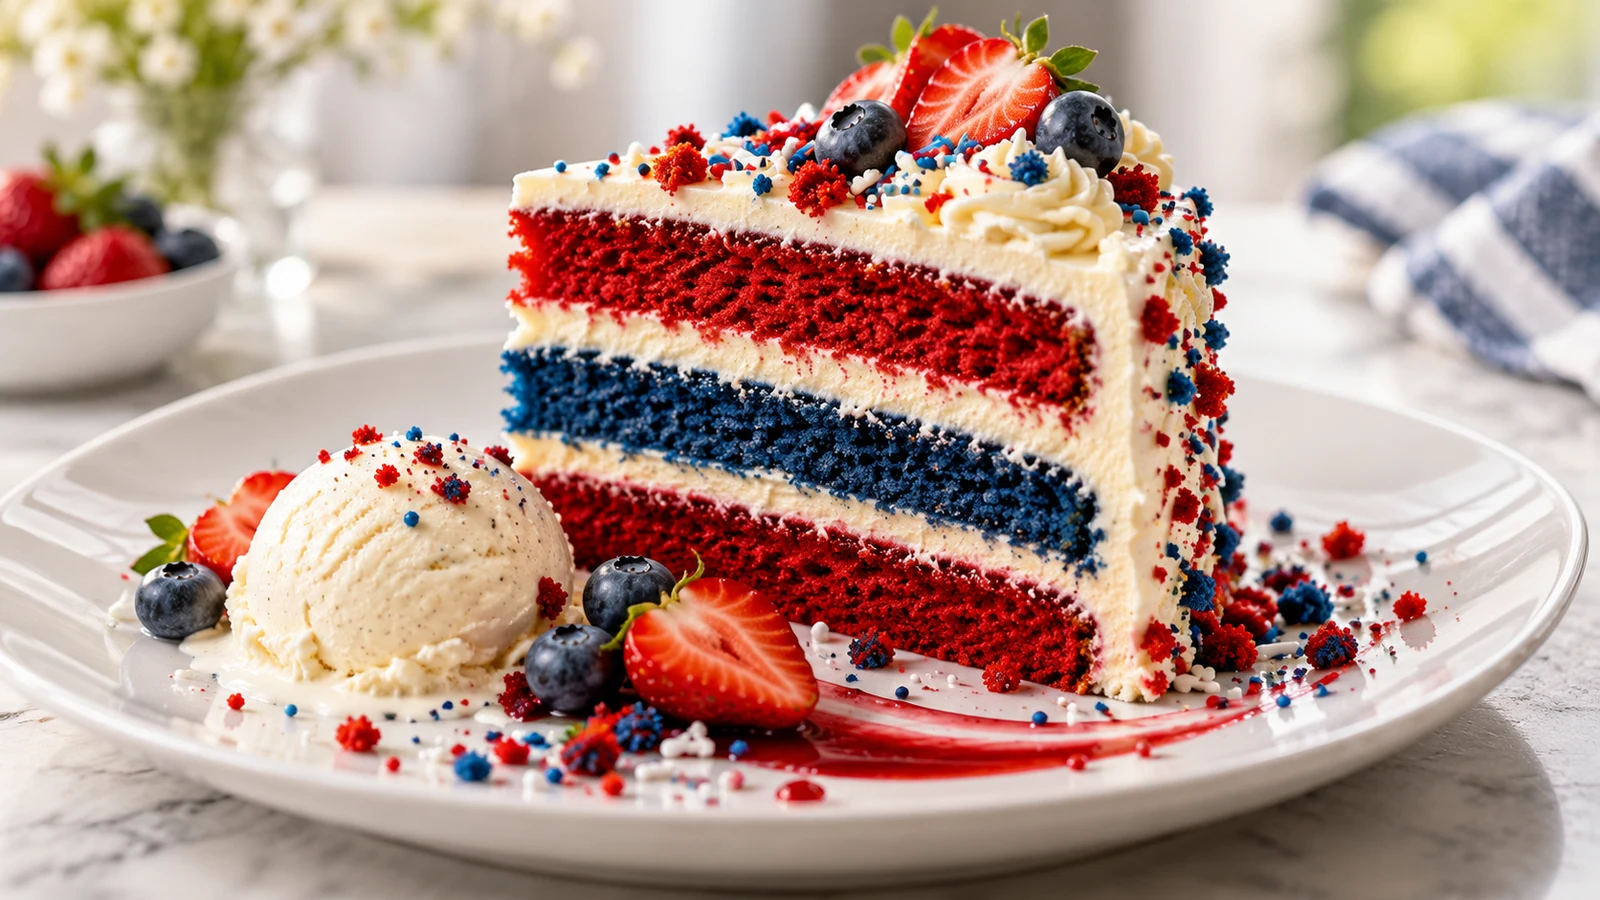
Serve modest slices because the cake is tall and generously frosted. Fresh strawberries or raspberries add acidity, while vanilla ice cream gives a cool contrast. Coffee, black tea, or cold milk complements the cocoa and cream cheese without competing with the cake.
How to Store and Reheat
Refrigerate the covered cake for up to 4 days because the frosting contains cream cheese. For the best texture, let slices stand at room temperature for 20–30 minutes before serving; reheating is unnecessary.
Unfrosted layers can be wrapped twice and frozen for up to 2 months. Freeze frosted slices until firm, wrap individually, and store for up to 1 month. Thaw overnight in the refrigerator. For an easy assembly timeline, bake and wrap the layers two days ahead, prepare frosting one day ahead, and assemble the morning of the party.
Store cut cake with the exposed sides covered closely so the crumb retains moisture. Keep strongly scented foods away from it. Whether storing the standard cake, a red velvet bundt cake recipe, or a cheesecake and red velvet cake recipe, label the container with the date before refrigerating or freezing.
Troubleshooting This Cake
Why Are the Layers Dense?
Dense layers commonly result from excess flour, cold ingredients, or overmixing after the flour is added. Spoon and level the flour or weigh 330 g, bring the refrigerated batter ingredients near room temperature, and mix only until the visible flour disappears.
Why Did the Cake Sink?
An underbaked center cannot support itself as it cools. Avoid opening the oven early, confirm that the center springs back, and test with a toothpick. Too much leavener or an inaccurate oven temperature can also cause a rapid rise followed by collapse.
Why Is the Frosting Runny?
Warm butter, spreadable cream cheese, and prolonged beating can all soften the mixture. Use full-fat block cream cheese, add it last, and stop when smooth. Chill the bowl for 15–20 minutes before continuing rather than changing the red velvet cake frosting recipe with large amounts of extra sugar.
Why Are the Cake Edges Dry?
The pan may be too dark, the flour may be overmeasured, or the layers may have baked too long. Check at 24 minutes and remove the pans when the visual tests are satisfied. Wrap cooled layers promptly if the blue red velvet cake recipe will not be assembled that day.
Why Did the Bundt Cake Stick?
A detailed pan with uncoated crevices can hold the baked crumb. For the red velvet bundt cake recipe, coat every ridge immediately before adding batter, follow the stated resting period, and loosen only the top edge before turning the pan over.
Why Is the Gluten-Free Cake Gritty?
Some flour blends need time to absorb liquid. Resting the batter for 20 minutes helps hydrate the starches in a gluten free red velvet cake recipe. Use a blend intended for cup-for-cup baking and allow the finished layers to cool completely before evaluating their texture.
Nutrition
One of 12 servings contains approximately 730 calories, 39 g fat, 91 g carbohydrate, 7 g protein, and 410 mg sodium. Values are estimates and vary with brands, decorations, and portion size.
Frequently Asked Questions
Why did my colors turn purple?
The batters were probably mixed together too much or handled with the same utensil. Use separate bowls and tools, choose concentrated gels, and limit marbling to two shallow passes.
Can I prepare the blue red velvet cake recipe in advance?
Yes. This is an excellent make-ahead cake: freeze wrapped layers or refrigerate them for up to two days, then frost while they are cool for easier handling. The assembled cake can also be refrigerated beneath a protective cover.
How can I get perfectly clean slices?
Chill the assembled cake for at least 30 minutes. Dip a long sharp knife in hot water, wipe it completely dry, cut once, and clean the blade between portions.
Can I reduce the food coloring?
Yes, although the layers will appear softer and may look brownish because of the cocoa. Begin with half the stated gel quantities and add color a drop at a time.
Can I turn this into a red velvet bundt cake recipe?
Yes. Use a well-greased 10- to 12-cup Bundt pan, add alternating spoonfuls without heavy swirling, and bake at 350°F (175°C) for 45–55 minutes. Check the deepest part of the cake for doneness before removing it.
How should I serve a cheesecake and red velvet cake recipe?
Refrigerate the assembled cake overnight so the cheesecake and frosting become firm. Let it stand briefly before serving, then cut it with a hot, dry knife. Return leftovers to the refrigerator promptly because both the cheesecake and frosting are perishable.
Does a gluten free red velvet cake recipe taste different?
A good cup-for-cup flour blend can produce a tender result, although the crumb may be slightly different from wheat-based cake. Weigh the blend, rest the batter for 20 minutes, and cool the layers fully for the best texture.
Can the red velvet cake frosting recipe be piped?
Yes, but keep it cool and avoid overmixing. Chill the finished frosting for 15–20 minutes if it does not hold a defined ridge. A firmer variation made by replacing half the cream cheese with an equal weight of butter is helpful for detailed piping.
Can I make cupcakes from the blue red velvet cake recipe?
Yes. Divide the colored batters among lined wells, filling each no more than two-thirds full. Bake 24 cupcakes at 350°F (175°C) for 17–21 minutes, using the same spring-back and toothpick tests described for the cake layers.
Can I transport the finished cake?
Chill it until the frosting is firm, place it on a sturdy board, and carry it in a fitted box on a flat vehicle surface. Keep it away from direct sun and warm air. A cheesecake-filled version requires especially careful refrigeration during transport.
Printable Recipe Card
Yield: 12 servings. Prep: 35 minutes. Bake: 24–28 minutes. Cooling: 2 hours. Total: About 3 hours 45 minutes.
Method: Heat the oven to 350°F (175°C), prepare three 8-inch pans, and whisk the dry ingredients. Cream butter and sugar; add oil, eggs, and vanilla, then alternate the dry mixture with buttermilk and finish with vinegar. Divide and color the batter, bake until springy and set, cool completely, fill and stack the layers, crumb-coat, chill, and apply the final frosting.
Final Baking Notes
This blue red velvet cake recipe rewards accurate measuring, clean tools, and a light hand with the gel colors. Give the layers their full cooling time, keep the cream cheese frosting cool, and use the visual doneness tests alongside the timer.
Serve the cake slightly cool for firm frosting and a tender crumb. Whether you follow the original method or adapt it into a red velvet bundt cake recipe, cheesecake and red velvet cake recipe, or gluten free red velvet cake recipe, careful handling preserves the bold colors and balanced cocoa flavor.
Reviews
Reader reviews are managed separately (outside this build).