Cake
Easy red velvet cake brownies recipe: Fudgy Perfection
Try this easy red velvet cake brownies recipe for fudgy, from-scratch treats, with optional cream cheese frosting or a rich cheesecake swirl today.
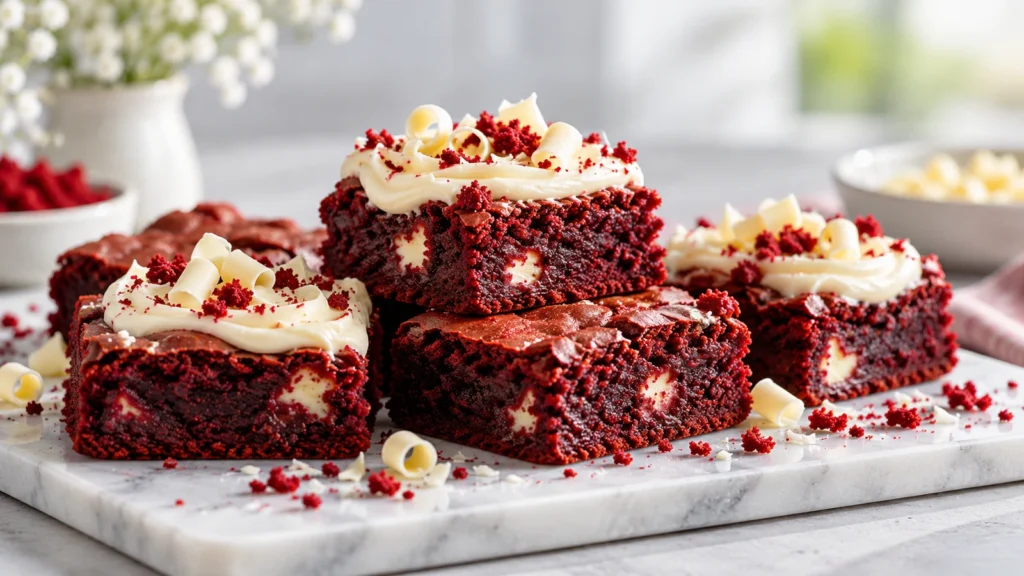
This red velvet cake brownies recipe combines a moist, fudgy center with gentle cocoa flavor and the signature tang of classic red velvet. The brownies are easy to mix by hand, bake in one pan, and slice into rich squares with a delicate crackly top.
Use the simple version for an everyday treat, or add cream cheese frosting or a cheesecake swirl for a celebration. This red velvet cake brownies recipe depends on careful mixing and removing the pan while moist crumbs still cling to a tester.
Jump to recipe: The printable recipe card follows the tips, variations, storage advice, serving ideas, troubleshooting guide, and frequently asked questions.
Table of Contents
Why You’ll Love This Red Velvet Cake Brownies Recipe
- Fudgy texture: Melted butter and restrained flour keep the center dense rather than cakey.
- Simple method: No mixer is needed unless you add frosting.
- Reliable doneness cues: Both visual signs and an internal temperature range are included.
- Flexible finish: Serve the brownies plain, frosted, swirled, or topped with berries.
- Make-ahead friendly: The unsliced slab stays moist and can be prepared a day before serving.
What Makes These Brownies Special
These fudgy red velvet brownies balance vanilla, cocoa, acidity, and color without tasting like ordinary chocolate brownies dyed red. For another perspective on ingredient ratios and technique, see this red velvet brownie preparation guide.
Brownies vs. Red Velvet Cake
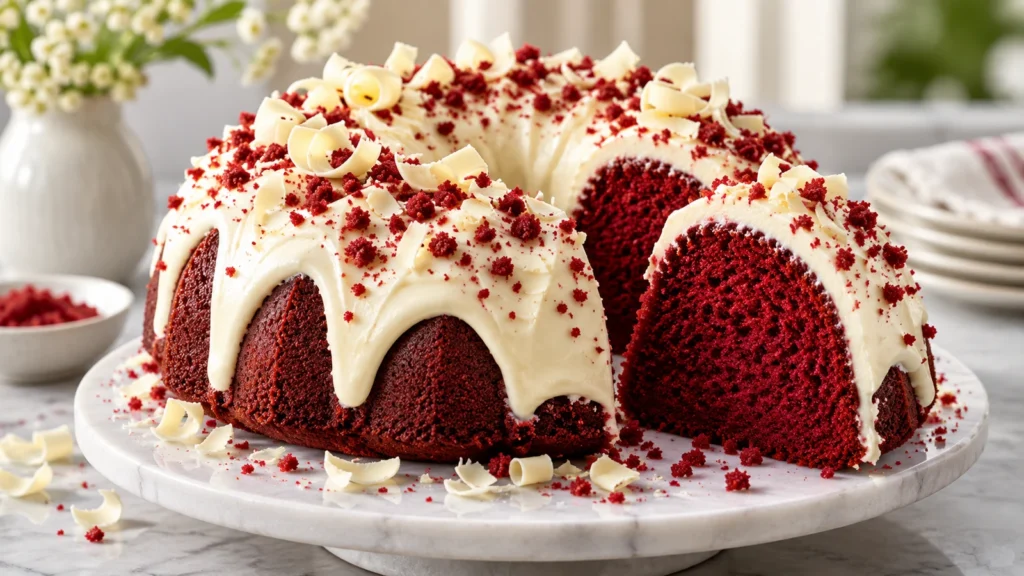
Red velvet cake usually contains more flour and leavening, creating a tender crumb. These brownies have no baking powder or baking soda, so they remain compact and chewy. If you prefer a full-size cake, try this red velvet bundt cake recipe.
The red velvet bundt cake recipe is better for tall slices and a formal cake presentation, while these brownies are easier to transport and serve by hand. Both desserts pair cocoa with vanilla and tang, but their structures are intentionally different.
Ingredients
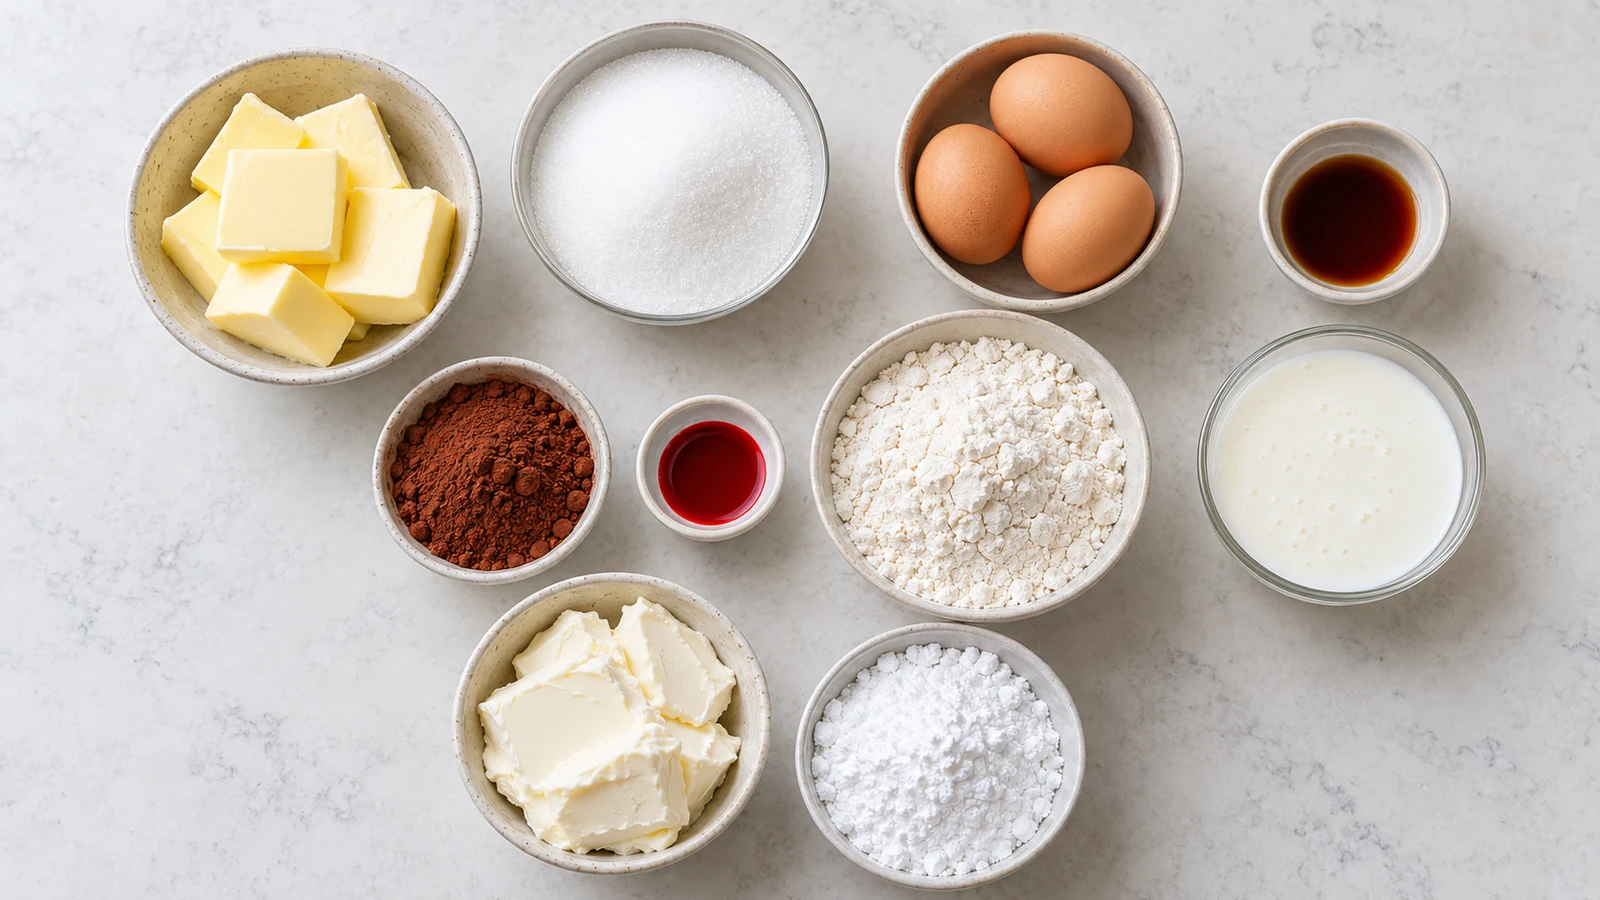
- 10 tablespoons (142 g) unsalted butter
- 1 1/4 cups (250 g) granulated sugar
- 2 large eggs, at room temperature
- 2 teaspoons vanilla extract
- 1 tablespoon red gel food coloring, or enough to reach the desired shade
- 1 teaspoon white vinegar or 1 tablespoon buttermilk
- 1/3 cup (30 g) natural unsweetened cocoa powder, sifted
- 3/4 cup plus 2 tablespoons (110 g) all-purpose flour, spooned and leveled
- 1/2 teaspoon fine salt
- Optional: white-chocolate curls, red velvet crumbs, or freeze-dried raspberries
Ingredients and Their Roles
Butter supplies richness, while granulated sugar helps create a shiny, crackly top. Eggs bind the batter, and flour provides just enough structure. Natural cocoa is ideal because its acidity complements the vinegar or buttermilk and preserves a brighter red color; Dutch-process cocoa produces a darker, mellower result.
Gel coloring gives strong color with little added liquid. Liquid coloring works but may require 1 1/2 to 2 tablespoons and can loosen the batter. Beet powder offers a natural option, although baking often turns its bright red shade muted or brownish.
For the most consistent red velvet cake brownies recipe, measure the flour and cocoa by weight. Sifting the cocoa removes stubborn lumps without requiring extra mixing after the flour enters the batter.
Equipment and Recommended Pan
Use an 8-inch (20-cm) square light-colored metal pan, parchment paper, a saucepan or microwave-safe bowl, a whisk, a spatula, and an instant-read thermometer. Metal conducts heat efficiently and gives more predictable edges than glass.
Parchment overhang makes it possible to lift out the cooled slab without damaging the edges. A flexible spatula is useful for scraping the bowl and folding the batter, while a small offset spatula helps spread the thick mixture evenly into the corners.
How to Make This Red Velvet Cake Brownies Recipe
- Prepare the pan: Heat the oven to 350°F (175°C). Line the pan with parchment, leaving overhang on two sides, and lightly grease it.
- Melt the butter: Melt it gently, then let it cool for 3 minutes so it will not scramble the eggs.
- Mix the wet ingredients: Whisk the warm butter and sugar for about 60 seconds. Add the eggs one at a time, then whisk in vanilla, coloring, and vinegar or buttermilk until glossy.
- Add the dry ingredients: Sift cocoa, flour, and salt over the bowl. Fold gently until the final dry streak disappears; do not beat or continue mixing.
- Bake: Spread the batter evenly and bake for 22 to 28 minutes. Rotate the pan once if your oven browns unevenly.
- Cool: Let the brownies cool completely in the pan, about 90 minutes, before lifting and cutting.
Visual and Temperature-Based Doneness Guide
The edges should look set and pull away very slightly, while the center remains soft but does not ripple when the pan is nudged. A toothpick inserted near the center should collect several moist crumbs, not raw batter and not come out completely clean. An instant-read thermometer should register about 195–205°F (91–96°C); carryover heat will finish the center.
Check more than one spot because melted chocolate from an optional addition can resemble wet batter. Begin testing at 22 minutes and close the oven promptly if more baking is needed. A few extra minutes can change the center from fudgy to cakey.
Cream Cheese Frosting and Cheesecake-Swirl Options
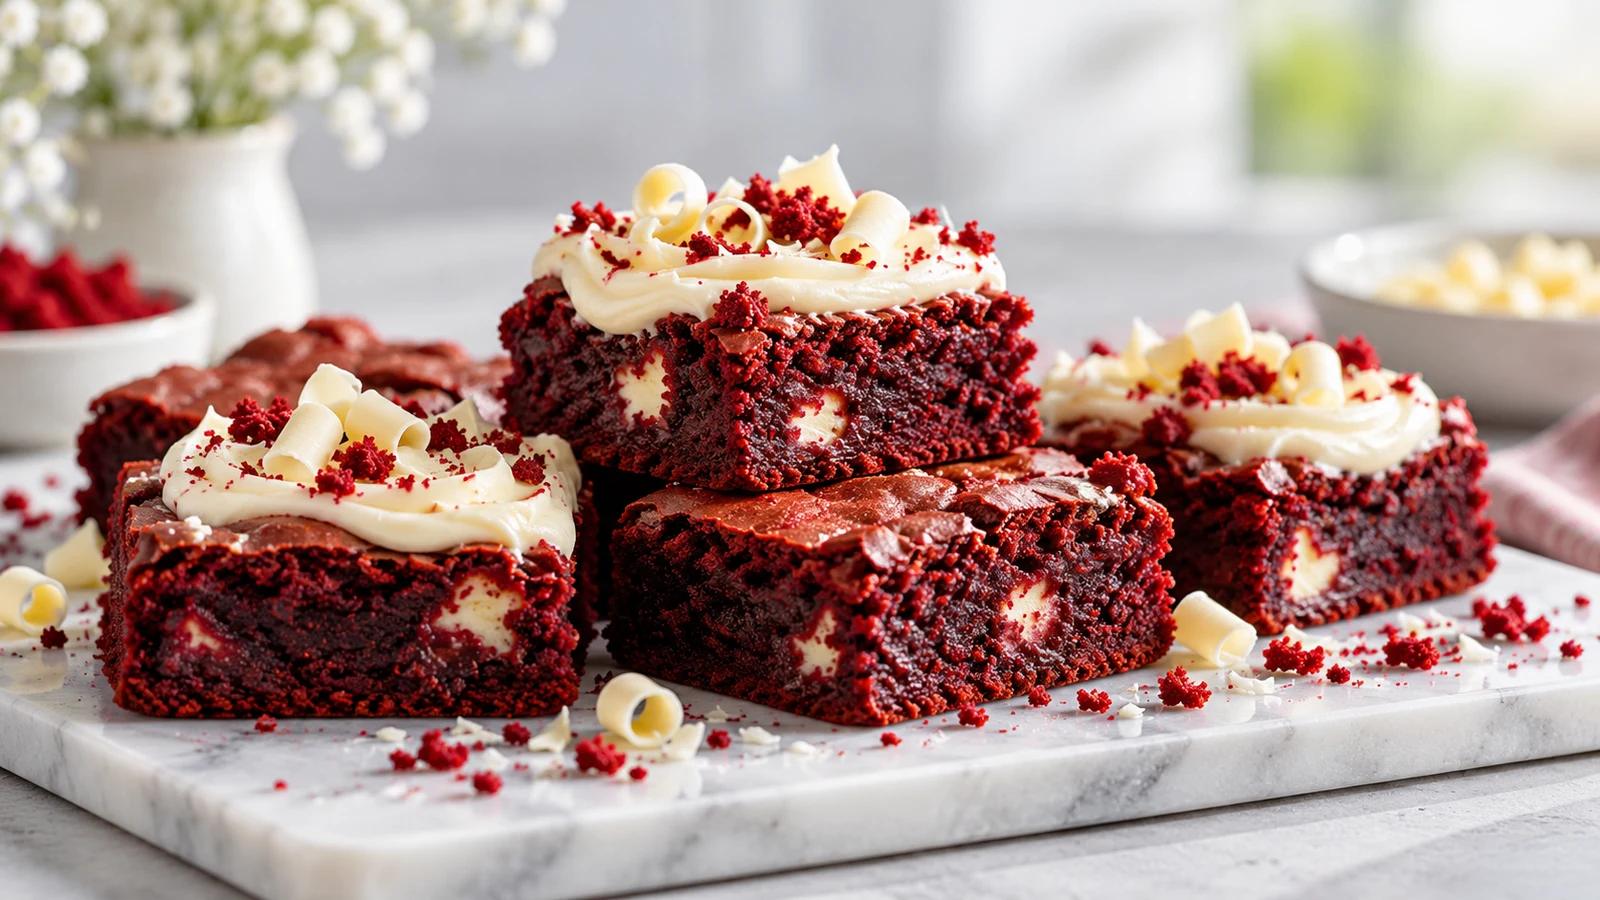
For frosting, beat 4 ounces (113 g) softened cream cheese with 2 tablespoons (28 g) softened butter, 1 cup (120 g) powdered sugar, and 1/2 teaspoon vanilla. Spread it over fully cooled brownies. For a layered dessert with similar flavors, see this cheesecake and red velvet cake recipe.
For a cheesecake swirl, beat 4 ounces (113 g) cream cheese, 2 tablespoons sugar, and one egg yolk. Dollop over the unbaked batter and make a few shallow passes with a knife. Avoid excessive swirling, which can muddy the pattern and overmix the brownie layer.
A cheesecake and red velvet cake recipe usually creates more distinct cake and filling layers. The swirl option keeps those familiar flavors in a compact bar while preserving the dense brownie base.
Expert Tips for Consistently Fudgy Brownies
- Measure accurately: Weigh the flour when possible. Too much flour is the leading cause of cakey, dry brownies.
- Fold briefly: Stop as soon as the final dry streak disappears. Vigorous mixing develops gluten and introduces excess air.
- Temper the eggs: Use room-temperature eggs and allow the melted butter to cool for 3 minutes so the mixture emulsifies smoothly.
- Protect the texture: Do not wait for a clean toothpick. Moist crumbs indicate a fudgy center.
- Cut neatly: Chill cooled brownies for 20 minutes, then use a large knife warmed under hot water and wiped dry between slices.
- Adjust for altitude: Above 3,500 feet (1,067 m), add 1 tablespoon flour, reduce sugar by 1 tablespoon, and begin checking 3 minutes early.
How to Create an Even Layer
This red velvet cake brownies recipe makes a thick batter that may not settle on its own. Push it gently into all four corners, smooth the surface, and tap the filled pan lightly on the counter. An even layer prevents thin corners from drying before the center is ready.
How to Preserve the Crackly Top
Whisking warm butter and granulated sugar for about 60 seconds encourages some sugar to dissolve. That step, followed by thorough incorporation of the eggs, supports the delicate crust. Once flour is added, switch to gentle folding so the interior remains dense.
Variations and Substitutions
For a gluten-free version, replace the flour by weight with a cup-for-cup blend containing xanthan gum. This gluten free red velvet cake recipe offers more guidance on working with alternative flour in red velvet desserts, while this gluten-free brownie reference provides additional comparison.
For dairy-free brownies, use plant-based butter and choose vinegar rather than buttermilk. Neutral oil can replace melted butter in equal volume for a softer texture, but butter gives better flavor and firmer slices. For reduced coloring, use 1 teaspoon gel coloring or omit it; the brownies will taste the same but appear cocoa-brown.
A blue red velvet cake recipe variation can use blue gel coloring, though cocoa may make the shade deep or muted. White-chocolate chips, chopped pecans, or a thin cream cheese frosting are also easy additions.
Gluten-Free Variation
When adapting this red velvet cake brownies recipe, choose a gluten-free blend intended as a direct replacement for wheat flour. Let the mixed batter stand for 5 minutes before baking so the alternative flour can hydrate. Do not change the stated quantity or bake time automatically; use the same doneness cues.
The flour guidance in the gluten free red velvet cake recipe is also useful when selecting a blend. Avoid coconut flour as a direct substitute because it absorbs much more liquid and would alter the established ingredient balance.
Color and Flavor Variations
To echo a blue red velvet cake recipe, substitute blue gel coloring for the red gel coloring in the same role, adding enough to reach the desired shade. Natural cocoa will still influence the final color, so expect a deep blue-brown rather than a pastel tone.
A blue red velvet cake recipe variation is especially attractive with white-chocolate curls or pale cream cheese frosting. Keep all other ingredients, quantities, temperatures, and timings unchanged so color remains the only meaningful adjustment.
Texture and Topping Variations
Fold in a modest amount of white-chocolate chips or chopped pecans for contrast without overwhelming the base. For a berry finish, scatter crushed freeze-dried raspberries over frosting shortly before serving. Their tartness balances the sweet, rich center.
Readers who enjoy the layered flavor of a cheesecake and red velvet cake recipe can choose the cheesecake swirl. Those who want sharper edges and easier stacking should bake the brownies plain, cool them completely, and apply frosting afterward.
Make-Ahead, Storage, and Reheating Details
Store unfrosted brownies in an airtight container at room temperature for up to 3 days. Refrigerate frosted or cheesecake-swirled brownies for up to 5 days. General storage practices are also discussed in this red velvet brownie recipe resource.
For freezing, wrap individual cooled squares tightly and place them in a freezer-safe container for up to 3 months. Thaw covered at room temperature for 1 to 2 hours or overnight in the refrigerator. Warm an unfrosted square in the microwave for 8 to 12 seconds if desired.
Preparing the Brownies in Advance
Bake this red velvet cake brownies recipe one day before serving and keep the cooled slab unsliced in an airtight container. The larger piece exposes less surface area, helping it retain moisture. Add frosting after the slab has cooled completely.
If making the brownies several weeks ahead, freeze them without frosting or garnishes. Place parchment between stacked squares to prevent sticking. Thaw before unwrapping fully so condensation gathers on the wrapping rather than on the brownie surface.
Storing Cream Cheese-Topped Brownies
Any brownies with cream cheese frosting or a cheesecake swirl need refrigeration. Cover them well to prevent refrigerator odors and dry edges. Let individual portions stand briefly at room temperature before serving if you prefer a softer, fuller-flavored bite.
Reheating Without Drying
Only reheat unfrosted brownies, and keep the warming time short. The center should become slightly soft, not hot. If a brownie is already at room temperature, it may need no reheating, especially when served with hot coffee or a scoop of ice cream.
Serving Ideas for Different Occasions
Simple Everyday Serving
Serve the squares at room temperature with coffee, milk, or tea. A light dusting of red velvet crumbs or a few white-chocolate curls adds contrast without hiding the crackly top.
Celebration Dessert
Top each square with cream cheese frosting and crushed freeze-dried raspberries. This presentation brings some of the visual drama of a cheesecake and red velvet cake recipe to a dessert that is easy to portion for a party.
Plated Dessert
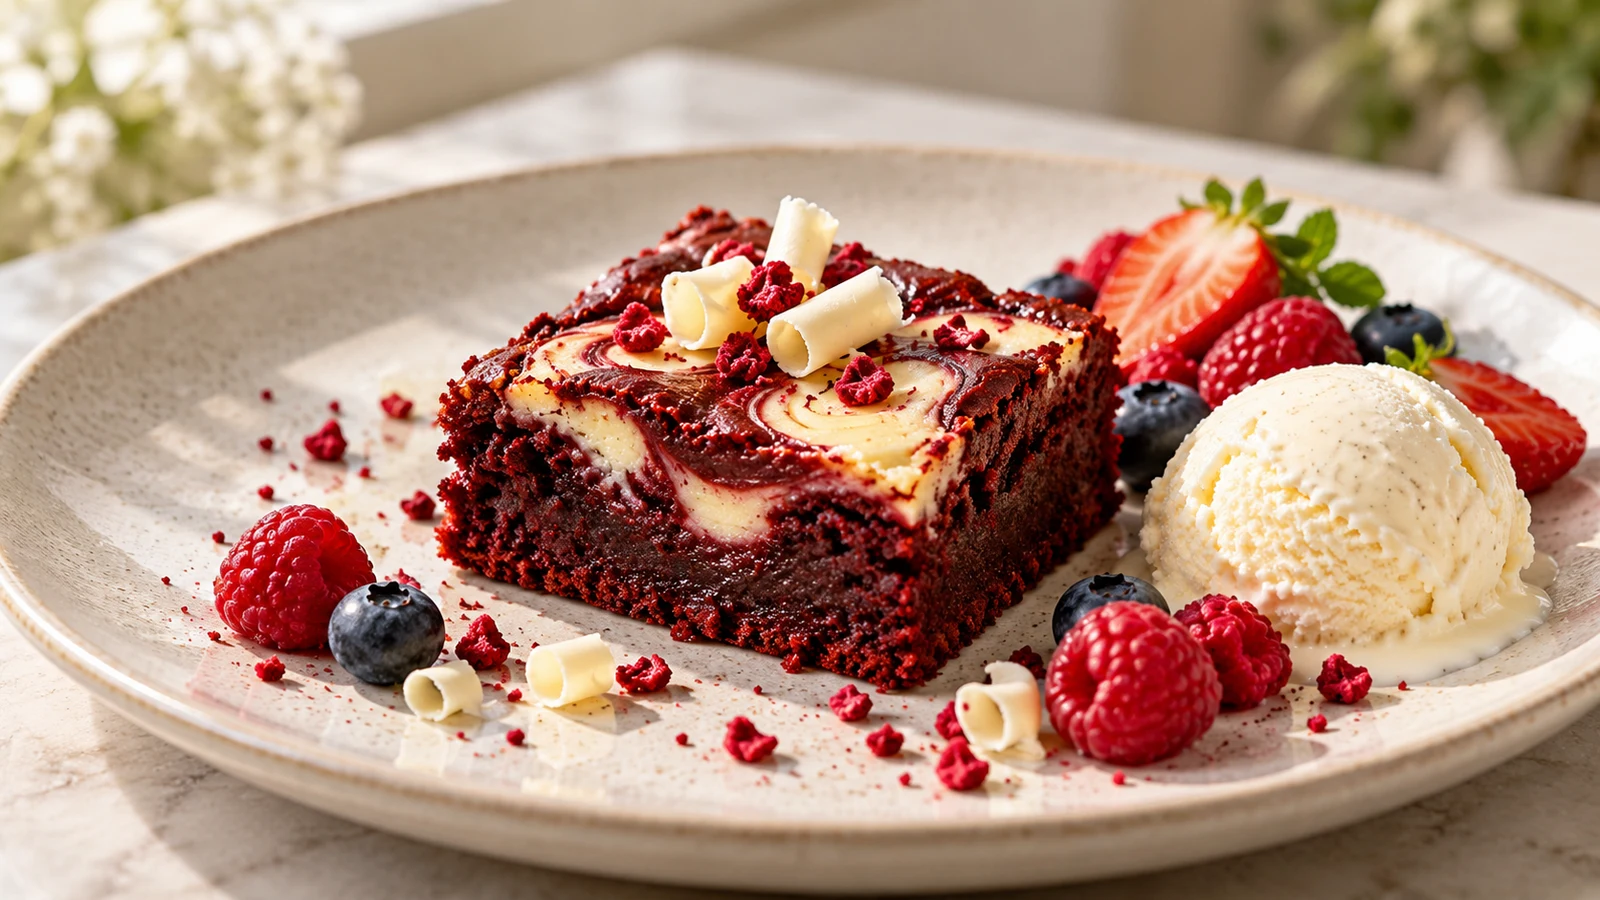
Warm an unfrosted square for 8 to 12 seconds and serve it with vanilla ice cream and fresh berries. The temperature contrast softens the center while the berries provide acidity that keeps the dessert balanced.
Dessert Assortment
Cut the brownies into smaller pieces and arrange them beside slices made from a red velvet bundt cake recipe or a gluten free red velvet cake recipe. Label the gluten-free selection separately and prevent contact between serving utensils if guests need strict gluten avoidance.
Troubleshooting This Red Velvet Cake Brownies Recipe
- Cakey brownies: Too much flour, overmixing, or overbaking added structure or air.
- Gummy center: The brownies were underbaked or sliced before cooling.
- No crackly top: Whisk the warm butter and sugar thoroughly and use granulated, not coarse, sugar.
- Dull color: Too much cocoa, alkaline cocoa, or weak liquid coloring can mute the red.
- Dry edges: A dark pan, glass pan, or excess baking time may be responsible.
- Uneven thickness: The batter was not spread fully into the corners before baking.
- Frosting melts: The brownies were still warm when the cream cheese mixture was added.
Why Did the Center Sink?
A slight settling is normal for fudgy brownies. A pronounced dip can indicate that the center was still raw, the batter was over-aerated, or the oven door opened too early. Confirm the oven temperature and use the stated visual and temperature cues.
Why Is the Color Brown Instead of Red?
Natural cocoa, gel strength, and baking time all affect the shade. Dutch-process cocoa is darker and can mute red coloring. The same issue applies to a blue red velvet cake recipe, where cocoa produces a deeper, less vivid result.
Why Are the Brownies Difficult to Slice?
Warm brownies are delicate because their structure continues to set as they cool. Wait the full 90 minutes, then lift the slab with the parchment. For exceptionally tidy pieces, chill it for 20 minutes and clean the warm knife between cuts.
Frequently Asked Questions
Can I make the red velvet cake brownies recipe without red food coloring?
Yes. The cocoa, vanilla, and slight tang remain, but the brownies will be brown. Beet powder can add natural color, although its shade is less predictable after baking.
How long should the brownies bake?
In an 8-inch metal pan at 350°F (175°C), allow 22 to 28 minutes. Start checking early because pan material and oven calibration affect timing.
Can I double the red velvet cake brownies recipe?
Yes. Bake a double batch in a 9-by-13-inch (23-by-33-cm) metal pan for approximately 27 to 34 minutes, checking the center for moist crumbs and a temperature of 195–205°F (91–96°C).
How should I adjust for a glass pan?
Lower the oven to 325°F (165°C) because glass retains heat longer. Expect to add roughly 5 to 10 minutes, and rely on the visual and temperature cues rather than time alone.
Can I use Dutch-process cocoa?
You can, but natural cocoa is preferable. Dutch-process cocoa gives a darker, mellower flavor and may make the red color less vivid. Do not increase the coloring automatically; add only enough to achieve the shade you want.
Can I use liquid food coloring instead of gel?
Yes. Liquid coloring may require 1 1/2 to 2 tablespoons and can loosen the batter slightly. Gel coloring is more concentrated, so it creates a strong shade with less added liquid.
Can this become a gluten free red velvet cake recipe?
This is a brownie rather than a cake, but it can be made gluten-free with a cup-for-cup blend containing xanthan gum. For a true cake texture and format, follow the linked gluten free red velvet cake recipe instead of changing the brownie proportions.
Is this the same as a red velvet bundt cake recipe?
No. A red velvet bundt cake recipe uses a cake-oriented structure that produces a tender crumb and tall shape. These brownies contain no baking powder or baking soda and are designed to remain dense, compact, and chewy.
Can I turn this into a cheesecake and red velvet cake recipe?
The cheesecake swirl creates a similar flavor combination, but the finished dessert remains a brownie. Use the linked cheesecake and red velvet cake recipe when you want distinct cake and cheesecake layers in a full-size celebration dessert.
How do I make a blue red velvet cake recipe variation?
Use blue gel coloring in place of the red gel coloring, adding enough to reach the desired shade. The cocoa will deepen or mute the blue. Keep the remaining quantities, temperature, and baking time the same.
Should I refrigerate plain brownies?
Plain brownies can remain in an airtight container at room temperature for up to 3 days. Refrigeration is necessary for cream cheese-frosted or cheesecake-swirled versions, which keep for up to 5 days.
Can I freeze the finished brownies?
Yes. Wrap fully cooled squares tightly and freeze them in a freezer-safe container for up to 3 months. For the best appearance, freeze without frosting or delicate garnishes and add those after thawing.
Printable Recipe Card: Red Velvet Cake Brownies Recipe
Yield: 16 brownies | Pan: 8-inch (20-cm) square metal pan | Prep: 15 minutes | Bake: 22–28 minutes | Cooling: 90 minutes | Total: About 2 hours 10 minutes
Ingredients: 10 tablespoons (142 g) unsalted butter; 1 1/4 cups (250 g) granulated sugar; 2 large eggs; 2 teaspoons vanilla; 1 tablespoon red gel coloring; 1 teaspoon vinegar or 1 tablespoon buttermilk; 1/3 cup (30 g) natural cocoa; 3/4 cup plus 2 tablespoons (110 g) all-purpose flour; and 1/2 teaspoon salt.
Method: Heat the oven to 350°F (175°C) and line the pan. Melt the butter; whisk it with sugar, eggs, vanilla, coloring, and acid. Fold in sifted cocoa, flour, and salt. Bake for 22 to 28 minutes, until set at the edges with moist crumbs in the center. Cool completely before slicing.
Nutrition estimate: Approximately 180 calories, 9 g fat, 24 g carbohydrate, 2 g protein, and 14 g sugar per unfrosted brownie. Values vary by brands and optional toppings.
Notes: Measure flour by weight, fold gently, and avoid overbaking. Refrigerate any brownies containing cream cheese.
Final Tips for Serving
With a dense center, subtle cocoa tang, and several easy finishing options, this red velvet cake brownies recipe delivers classic red velvet character in a practical bar-cookie format. Cool the slab fully, cut it with a clean warm knife, and serve the squares at room temperature for the best texture.
Choose plain brownies for simple storage, cream cheese frosting for a classic finish, or a swirl when you want flavors inspired by a cheesecake and red velvet cake recipe. For guests with different preferences, a red velvet bundt cake recipe, blue red velvet cake recipe, or gluten free red velvet cake recipe can round out a varied dessert spread.
Reviews
Reader reviews are managed separately (outside this build).