Cake
Irresistible cheesecake and red velvet cake recipe
Discover this cheesecake and red velvet cake recipe with moist layers, baked cheesecake, cream cheese frosting, and reliable step-by-step guidance.
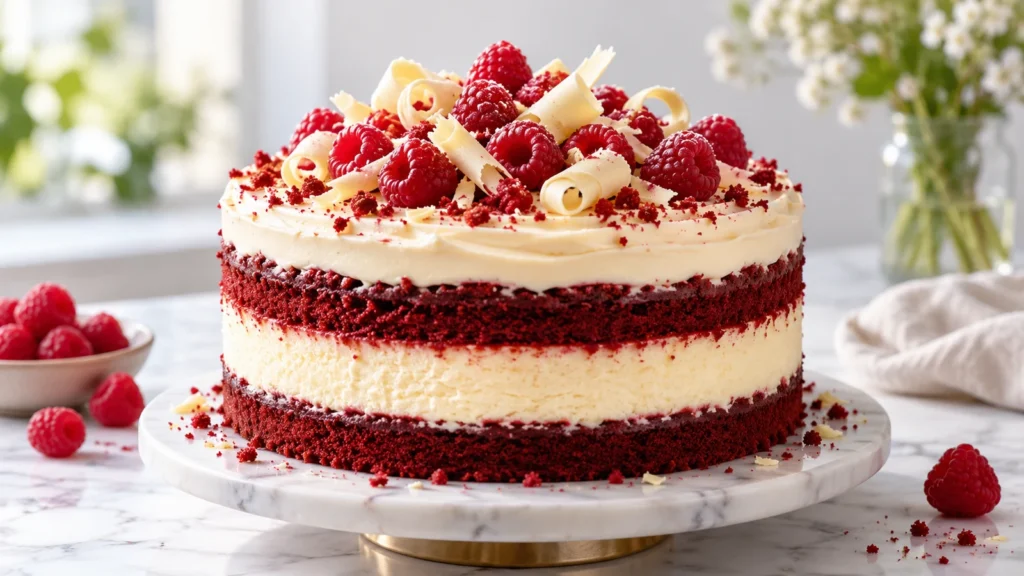
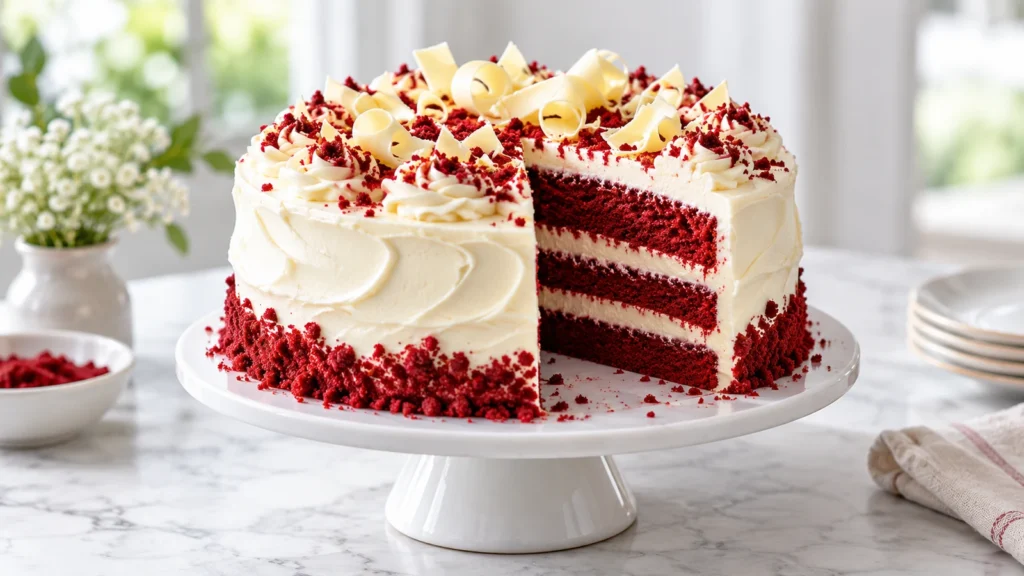
This cheesecake and red velvet cake recipe combines two tender cocoa-buttermilk cake layers with a rich baked cheesecake center and tangy cream cheese frosting. Each slice delivers distinct red, white, and creamy layers without being excessively sweet.
The finished red velvet cheesecake cake serves 12 to 14 and fits a standard 9-inch cake carrier. Plan to prepare it over two days so every component can cool and chill properly before stacking. The relaxed schedule also makes this cheesecake and red velvet cake recipe easier to assemble neatly.
Table of Contents
Why You’ll Love This Recipe
- Reliable layers: Exact weights and matching pan sizes make stacking easier.
- Flexible cheesecake method: Choose a water-bath or no-water-bath cheesecake approach.
- Make-ahead friendly: The components can be prepared and chilled separately.
- Balanced flavor: Buttermilk, cocoa powder, vanilla, and tangy frosting complement the creamy center.
- Celebration-ready presentation: The contrasting layers look impressive without requiring advanced piping skills.
- Practical serving size: Thin, clean slices are rich enough for birthdays, holidays, and dinner parties.
Equipment and Pan Sizes
Use three light-colored 9-inch round pans that are 2 inches deep: one for the cheesecake and two for the cake layers. If you own only one pan, bake the cheesecake first, wash and cool the pan, and then bake the cake layers one at a time. You will also need parchment, an electric mixer, a cooling rack, and an offset spatula.
An instant-read thermometer is helpful but optional. A roasting pan is needed for the water bath; a separate pan of hot water on the lower oven rack offers a simpler alternative. A kitchen scale makes this cheesecake and red velvet cake recipe especially consistent because it helps divide the batter evenly.
Ingredients
- Cheesecake: 24 ounces (680 g) full-fat block cream cheese, 3/4 cup (150 g) sugar, 3 large eggs, 1/2 cup (120 g) sour cream, 1 teaspoon vanilla, and 1/4 teaspoon salt.
- Red velvet layers: 2 1/2 cups (300 g) all-purpose flour, 2 tablespoons (10 g) natural cocoa powder, 1 teaspoon baking soda, 1/2 teaspoon salt, 1 1/2 cups (300 g) sugar, 1 cup (240 ml) neutral oil, 2 large eggs, 1 cup (240 ml) buttermilk, 2 teaspoons vanilla, 1 teaspoon white vinegar, and 1 to 2 tablespoons red gel coloring.
- Frosting: 16 ounces (454 g) full-fat block cream cheese, 1 cup (226 g) unsalted butter, 5 cups (600 g) confectioners’ sugar, 2 teaspoons vanilla, and 1/4 teaspoon salt.
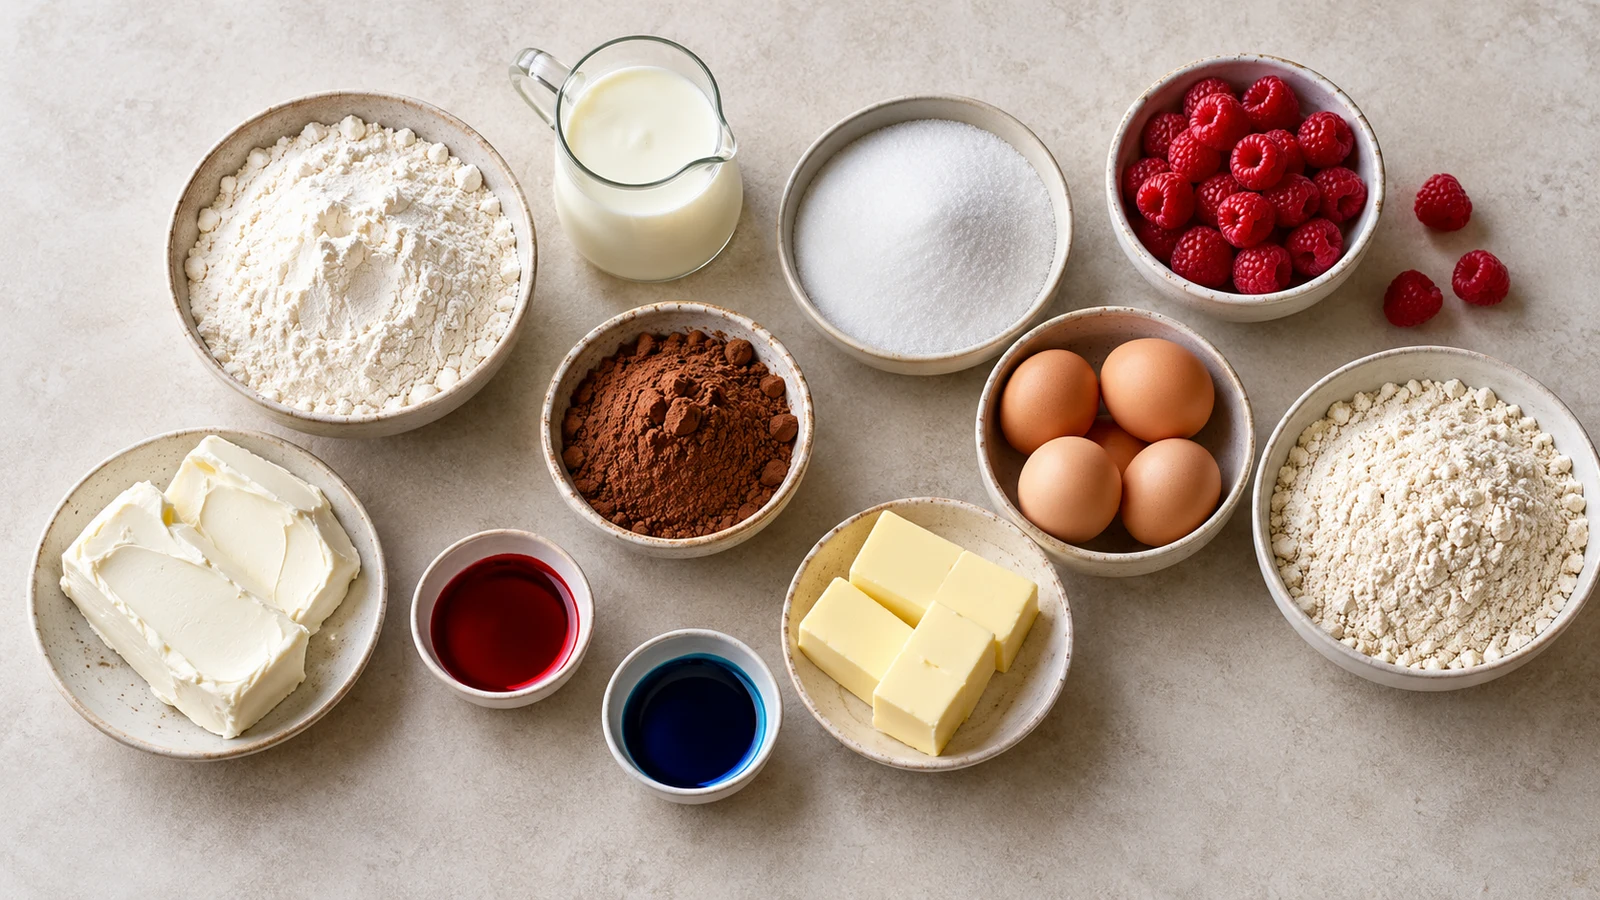
Bring the cream cheese, eggs, sour cream, butter, and buttermilk to room temperature for 30 to 60 minutes. Softened ingredients blend smoothly, but they should not feel warm or greasy. Block cream cheese is essential because spreadable tub varieties can produce runny frosting.
What Each Key Ingredient Does
Full-fat cream cheese supplies the structure and tang in both the center and frosting. Sour cream loosens the cheesecake batter and gives it a smooth texture. Eggs bind the filling, so add them gently and avoid whipping in unnecessary air.
Natural cocoa gives the cake its mild chocolate note without overwhelming the buttermilk and vanilla. Baking soda reacts with the buttermilk and vinegar to lift the layers. Neutral oil keeps them moist after refrigeration, which is particularly useful in a cheesecake and red velvet cake recipe that must chill before slicing.
Gel coloring provides a strong red shade without adding as much liquid as a thinner coloring. Begin with the smaller amount, then assess the batter before adding more. The baked layers generally appear a little darker than the unbaked mixture.
How to Make This Cheesecake and Red Velvet Cake Recipe
- Prepare the pan: Heat the oven to 325°F (165°C). Grease a 9-by-2-inch round pan, line its base with parchment, and wrap the outside in two layers of foil if using a water bath.
- Mix the cheesecake: Beat the cream cheese and 3/4 cup sugar on low until smooth. Mix in the sour cream, vanilla, and salt, followed by the eggs one at a time. Stop as soon as the batter is uniform; excess air encourages cracks.
- Bake and chill: Pour the batter into the pan. For a water bath, place it in a roasting pan and add 1 inch of hot water. Alternatively, bake it without a bath and place a pan of hot water on the rack below. Bake for 45 to 55 minutes, until the edge is set and the center has a gentle 2-inch wobble. The center should reach about 150°F (66°C).
- Cool gradually: Turn off the oven, crack the door, and leave the cheesecake inside for 45 minutes. Cool at room temperature for 1 hour, then refrigerate for at least 6 hours or overnight.
- Prepare the cake pans: Heat the oven to 350°F (175°C). Grease and parchment-line two 9-by-2-inch pans.
- Mix the batter: Whisk the flour, cocoa, baking soda, and salt. In another bowl, whisk the sugar, oil, eggs, buttermilk, vanilla, vinegar, and coloring. Fold the dry mixture into the wet mixture just until no flour streaks remain.
- Bake: Divide the batter evenly, about 25 ounces (710 g) per pan. Bake for 25 to 30 minutes. The tops should spring back lightly, a tester should show a few moist crumbs, and the centers should register about 205°F (96°C). Cool for 15 minutes in the pans, then turn onto racks and cool completely.
- Make the frosting: Beat the butter for 2 minutes. Add the confectioners’ sugar gradually, then beat in vanilla and salt. Add the cream cheese in several portions and mix on low only until smooth. Refrigerate for 15 to 20 minutes if it feels too soft.
- Stack: Level domed cake tops with a serrated knife. Place one cake layer on a board and spread it with 1/3 cup frosting. Release the cold baked cheesecake layer, remove its parchment, and center it on top. Add another 1/3 cup frosting and the second cake layer.
- Crumb-coat and finish: Apply a thin coat to trap loose crumbs, then chill for 30 minutes. Cover with the remaining frosting and decorate with reserved cake crumbs if desired. Chill the assembled cake for at least 2 hours before serving.
Expert Tips for a Neat, Tender Cake
Measure and Mix Carefully
For a moist red velvet cake, weigh the flour and stop mixing as soon as the batter comes together. Overmeasuring flour or overbaking causes dry layers. Stir with broad, gentle strokes and scrape the bowl so no flour pockets remain near the base.
Mix the cheesecake on low speed throughout. Scrape the bowl between additions so small lumps do not remain, but do not continue beating once the mixture is smooth. Controlled mixing gives the cheesecake and red velvet cake recipe a dense, creamy center rather than an airy or uneven one.
Keep Every Layer Level
Baking strips can limit doming, while trimming fully cooled cakes creates a stable, level stack. Use a long serrated knife and rotate the cake as you cut instead of sawing straight through from one side. Save the trimmings if you want crumbs for decoration.
Set the cold cheesecake over a cake layer before applying the upper layer and check it from several angles. Small adjustments are easiest before the cake is fully stacked. If the cheesecake extends slightly beyond a cake edge, trim it only while it is thoroughly chilled and firm.
Control Temperature at Every Stage
Cheesecake cracks are usually caused by excess mixing, high heat, or sudden cooling. Small cracks will be hidden inside the cake. If layers slide, chill them until firm and use only a thin frosting layer between them.
The butter should be pliable for the red velvet cake frosting recipe, but the cream cheese should remain cool. If both become very warm, the frosting can lose structure. Brief chilling restores firmness more effectively than adding large amounts of extra sugar.
Make Clean Slices
For clean slicing, refrigerate the cake thoroughly. Dip a long, sharp knife in hot water, wipe it dry, make one cut, and clean the blade before every subsequent cut. Use gentle downward pressure so the cheesecake center stays aligned with the cake layers.
Mark the frosting lightly before cutting if you need evenly sized portions. Because this cheesecake and red velvet cake recipe is rich, narrow slices are satisfying and easier to transfer intact to dessert plates.
Variations and Substitutions
Bundt Cake Option
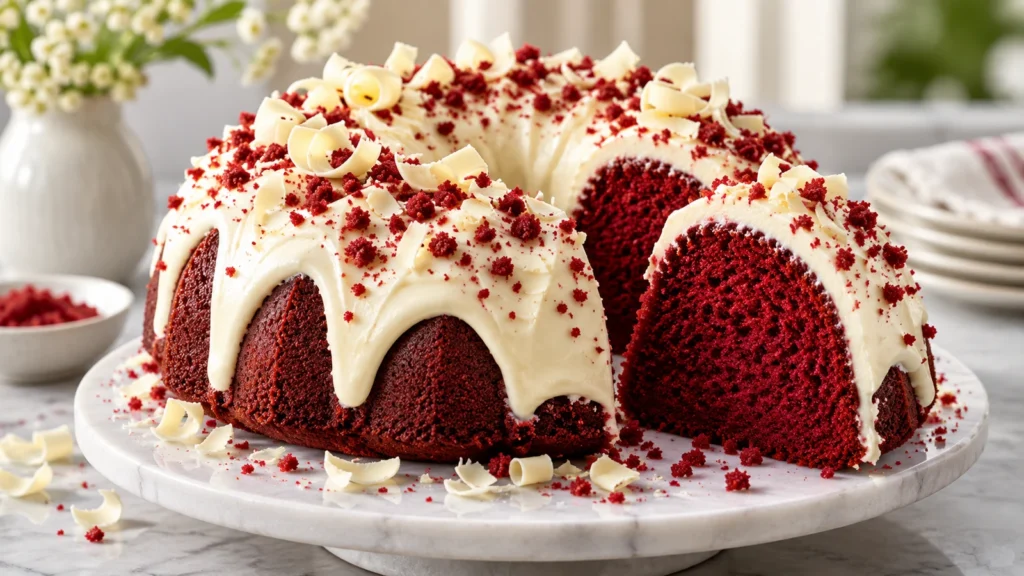
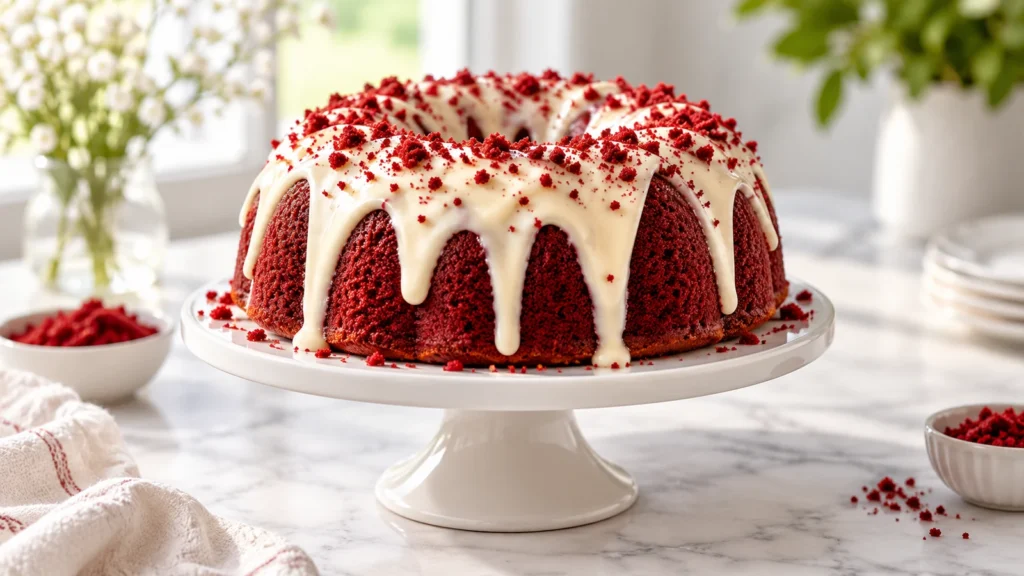
For a different shape and a cake-only option, try this red velvet bundt cake recipe. It is useful when you want the familiar cocoa and buttermilk flavor without stacking a cheesecake center.
A red velvet bundt cake recipe also travels conveniently because its shape does not rely on multiple chilled layers. Keep in mind that the pan shape, baking method, and finished presentation differ from this cheesecake and red velvet cake recipe, so follow the linked version rather than transferring the round-layer timings.
Blue and Red Celebration Cake
A festive blue red velvet cake recipe offers another colorful presentation. It can suit patriotic parties, team celebrations, or any event with a bold red-and-blue palette.
Use the blue red velvet cake recipe when color is the main design feature. Gel colors are preferable for saturated shades because they add less liquid. Avoid randomly increasing the coloring in this cheesecake and red velvet cake recipe, since too much can affect flavor and stain the pale cheesecake center during assembly.
Gluten-Free Variation
To develop a gluten free red velvet cake recipe variation, replace the flour with an equal weight of a cup-for-cup gluten-free blend containing xanthan gum. Confirm that the coloring, confectioners’ sugar, and other packaged ingredients are certified gluten-free when serving someone with celiac disease.
Allow the mixed gluten free red velvet cake recipe batter to stand for about 10 minutes before dividing it between the pans. This brief rest can help the flour blend hydrate. Do not alter the listed oven temperature or rely only on color to judge doneness; use the same texture and temperature cues given in the method.
Prevent cross-contact by using clean bowls, utensils, pans, parchment, and work surfaces. A gluten free red velvet cake recipe is only appropriate for a guest with celiac disease when every ingredient and preparation surface meets their dietary needs.
Frosting Adjustments
This red velvet cake frosting recipe can be made less sweet by reducing the confectioners’ sugar to 4 cups (480 g), although the result will be softer. Chill it before stacking and keep the finished cake refrigerated so the layers remain supported.
For a slightly firmer red velvet cake frosting recipe, use the full listed quantity of confectioners’ sugar and make sure the butter is beaten before the cream cheese is added. Mixing the cream cheese only until smooth helps preserve the frosting’s body.
For another layered dessert with a creamy center, see this carrot cake cheesecake recipe. It offers a warm-spiced alternative while retaining the appealing contrast between cake, cheesecake, and frosting.
Buttermilk and Dairy Notes
The recipe contains milk, eggs, and wheat. For a buttermilk substitute, stir 1 tablespoon vinegar into enough whole milk to make 1 cup and let it stand for 5 minutes. Dairy-free substitutions are not recommended without testing because they can change both structure and moisture.
Make-Ahead Schedule
Two Days Before Serving
Bake, cool, and refrigerate the cheesecake. Leave it in its pan until it is completely cold so the delicate center stays protected. Once chilled, cover the pan securely without pressing the covering against the cheesecake surface.
One Day Before Serving
Bake both red velvet layers and let them cool completely. Wrap each layer securely after cooling so it retains moisture. Prepare the red velvet cake frosting recipe, assemble the cake, apply the crumb coat, and add the final finish.
Refrigerating the assembled cheesecake and red velvet cake recipe overnight gives the frosting time to firm and helps the layers settle. Place it in a carrier or loosely cover it only after the outer frosting has chilled enough that wrapping will not mark the surface.
On the Day of Serving
Add any delicate finishing decorations after transporting the cake. Keep it refrigerated until shortly before dessert, then let the portion you plan to serve stand for 15 to 20 minutes. This removes the refrigerator chill without allowing the cream cheese components to become overly soft.
Storage, Freezing, and Transport
Keep the cake covered in the refrigerator and serve within four days. It does not need reheating; let individual slices stand for 15 to 20 minutes for a creamier texture. Do not leave the frosted cake at room temperature for more than two hours.
Store cut surfaces against parchment or under a close-fitting cover to reduce drying. Avoid placing strongly aromatic foods beside the cake because cream cheese and butter can absorb refrigerator odors. Return leftovers to cold storage promptly.
For freezing, chill the cake first, wrap whole or sliced portions securely, and freeze for up to one month. Thaw it overnight in the refrigerator while still wrapped; the USDA provides additional freezing and food-safety guidance.
For convenient portions, freeze individual slices of the cheesecake and red velvet cake recipe until firm before wrapping them. Separating slices makes it possible to thaw only what you need. Do not thaw at room temperature, since gradual refrigerator thawing better protects both texture and food safety.
For make-ahead preparation, bake the cheesecake two days before serving and the cake layers one day before. Assemble the cake the day before serving. Transport it cold on a level surface in a snug carrier, using ice packs for a long journey and following USDA cold-food handling recommendations.
Place nonslip material beneath the cake board inside the carrier and beneath the carrier in the vehicle. Keep the cake out of direct sunlight and avoid placing it on a sloped seat. A cold, fully set cake is much less likely to shift during travel.
Troubleshooting Common Problems
Why Did the Cheesecake Crack?
A crack usually means the batter incorporated too much air, the oven was too hot, or the cheesecake cooled abruptly. Mix gently, use the stated temperature, and follow the gradual cooling sequence. A crack does not ruin this cheesecake and red velvet cake recipe because it will be concealed between the cake layers.
Why Are the Cake Layers Dry?
Too much flour and extra baking time are the most common causes. Weigh 300 g flour when possible, begin checking at 25 minutes, and remove the layers when a tester has a few moist crumbs. The center temperature of about 205°F (96°C) offers another useful check.
Why Did the Layers Sink?
Opening the oven too early, underbaking, using inactive baking soda, or overmixing can weaken the structure. Measure accurately and wait until the layers look set before checking them. Fold the batter only until the flour disappears.
Why Is the Frosting Runny?
The cream cheese may have been too warm, spreadable, or overmixed. Chill the frosting for 20 to 30 minutes. If necessary, add confectioners’ sugar 2 tablespoons at a time.
Use full-fat block cream cheese in the red velvet cake frosting recipe. Tub cream cheese contains more moisture and is formulated to spread easily, which works against the firm consistency needed for stacking and covering this tall cake.
Why Is the Cake Sliding?
Warm components, thick filling layers, or an uneven cake surface can cause movement. Chill every layer, trim domes, and use only 1/3 cup frosting on each side of the cheesecake. If the assembled cake starts shifting, refrigerate it before continuing with the final coat.
How Do I Prevent Loose Red Crumbs?
Work with completely cooled layers, brush away loose crumbs, apply a very thin crumb coat, and chill it until firm before adding the final coat. Wipe the spatula before returning it to the bowl of clean frosting.
Why Is the Red Color Dull?
Natural cocoa is better suited to the intended shade than heavily alkalized cocoa. Use fresh gel coloring and mix it evenly into the wet ingredients. Remember that adding excessive coloring can produce an unpleasant taste, so remain within the listed 1 to 2 tablespoons.
Serving and Decoration Ideas
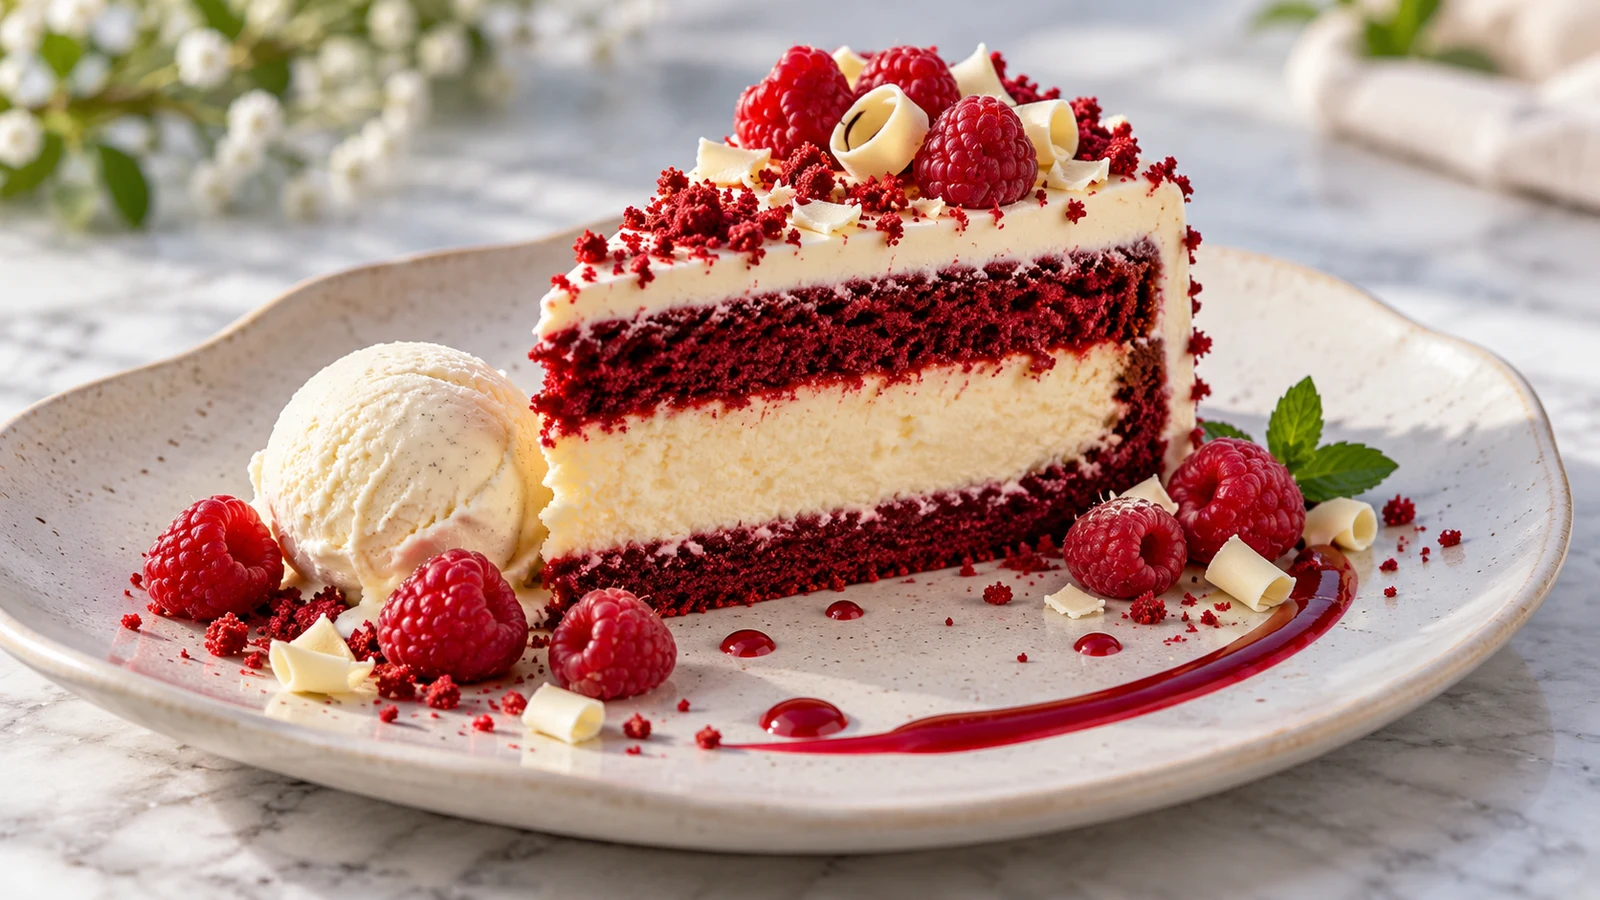
Serve each slice on a chilled or room-temperature dessert plate with fresh raspberries or strawberries. Their tart flavor balances the creamy filling and sweet frosting. A small scoop of vanilla ice cream can make the dessert more festive, although the cake is rich enough to serve alone.
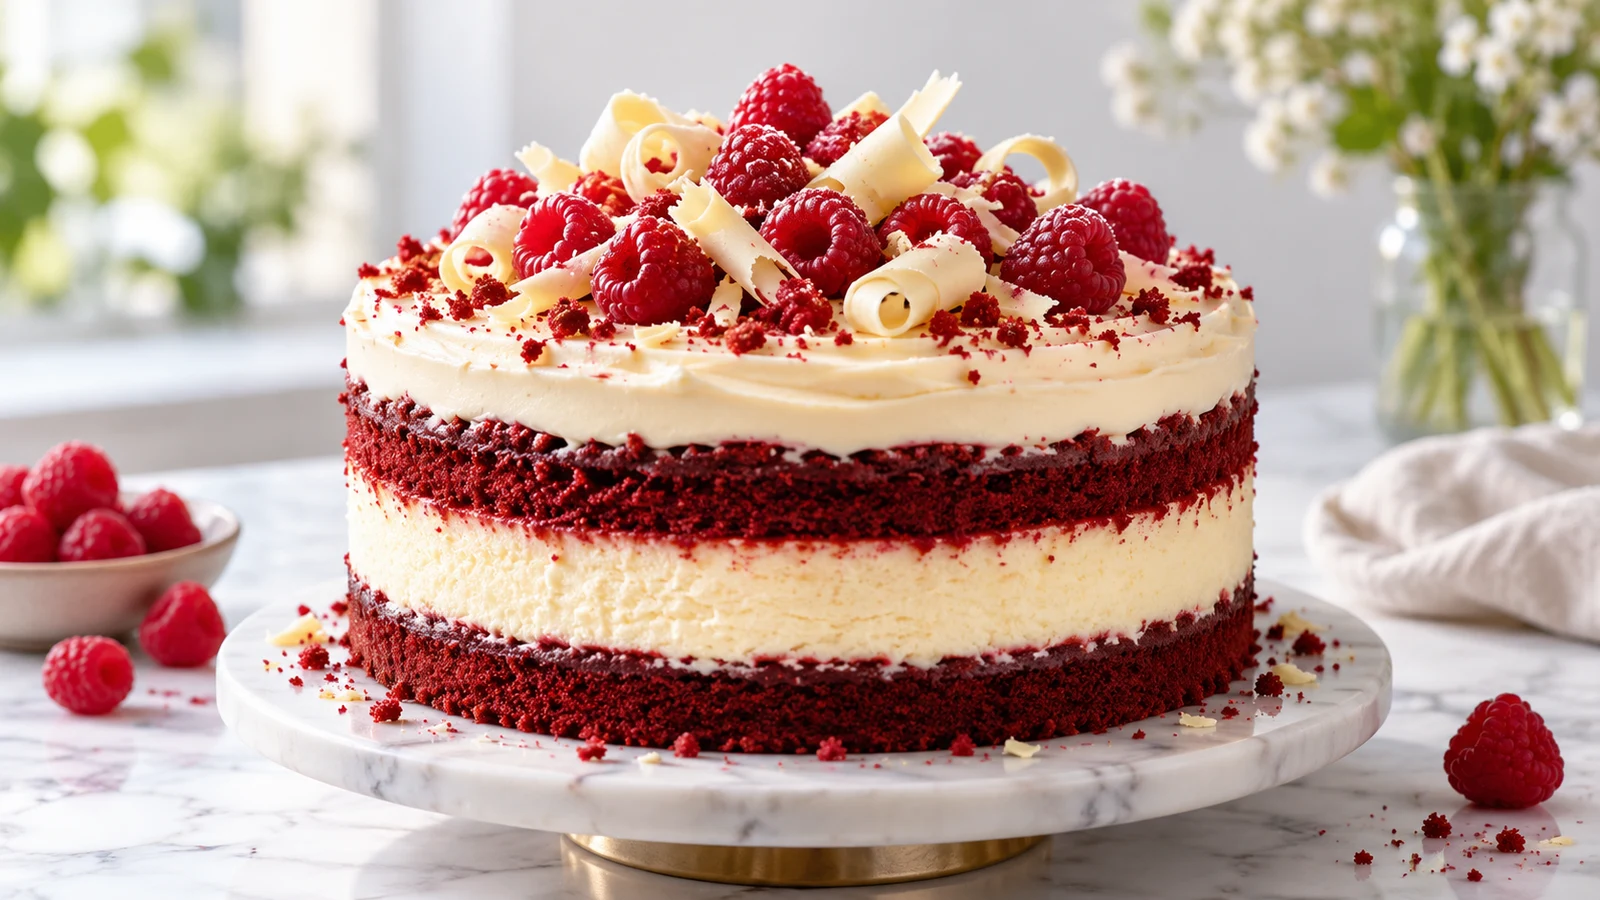
Reserved red cake crumbs provide a simple finish that reinforces the colors of the cheesecake and red velvet cake recipe. Press them gently around the lower edge or sprinkle them over the top. White-chocolate curls also complement the pale frosting without changing the cake itself.
For birthdays, add simple candles after the cake is fully chilled. For a dinner party, cut narrower slices and serve them with coffee or unsweetened tea. Avoid heavy sauces that would hide the clearly defined red and white layers.
If you prefer a streamlined cake-only centerpiece, the red velvet bundt cake recipe is an attractive alternative. For a more colorful themed table, coordinate this dessert with the blue red velvet cake recipe rather than altering the carefully balanced structure of the layered cake.
Nutrition
One of 14 slices provides an estimated 760 calories, with approximately 9 g protein, 88 g carbohydrate, and 42 g fat. Values vary with brands, decorations, and portion size; consult the FDA Food Labeling Guide when formal nutrient labeling is required.
Frequently Asked Questions
Can I bake the cheesecake without a water bath?
Yes. Place a pan of hot water on the rack below and begin checking at 40 minutes. The surface may color or crack slightly, but that will not affect the assembled cake.
Can I make the entire cheesecake and red velvet cake recipe in one day?
It is possible, but the cheesecake needs its full cooling and chilling timeline. Begin early, allow at least six hours for chilling, and give the assembled cake another two hours to set. A two-day schedule is more convenient and reduces the risk of stacking warm components.
Can I use three different 9-inch pans?
Yes, provided their interior dimensions are the same and each pan is 2 inches deep. Different colors and materials may alter baking speed. Check the cake layers at the early end of the stated range and rely on the doneness cues.
Can I use Dutch-process cocoa?
Natural cocoa is the best choice because the recipe’s leavening is designed around its acidity. Dutch-process cocoa can change the rise, flavor, and color, so it should not be substituted without testing.
Can I turn this into a red velvet bundt cake recipe?
Use the dedicated red velvet bundt cake recipe rather than pouring this batter into a Bundt pan. Pan volume, surface area, release technique, and baking time differ, while the cheesecake center in this recipe is designed for flat round layers.
Can I adapt it as a blue red velvet cake recipe?
For a dependable blue presentation, follow the linked blue red velvet cake recipe. Simply mixing blue coloring into a red formula may create a muddy shade because cocoa and red coloring influence the final color.
Does the gluten free red velvet cake recipe variation bake for the same time?
Begin with the same 25-to-30-minute range, but check the layers using the listed physical and temperature cues. Gluten-free blends vary, so the exact finish time may differ slightly. Let the batter rest briefly before baking to encourage even hydration.
Can the red velvet cake frosting recipe be made ahead?
Yes. Prepare the red velvet cake frosting recipe one day ahead, cover it tightly, and refrigerate it. Let it soften briefly, then mix on low only until it is spreadable. Avoid prolonged beating because it can make cream cheese frosting loose.
Why does the cheesecake need to be so cold?
A thoroughly chilled cheesecake releases more cleanly, resists bending, and is easier to center. It also prevents the frosting between the layers from warming during assembly. Six hours is the minimum, but an overnight chill is ideal.
Can I frost the cake while the layers are slightly warm?
No. Warm cake softens the frosting, traps steam, and encourages sliding. Let the red velvet layers cool completely and keep the cheesecake cold. If the kitchen is warm, briefly chill the cake layers before assembling.
How far ahead can I decorate the cake?
Apply the frosting and cake crumbs one day before serving. Add delicate fruit close to serving time so it remains fresh and does not release moisture onto the frosting. Keep the decorated cake covered and refrigerated.
How many people does this cake serve?
The cake serves 12 to 14. Because it contains cake, cheesecake, and cream cheese frosting in every portion, slices can be narrower than standard layer-cake servings while still feeling generous.
What is the best way to serve leftovers?
Remove only the slices you plan to eat and let them stand for 15 to 20 minutes. Keep the remaining cheesecake and red velvet cake recipe covered in the refrigerator rather than repeatedly warming and chilling the whole cake.
Final Baking Notes
With properly chilled components, level layers, and a light crumb coat, this dramatic cheesecake and red velvet cake recipe is manageable for a home baker. The most important choices are accurate measuring, gentle mixing, complete cooling, and patient chilling.
Serve it cool but not ice-cold for the best contrast between tender cake, creamy filling, and smooth frosting. Whether you keep the classic finish, explore a gluten free red velvet cake recipe variation, or use the red velvet cake frosting recipe with less sugar, preserve the stated temperatures and chilling times for a stable result.
Reviews
Reader reviews are managed separately (outside this build).