Cake
Best red velvet pound cake recipe: Rich & Foolproof
Try this red velvet pound cake recipe for a moist, rich, tender cake, reliable Bundt pan results, and a smooth cream cheese glaze with every slice.
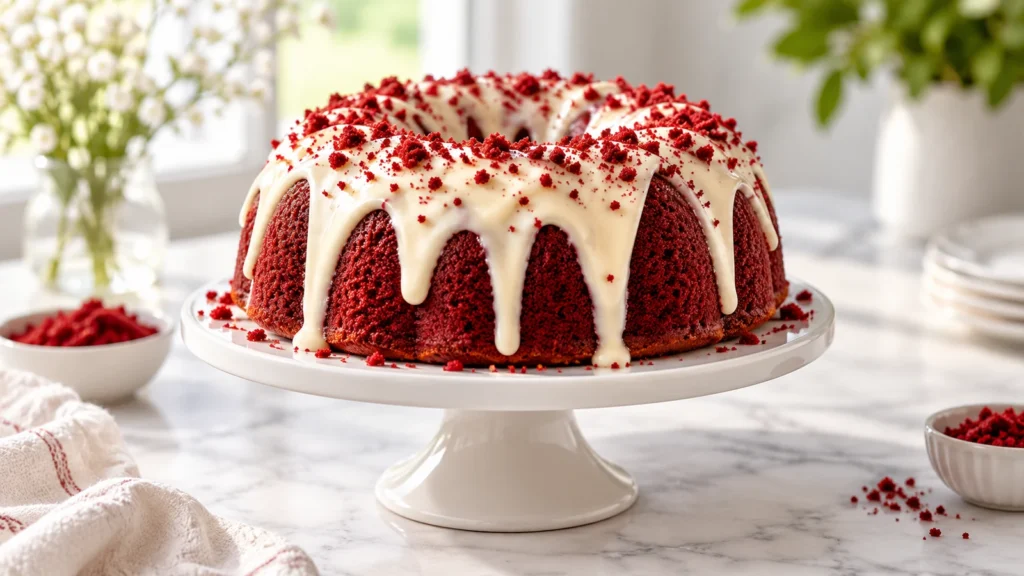
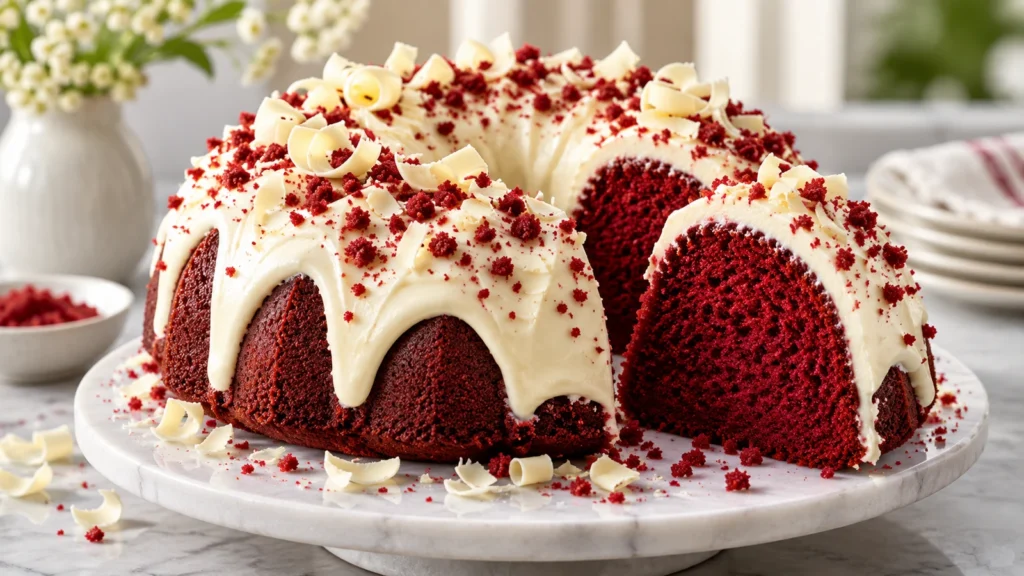
This red velvet pound cake recipe delivers a tight, buttery crumb, gentle cocoa flavor, and the signature tang of buttermilk. A smooth cream cheese glaze adds sweetness without overwhelming the cake. It is a dependable choice when you want an impressive dessert with familiar red velvet flavor and the substantial texture of a traditional pound cake.
Careful mixing keeps the crumb tender, while precise cooling and release times help preserve every Bundt-pan detail. Unlike a lighter layer cake, this red velvet pound cake recipe is rich enough to serve in neat slices for holidays, birthdays, potlucks, or an afternoon coffee break.
Table of Contents
Why You’ll Love This Red Velvet Pound Cake Recipe
- Moist and rich: Butter, buttermilk, and sour cream create a plush crumb that stays fresh for days.
- Reliable release: A thorough greasing method helps the cake leave the pan cleanly.
- Balanced flavor: Cocoa, vanilla, and tangy dairy provide classic red velvet character.
- Make-ahead friendly: The unglazed cake freezes and thaws beautifully.
- Celebration ready: The sculpted Bundt shape and cream cheese glaze make an attractive centerpiece without complicated decorating.
Ingredients
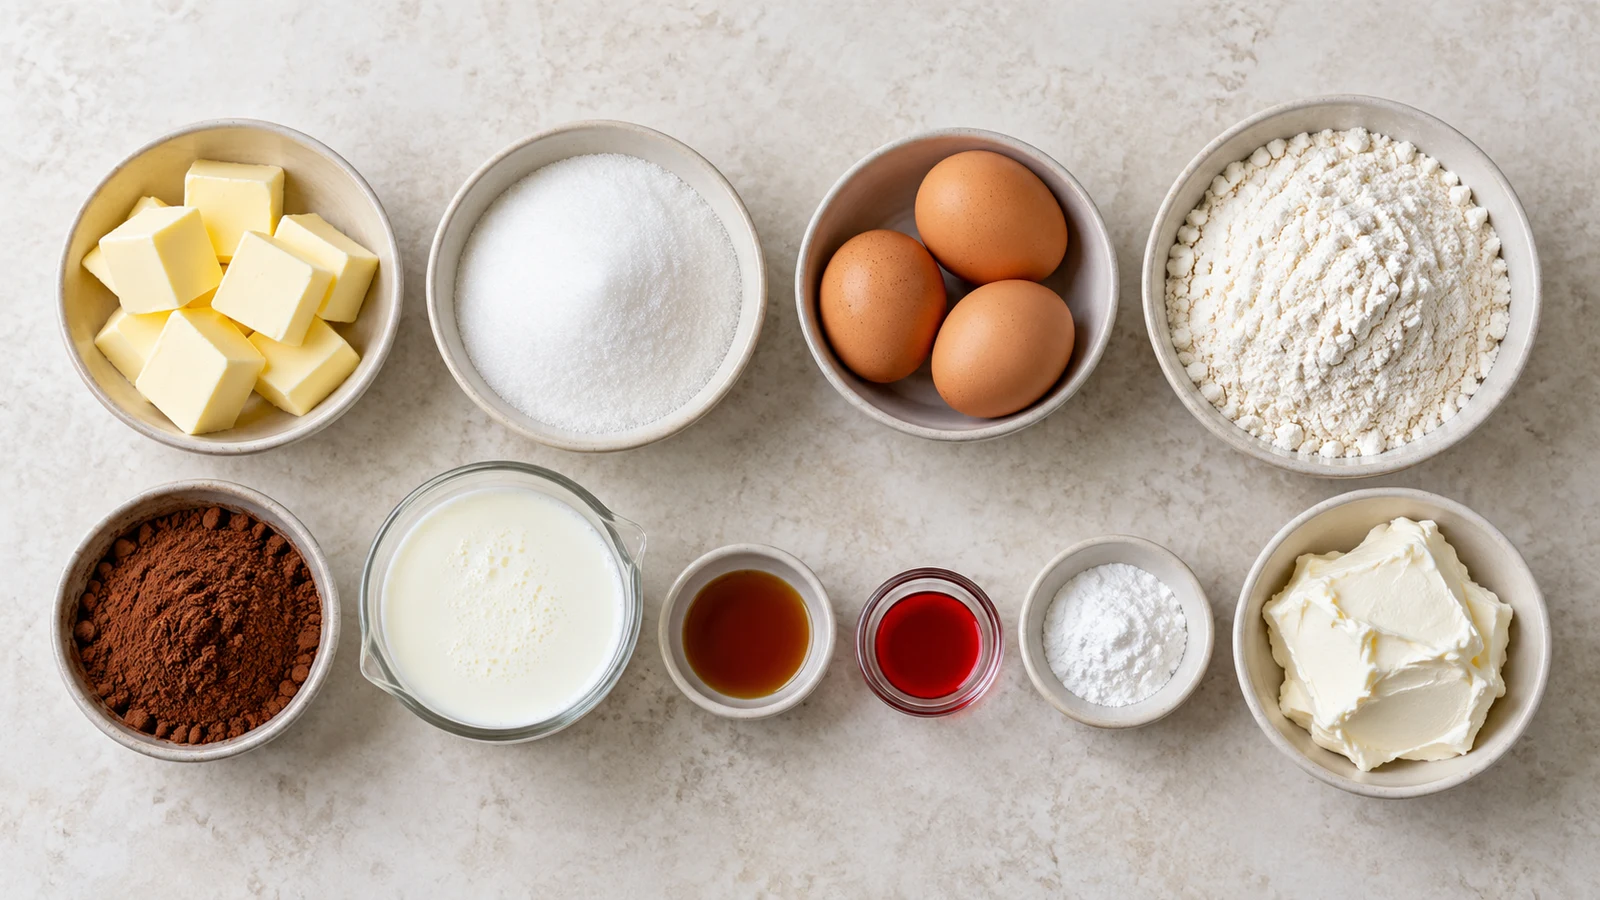
- 1 cup (226 g) unsalted butter, softened to 65–68°F (18–20°C)
- 8 ounces (226 g) full-fat cream cheese, softened
- 2 3/4 cups (550 g) granulated sugar
- 6 large eggs (300 g without shells), at room temperature
- 1 tablespoon vanilla extract
- 3 cups (360 g) all-purpose flour, spooned and leveled
- 1/4 cup (21 g) natural unsweetened cocoa powder
- 1/2 teaspoon baking powder
- 1/2 teaspoon fine salt
- 1/2 cup (120 ml) cultured buttermilk, at room temperature
- 1/2 cup (120 g) full-fat sour cream, at room temperature
- 1 tablespoon red gel food coloring or 2 tablespoons liquid red coloring
- 1 teaspoon distilled white vinegar
- For the glaze: 4 ounces (113 g) cream cheese, softened; 1 cup (120 g) confectioners’ sugar; 1 teaspoon vanilla; 2–4 tablespoons milk; pinch of salt
Why These Ingredients Matter
Butter supplies rich flavor, while cream cheese adds fat and a mild tang that supports a fine, close crumb. Granulated sugar does more than sweeten this red velvet pound cake recipe: it holds moisture, assists browning, and helps aerate the butter during creaming.
Buttermilk, sour cream, and vinegar reinforce the characteristic tang of red velvet. Natural cocoa contributes gentle chocolate flavor without making the batter overly dark. Room-temperature eggs blend more readily with the creamed mixture, reducing the chance of a separated batter or dense streaks in the finished cake.
Equipment and Bundt-Pan Preparation
Use a light-colored 10- to 12-cup Bundt pan, an electric mixer, two bowls, a whisk, and a flexible spatula. A smaller pan may overflow, while a very large one can produce a shallow cake. An instant-read thermometer and a long wooden skewer are useful but optional.
For dependable cake release, brush every ridge with a thin layer of softened shortening, then dust with flour and tap out the excess. This pan-preparation method also works for a classic red velvet bundt cake recipe. Baking spray containing flour may be used, but ordinary cooking spray is more likely to pool in the grooves.
Prepare the pan shortly before adding the batter. If a greased pan sits too long, the coating can slide down the sides and collect at the bottom. Pay particular attention to the center tube and intricate grooves, since missed spots are common causes of sticking.
How to Make This Red Velvet Pound Cake Recipe
- Prepare the oven: Position a rack in the lower-middle area and heat the oven to 325°F (163°C). Grease and flour the Bundt pan immediately before filling it.
- Combine the dry ingredients: Whisk the flour, cocoa powder, baking powder, and salt until evenly blended. Natural cocoa gives the brightest red color and a lightly acidic flavor. Dutch-process cocoa is darker and may mute the red, although it can be substituted by weight.
- Cream the fats and sugar: Beat the butter and cream cheese on medium speed for about 1 minute. Gradually add the sugar, then beat for 3–4 minutes, until pale and fluffy. Scrape the bowl twice so no dense butter remains near the bottom.
- Add the eggs: Mix in the eggs one at a time on medium-low speed, waiting until each one disappears before adding the next. Beat in the vanilla. If the mixture looks slightly curdled, it should smooth out when the flour is added.
- Mix the liquids: Stir together the buttermilk, sour cream, food coloring, and vinegar. Gel coloring provides vivid color with less added liquid; begin with 1 tablespoon and adjust by brand.
- Finish the batter: On low speed, add the dry mixture in three portions, alternating with the buttermilk mixture in two portions. Stop when only a few flour streaks remain, then fold gently with a spatula. Overmixing after adding flour encourages toughness and tunnels.
- Fill and bake: Spoon the batter evenly into the prepared pan and smooth the top. Tap the pan once against a folded towel to release large air pockets. Bake for 70–85 minutes. For additional technique comparisons, see these red velvet pound cake baking notes.
- Check doneness: A skewer inserted in a thick area should emerge with a few moist crumbs but no wet batter. The top should spring back, and the internal temperature should reach approximately 205–210°F (96–99°C).
- Cool and release: Cool in the pan for exactly 15 minutes. Loosen accessible edges gently, place a rack over the pan, and invert in one confident motion. Let the cake cool completely for about 2 hours before glazing.
Cream Cheese Glaze
Beat the softened cream cheese until smooth, then mix in the confectioners’ sugar, vanilla, salt, and 2 tablespoons milk. Add more milk 1 teaspoon at a time until the glaze falls from a spoon in a thick ribbon. Spoon it over the fully cooled cake.
If the glaze breaks or looks lumpy, the cream cheese may be too cold or too much liquid may have been added at once. Beat gently at room temperature; thicken a runny glaze with confectioners’ sugar or loosen a stiff glaze with a few drops of milk.
For controlled drips, test a spoonful on one area of the cake before glazing the entire surface. If it runs straight to the plate, thicken it slightly. If it remains in a mound, add milk drop by drop. Glazing a warm cake will make the topping melt and become translucent.
Expert Tips for the Best Results
- Measure accurately: Weigh the flour to avoid packing too much into the cup and producing a dry cake.
- Use the right temperatures: Bring eggs and dairy to room temperature so the batter for this red velvet pound cake recipe emulsifies evenly and avoids gummy streaks.
- Cream patiently: Proper creaming creates tiny air pockets that help lift a batter with relatively little baking powder.
- Scrape the bowl: Reach the bottom and sides after creaming and again after several eggs. Hidden pockets of butter can bake into greasy streaks.
- Protect the structure: Do not reduce the sugar substantially; it contributes moisture, browning, and structure.
- Mix gently: Once flour is present, use low speed and finish by hand to limit gluten development.
- Know your oven: An inexpensive oven thermometer can reveal temperature differences that affect rise, color, and baking time.
- Release carefully: If the cake sticks, place a warm, damp towel over the inverted pan for 5 minutes, then try lifting the pan again.
- Prevent excess browning: Shield the top loosely with foil if it browns before the center is done. The baking approach in this red velvet pound cake guide offers another useful reference for judging the finished crumb.
How to Avoid Overmixing
Alternating the dry and wet mixtures keeps the batter easier to combine without prolonged beating. Begin and end with the flour mixture, add each portion only after the previous one is mostly incorporated, and stop the mixer while a few pale streaks remain. A flexible spatula can finish the red velvet pound cake recipe with a few broad folds.
How to Judge Doneness Accurately
Use several cues rather than relying only on the clock. The surface should spring back lightly, the edges may begin to pull from the pan, and a skewer should show moist crumbs rather than liquid batter. Testing in a thick section prevents a false reading from the hollow center or a thin outer edge.
Variations and Substitutions
Blue Color Variation
For a blue red velvet cake recipe, replace the red coloring with royal-blue gel and add a tiny dot of violet gel to counter greenish tones from the cocoa. The flavor remains cocoa-forward even though the color changes. Use concentrated gel gradually because coloring strength differs among brands.
A blue red velvet cake recipe is especially useful for themed parties or coordinated dessert tables. Natural cocoa is preferable because a very dark cocoa can make blue coloring appear muddy. The change affects appearance only; keep all ingredient quantities, temperature, timing, and mixing directions unchanged.
Gluten-Free Option
For a tested flourless adaptation, follow this dedicated gluten free red velvet cake recipe. A direct cup-for-cup swap in this dense batter may produce grittiness, dryness, or poor structure because different flour blends absorb moisture differently.
The gluten free red velvet cake recipe is the better choice for guests who must avoid gluten because it was designed around that requirement. Check every packaged ingredient for cross-contact information when baking for someone with celiac disease or a medically necessary gluten-free diet.
Cheesecake-Filled Option
For a cheesecake center with properly balanced batter and filling, use the tested cheesecake and red velvet cake recipe. Adding an improvised filling to this batter could change the bake time, prevent the center from setting, or make the cake difficult to release.
A cheesecake and red velvet cake recipe offers a more pronounced creamy layer, while this pound cake incorporates cream cheese throughout the batter and in the glaze. Choose between them according to whether you prefer a visible filling or a uniform, fine crumb.
High-Altitude Adjustment
At elevations above 3,500 feet, begin by reducing the sugar by 2 tablespoons, adding 1–2 tablespoons buttermilk, and increasing the oven temperature to 335°F (168°C). Because pans and elevations vary, check the cake 10 minutes early and record adjustments for your kitchen.
Troubleshooting This Red Velvet Pound Cake Recipe
- Dry cake: Too much flour, overbaking, or an inaccurate oven temperature is usually responsible. Weigh the flour and begin testing at 70 minutes.
- Tunnels: Avoid vigorous mixing after the flour enters the batter and do not beat out every small lump.
- Gummy streaks: Use room-temperature ingredients, cream thoroughly, scrape the bowl, and stop mixing as soon as the batter is uniform.
- Faded color: Choose natural cocoa, gel coloring, and a light-colored pan; excess baking or Dutch-process cocoa darkens the crumb.
- Sticking: Coat every pan groove and observe the 15-minute release window.
- Sunken center: Avoid opening the oven early, confirm that the oven is fully preheated, and bake until the thickest section is set.
- Heavy texture: Butter that is too cold will not aerate properly, while butter that is greasy or nearly melted cannot hold air.
- Large holes: Tap the filled pan only once. Repeated forceful tapping can remove useful air introduced during creaming.
Why Did the Cake Stick to the Pan?
Intricate pans require complete coverage with shortening and flour or baking spray containing flour. A missed ridge, pooled cooking spray, or an incorrect cooling interval can all cause damage. Inverting this red velvet pound cake recipe after 15 minutes allows the cake to firm up without letting caramelized edges adhere as they cool completely.
Why Is the Crumb Dense?
Pound cake should be close-textured, but it should not be leaden. Cold ingredients, insufficient creaming, inaccurate flour measurement, or old baking powder may limit the rise. Add eggs gradually so the mixture stays emulsified, and verify that the baking powder is fresh before beginning.
Why Did the Glaze Disappear?
A warm cake melts cream cheese glaze, causing it to soak into the surface or collect on the plate. Allow the cake to cool for about 2 hours and confirm that the center is no longer warm. A slightly thicker glaze also produces more defined white ribbons over the red crumb.
Serving Ideas
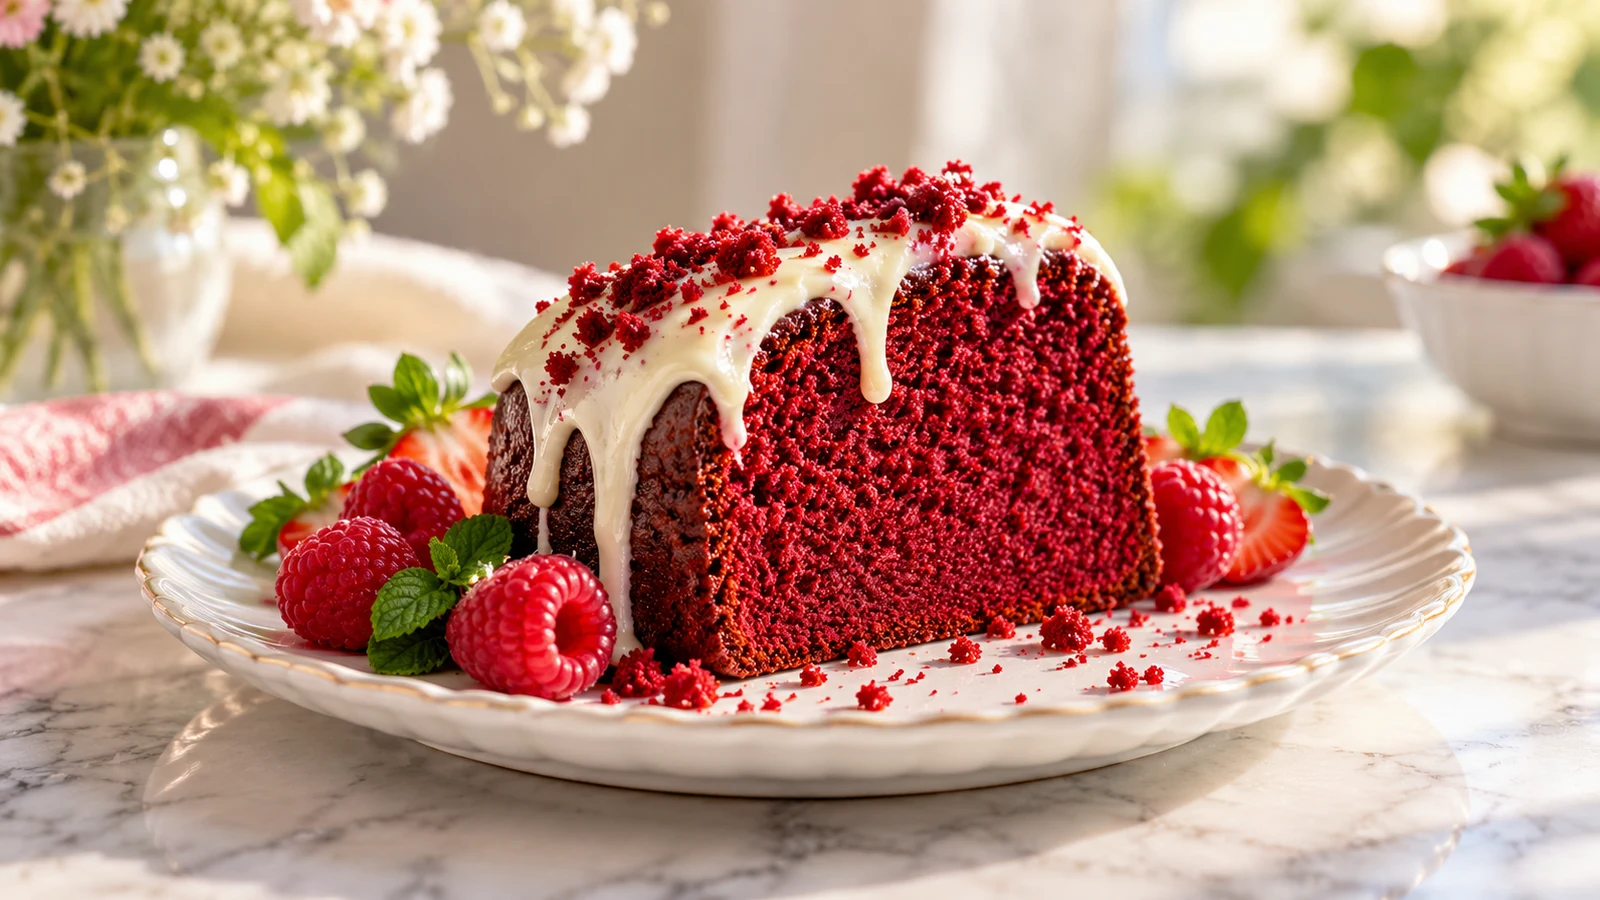
Serve slices at room temperature with fresh raspberries, strawberries, or lightly whipped cream. Coffee and black tea balance the rich crumb. For clean cuts, wipe a thin serrated knife between slices; this serving inspiration for red velvet pound cake offers another take on presenting the dessert.
For a holiday platter, arrange berries around the base after the glaze has set. A small spoonful of unsweetened whipped cream softens the richness without competing with the tangy topping. Avoid pouring wet fruit sauce over the whole cake because it can make the crust soggy during storage.
This red velvet pound cake recipe also works well on a dessert buffet because it can be sliced ahead and eaten without extra assembly. Cut modest portions since the crumb is rich. Keep the cake chilled when it will remain out for an extended period, then return it to room temperature briefly before serving.
Make-Ahead, Storage, and Reheating
Making the Cake Ahead
The whole unglazed cake can be made two days ahead and kept well wrapped at room temperature. Wait until it is completely cool before wrapping so trapped steam does not soften the crust. Add the cream cheese glaze on the day of serving for the neatest appearance.
You can prepare the glaze one day ahead and refrigerate it in an airtight container. Let it soften at room temperature, then stir or beat gently before adjusting the consistency with a few drops of milk. Do not prepare the cake batter ahead, since it should be baked promptly after mixing.
Refrigerating Leftovers
Store glazed cake in an airtight container in the refrigerator for up to 5 days because the cream cheese glaze is perishable. Bring individual slices to room temperature for 20–30 minutes before serving. This restores a softer texture and allows the cocoa, butter, and vanilla flavors to become more noticeable.
Freezing the Cake
To freeze, wrap the completely cooled, unglazed cake or individual slices tightly in plastic wrap and foil. Freeze for up to 3 months, thaw overnight in the refrigerator, then bring to room temperature and glaze. Individual portions are convenient when you do not need an entire red velvet pound cake recipe at once.
Keep the wrapping in place while the cake thaws to limit condensation on the surface. Once thawed, do not repeatedly freeze and thaw it, since moisture loss can make the crumb dry. Label the package with the date before placing it in the freezer.
Reheating Individual Slices
If desired, warm an unglazed slice in the microwave for 8–10 seconds. Use only a brief interval because overheating can make the edges firm or oily. Glazed slices are best brought to room temperature rather than heated, as the cream cheese topping may melt.
Frequently Asked Questions
Can I use a tube pan for this red velvet pound cake recipe?
Yes. Use a 10-inch tube pan of comparable capacity, grease it thoroughly, and begin checking for doneness at 65 minutes. The different shape may alter the baking time, so rely on the skewer, spring-back, and internal-temperature cues.
Why is my cake brown instead of bright red?
Dutch-process cocoa, insufficient coloring, dark bakeware, or overbaking can mute the color. Natural cocoa and concentrated gel coloring give the clearest red shade. Remember that the baked crumb will look slightly darker than the raw batter.
Can I make the batter ahead?
No. Bake the batter promptly after mixing so the leavening remains effective. Instead, bake the entire cake ahead and store or freeze it unglazed.
How do I know whether my Bundt pan is large enough?
Fill the empty pan with measured water to determine its capacity. The batter should occupy no more than about three-quarters of the pan, leaving space for expansion without overflow.
Is a red velvet bundt cake recipe the same as pound cake?
Not always. A red velvet bundt cake recipe describes the pan shape, while pound cake refers to a rich, close-textured style. Some Bundt cakes are lighter and use different ratios. Follow the specified pan capacity and method instead of assuming that recipes are interchangeable.
Can I turn this into a blue red velvet cake recipe?
Yes. Use royal-blue gel coloring with a tiny dot of violet gel while leaving the remaining ingredients unchanged. Because cocoa naturally darkens the batter, add the coloring gradually until the shade is slightly stronger than you want in the baked cake.
Should I use a gluten free red velvet cake recipe for a flour substitute?
Yes. A dedicated gluten free red velvet cake recipe accounts for the absorption and structure of alternative flours. Simply replacing the all-purpose flour here may change the crumb and moisture level, so the tested version is the more reliable option.
When should I choose a cheesecake and red velvet cake recipe?
Choose a cheesecake and red velvet cake recipe when you want a distinct cheesecake layer or filling. Make this version when you prefer cream cheese blended into a uniform pound-cake crumb and served as a glaze over the top.
Can I bake this red velvet pound cake recipe in advance for a party?
Yes. Bake and cool it up to two days ahead, wrap the unglazed cake securely, and keep it at room temperature. Glaze it on the serving day, then refrigerate it because the topping contains cream cheese.
Can I reduce the food coloring?
Yes. Food coloring controls appearance rather than structure, so you may use less or omit it. The cake will taste the same but may appear reddish brown because of the natural cocoa.
Can I use low-fat cream cheese?
Full-fat cream cheese is recommended for the intended richness, texture, and stable glaze. Lower-fat products contain more moisture and can make the glaze thinner or alter the cake’s crumb.
Recipe Card
Yield: 12–16 servings
Prep time: 25 minutes
Bake time: 70–85 minutes
Cooling time: 2 hours 15 minutes
Oven: 325°F (163°C)
Pan: 10- to 12-cup Bundt pan
Instructions: Grease and flour the pan. Whisk the dry ingredients. Cream the butter, cream cheese, and sugar; add the eggs and vanilla. Alternate the dry mixture with the combined buttermilk mixture. Bake until a skewer shows moist crumbs and the center reaches 205–210°F (96–99°C). Cool in the pan for 15 minutes, invert, cool completely, and glaze.
Notes: Weigh the flour, use room-temperature ingredients, and avoid overmixing. Nutrition varies by brands and slice size; one of 16 slices is approximately 510 calories before optional serving accompaniments.
Final Thoughts
This red velvet pound cake recipe combines a fine, buttery crumb with subtle cocoa and tangy cream cheese glaze. Follow the temperature, mixing, doneness, and release cues, and it will slice neatly while remaining tender for days.
Whether you serve it for a celebration or prepare it ahead for guests, the red velvet pound cake recipe rewards careful measuring and patient cooling. For a different format, explore a red velvet bundt cake recipe, blue red velvet cake recipe, cheesecake and red velvet cake recipe, or gluten free red velvet cake recipe suited to your occasion.
Reviews
Reader reviews are managed separately (outside this build).